Introduction

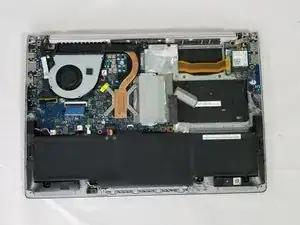
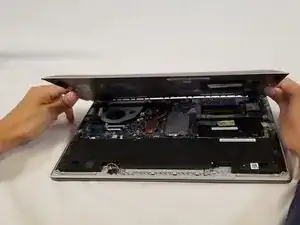
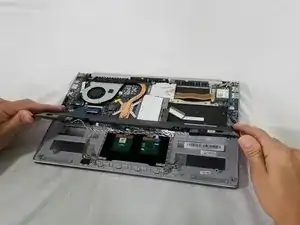
This guide will show you how to replace the fan in an Asus ZenBook UX303U laptop.

  1. RnAAXb2Q6HjJ6g55
    • Remove the two round rubber feet at the hinge-edge of the laptop.

    The process took me about 30 minutes. If I were to have to do it again then I could probably do it in 10 minutes now that I know what is involved!

    Jon Kerridge -

  2. XsL3OIeWIuDc4LOB
    • Remove the eleven 4 mm Phillips #00 screws from the back panel.

    These screws on other models are Torx T5 or T6, not Phillips

    Dylan Warburg -

    T4 screws on all but the two under the rear rubber feet; those are Phillips PH0 (and my model had two square rubber feet).

    Gregg Stanley -

    Agree. Same as my laptop.

    Moops -

  3. ueRA4jDHCiQAuPYT
    ueRA4jDHCiQAuPYT
    EkyRch2jtebMhwgg
    • Using a plastic opening tool pry the back panel off of the laptop.

    I lift more than the last photo shows. Dark rubber with plots, visible on photo are blocking the opening.

    djibe -

    Mine was also stuck at the back with a bit of tape (for grounding?) I did my best to make sure it was replaced during re-assembly.

    Moops -

  4. uaWgU6aXDa4L1vcs
    uaWgU6aXDa4L1vcs
    xstjUBSCDp4qbxFE
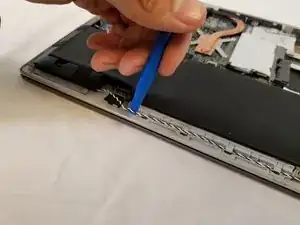
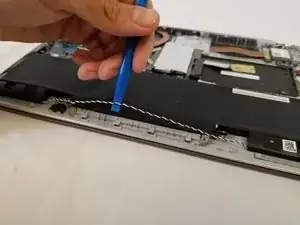
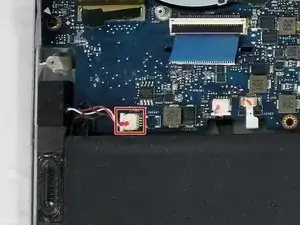
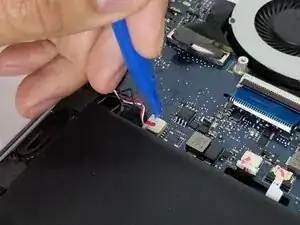
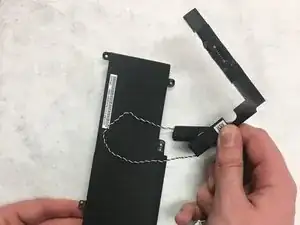
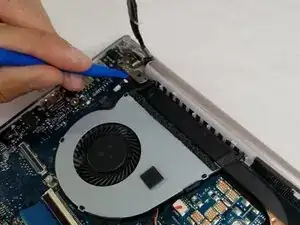
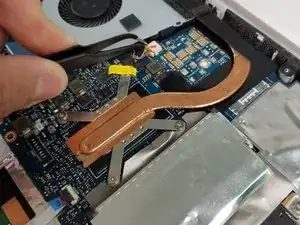
    • Pull the speaker cable out of its four retaining clips with either your fingers, or a plastic opening tool.

    Skip this step on UX430U

    Styyvii -

    I skipped this step and was able to gently pull it out when I removed the battery in step 8.

    Moops -

  5. QdW2BSrcdBMZqCqs
    QdW2BSrcdBMZqCqs
    yOkSFeiYDAN5I1PA
    • Remove all seven 2 mm Phillips #00 screws from the battery.

    Mine was missing the lower left and lower right screws.

    Moops -

  6. gaZvALgkWmNCEjnZ
    gaZvALgkWmNCEjnZ
    yqEvQWBBgYVUOJFE
    • Pull the speaker connector toward the edge of the laptop to disconnect it from its socket.

    Skip this step on UX430U also

    Styyvii -

  7. XPyM2f1knXdYYSEb
    XPyM2f1knXdYYSEb
    XGwW5oMrYRnkKuHx
    • Lift the battery connector straight up off its socket to disconnect it from the motherboard.

    • Do not pry on the socket itself or you risk damaging the motherboard.

    The replacement battery I received from ifixit had longer wires than the original battery which made re-installing it a bit awkward, but I was able to bend them to the side a bit.

    Moops -

  8. D1QVJa32XsKYNP2w
    D1QVJa32XsKYNP2w
    VRFJGJrY3QvSrRGr
    • Lift the battery and speakers up and pull out to remove.

    • Check underneath the battery for the wire assembly connecting the touchpad to the motherboard. This connection may stick to the underside of the battery. Be careful not to damage it when removing the battery.

  9. XfFVoncLAPIryx1r
    • Remove the speakers from the old battery.

    This was a bit more fiddly than expected given the speaker arms are stuck to the battery

    Jon Kerridge -

    Yes, it was taped on their quite strongly. I just tried to make sure the tape stayed stuck to the speakers and not the battery.

    Moops -

  10. c2516NpCGCHZTvE2
    c2516NpCGCHZTvE2
    DfW4CSSkgKWMaq6h
    • Disconnect the display cable from the motherboard with a plastic opening tool.

  11. dHdkMqOBOPtlDeba
    dHdkMqOBOPtlDeba
    cS2S1JWlVUUTg4YW
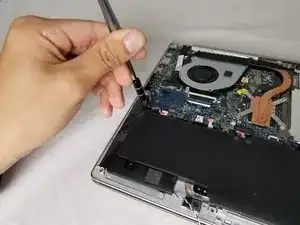
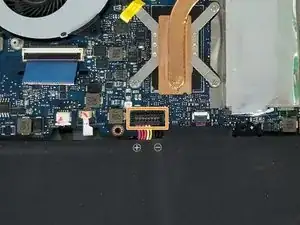
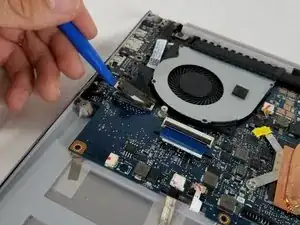
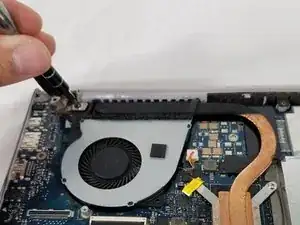
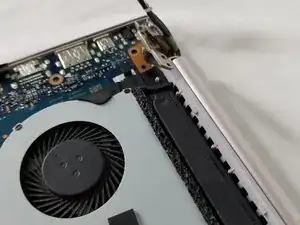
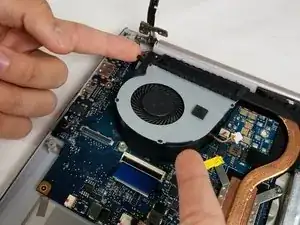
    • Remove the three 6mm Phillips #00 screws from the hinge.

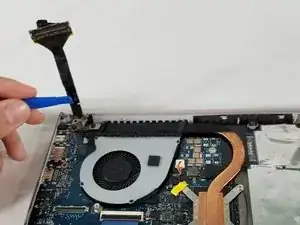
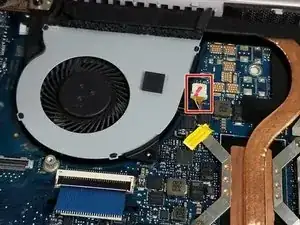
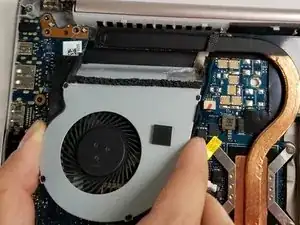
    • Remove the 2mm Phillips #00 screw from the plastic housing securing the fan into place.

  12. rRykomrJZxO4GQYL
    rRykomrJZxO4GQYL
    wtAQYN4AZdqhQTX1
    • Lift the bottom of the laptop up slightly in order to unhinge the laptop.

    • Lift the screen assembly hinge up and off of the motherboard fan.

  13. XdMFUKIBvdfNjifj
    XdMFUKIBvdfNjifj
    Ia3DmPdlD2dPNQ3y
    CQQeHMKDCVtkaZsV
    • Using tweezers, disconnect the cable connector from the motherboard fan.

  14. NLk6yxiTM6bjKSVQ
    NLk6yxiTM6bjKSVQ
    MI2IsroeUlvXCeGM
    • Lift the fan up and off of the white pegs that secure it into place.

Conclusion

To reassemble your device, follow these instructions in reverse order.

Luis Perez

Member since: 14/02/18

625 Reputation

One comment

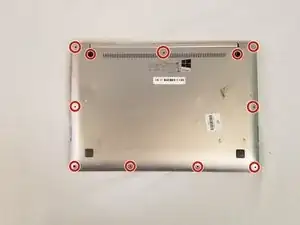
The bottom of the pictured device may feature Phillips #00 screws, but I also have this laptop and the screws around the edge of the bottom panel are Torx T5s on my device.

Nick Brennan -