Introduction
Audio-Technica AT-LP120-USB Direct Drive Turntable
Following this guide will replace the spring that controls the Anti-Skate Knob which is responsible for your stylus properly riding through the ridges of your records. This will cause your Anti-Skate Knob to not work which can be seen in this troubleshooting page. Audio-Technica AT-LP120-USB Anti-Skate Knob Does Not Work - iFixit.
You can tell if there is a problem with the spring by setting the Anti-Skate to seven and running the stylus on a record. If the stylus moves straight to the center then your spring is too weak and must be replaced.
When following the guide, it's recommended that you take pictures of how everything is. That way once it is time to reassemble everything you know how it should look.
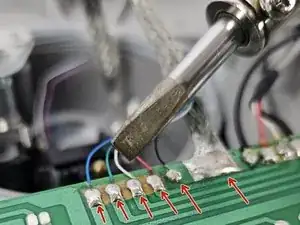
You will have to desolder and solder to complete this guide. If you have any questions on proper soldering, follow this link for some help. Soldering/desoldering connections.
-
-
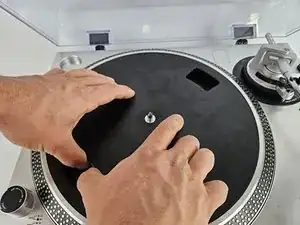
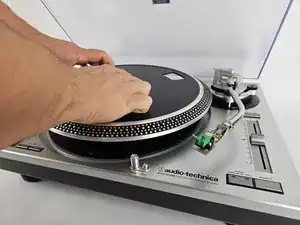
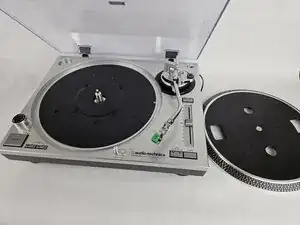
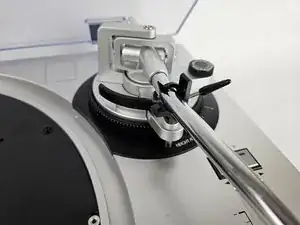
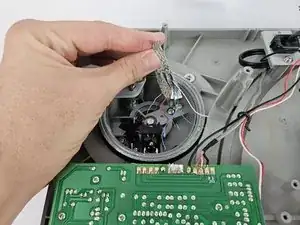
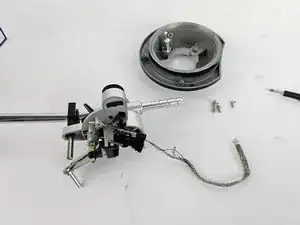
Remove the inner steel plate that spins on the turntable.
-
Carefully lift up the plate.
-
Place it near your device out of the way.
-
-
-
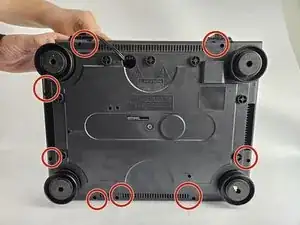
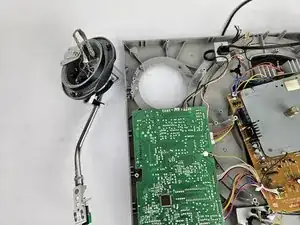
Use a Phillips #2 screwdriver to remove the eight 2 mm screws holding the back casing into place.
-
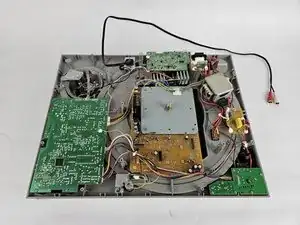
Carefully remove the back casing from the device to expose the interior.
-
-
-
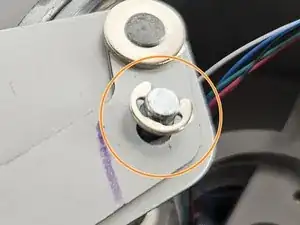
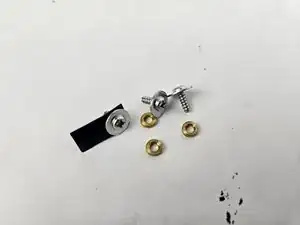
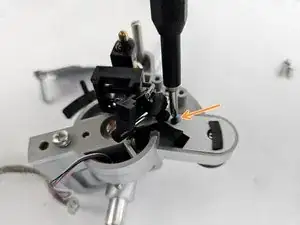
Use a Phillips #2 screwdriver to remove the two screws.
-
Using Snap Ring Pliers, pull up at the Snap Ring to remove it.
-
-
-
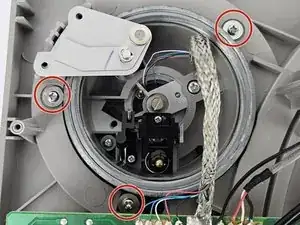
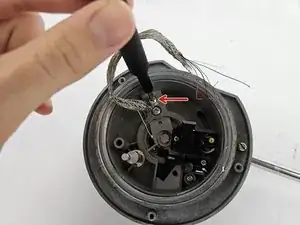
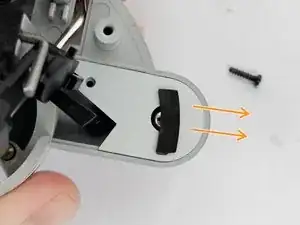
Remove the 2.5 mm screws using a Phillips #2 that connects the tonearm to the record player frame.
-
-
-
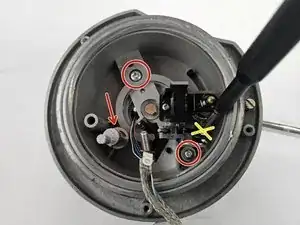
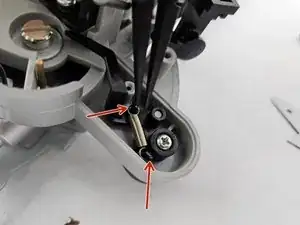
Use a Philips #2 screwdriver to remove the two 2.5 mm screws, and remove the Snap Ring by pulling up at it with Snap Ring Pliers which are being highlighted.
-
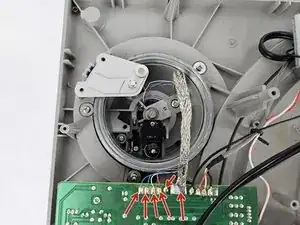
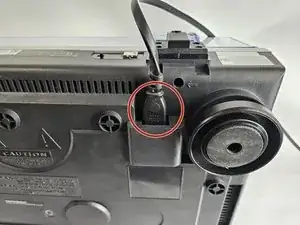
Remove the small 0.1 mm black screw with the Phillips #000 screwdriver.
-
-
-
Pull off the cover to reveal the spring.
-
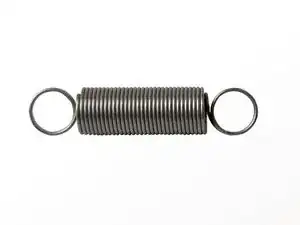
Using Tweezers, pull the spring out by pulling it off of the hooks on each end.
-


To reassemble your device, follow the above steps in reverse order.
Take your e-waste to an R2 or e-Stewards certified recycler.
Repair didn’t go as planned? Try some basic troubleshooting or ask our Answers community for help.