Introduction
The Bissell Zing 2156A uses a spring-driven mechanism that we call the "cord retraction mechanism" to ensure the cord goes back in the vacuum when you're done with it. This mechanism is notorious for getting worse over time or outright breaking. You can find out more in this troubleshooting guide.
The mechanism comprises the cord itself, a cowling that is attached to the case to shelter the cord, a carousel wheel, and a lever-arm mechanism on a frame. The carousel uses a type of spiral torsion spring to retract the cord when the lever arm is pressed. This spring can become worn from time or use. It can be replaced, or simply rewound, but this can't be done without removing the mechanism.
Make sure to unplug the device before starting! Live current is easily in reach with the case open—the power only stops at the power switch, and is live in the retraction mechanism.
-
-
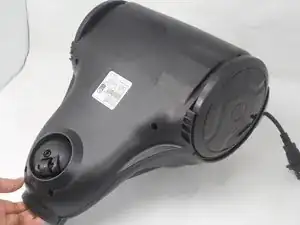
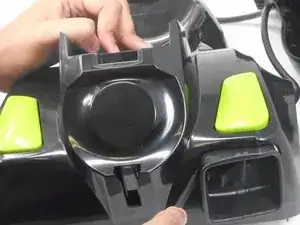
Remove the dust tank, so the vacuum can lie upside down easily.
-
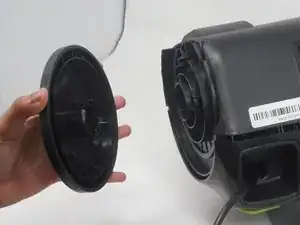
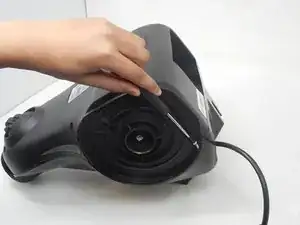
Press the grey button while pulling up.
-
-
-
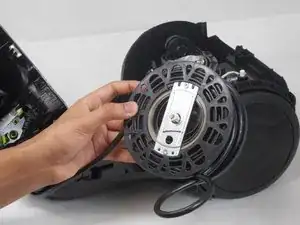
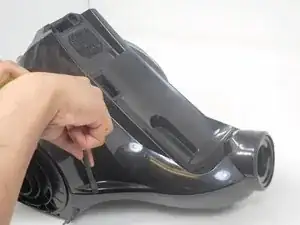
Place your hand inside between the wheel and vacuum and pry the wheel off.
-
Repeat with the other side.
-
-
-
Remove the two 18.1 mm screws using a Phillips #0 screwdriver.
-
Remove the four 18.1 mm screws under the wheels using a Phillips #0 screwdriver.
-
-
-
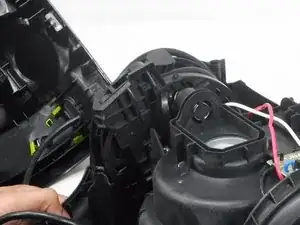
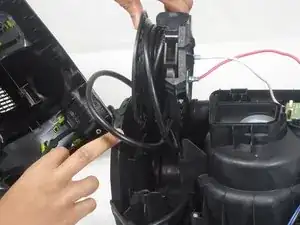
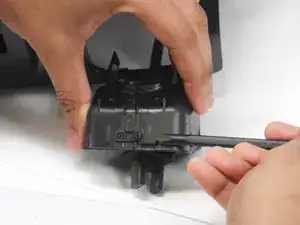
Use the spudger to loosen the top case from the bottom. Make sure to loosen it all around the bottom and lift up.
-
-
-
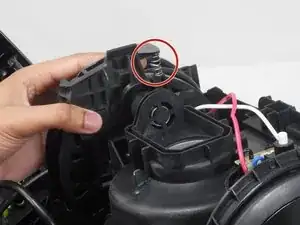
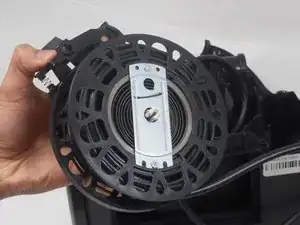
Remove the 20mm spring and replace it with a working spring.
-
Press down the spring, angle it away from the lever arm, and then pull out the spring.
-
-
-
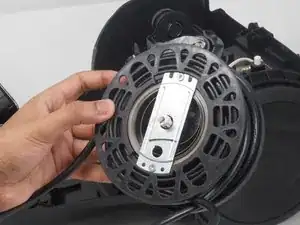
Tension the part by holding the stationary mechanism and rotating the wheel counterclockwise.
-
-
-
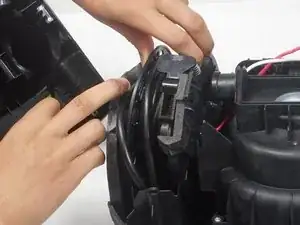
Use a spudger to pop the clips out of the cowling's outside face. Pull it out.
-
Remove the holders on the inside of the cowling so the bracket can be pivoted out.
-
Separate the cowling and bracket and remove the cord.
-


To reassemble your device, follow these instructions in reverse order.