Introduction
Overtime the battery pack located in your vacuum will hold less charge and might not charge at all. This can be remedied by replacing the battery pack.
Tools
Parts
-
-
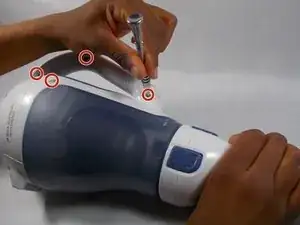
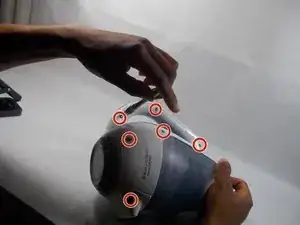
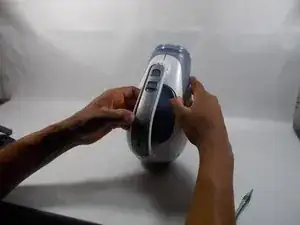
Remove the six exterior 2 mm Phillips #0 screws securing the 2 halves of the white shell together.
-
-
-
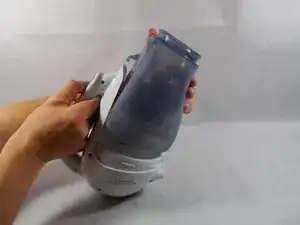
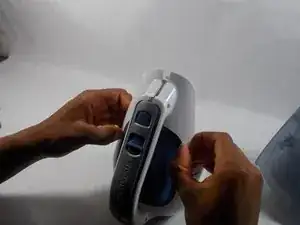
Remove the dustbin by pressing the blue button on the vacuum's handle and lift the bin from the vacuum.
-
-
-
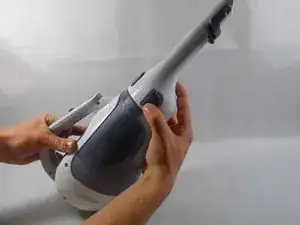
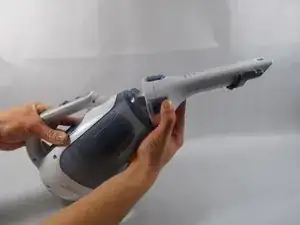
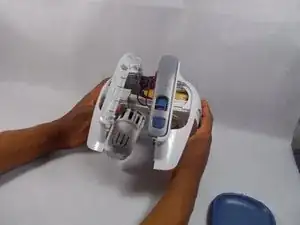
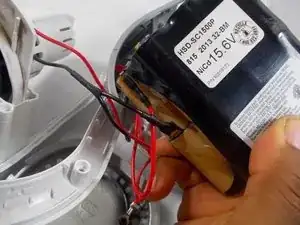
Gently separate the two halves by pulling them apart, revealing the 14 cell battery pack behind the motor.
-
-
-
Removal of the battery pack is a tool-less process, lift the battery pack out of the vacuum gently, notice there are two wires connected to the battery.
-
-
-
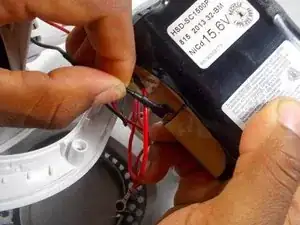
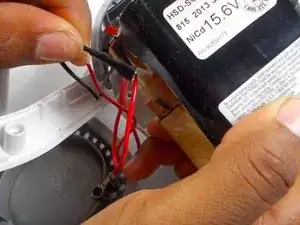
Disconnect the red wire from the battery pack (pull do not twist!) and do the same with the black wire
-


To reassemble your device, follow these instructions in reverse order.
24 comments
I am having trouble finding replacement battery pack for purchase. Any suggestions?
jjragin -
Replace the ni-cad pack with a li-ion one. 4 each 18650 cells will give you 14.8vdc. If you use/buy a computer battery you’ll have enough cells for 2 repairs. Get the highest capacity cells you can, i.e. 2.6ahr or higher. Solder them all in series, charge it up and listen to it SCREEM. Works for me. (Reason for computer battery is the quality of the cells and they have tabs to solder to) mikey
Mike -
There is a resistor there so the higher voltage will cause the resistor to melt. Did you receive your EE tech degree at an ITT school?