Introduction
A motherboard connects the crucial parts of your smartphone. You may experience system failure, unexpected restarts, poor battery life, or abnormal screen behavior if your motherboard is damaged.
This guide will show you how to replace your BlackBerry 8820’s faulty motherboard. You do not need any specialized skills to complete this guide.
After replacing your BlackBerry's motherboard with a new one, recycle the old motherboard at an electronics recycler.
-
-
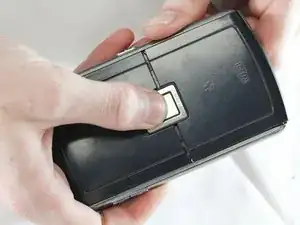
Remove the battery cover by applying pressure and sliding the silver square on the back of the phone downwards.
-
-
-
Remove the battery by prying under it with your finger or a plastic opening tool.
-
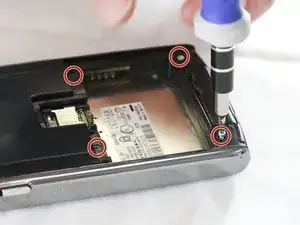
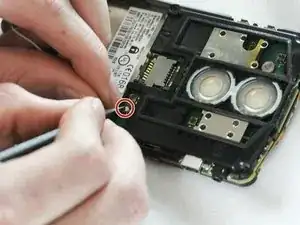
Remove the four small 3/8" long screws using a 1/16" diameter torx screwdriver.
-
-
-
Unhook both sides of the white wire from the motherboard using the plastic opening tool from before.
-
-
-
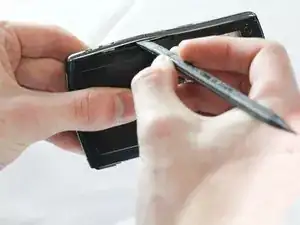
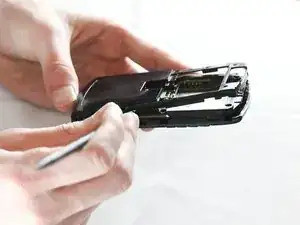
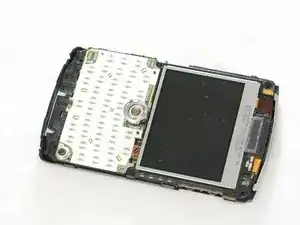
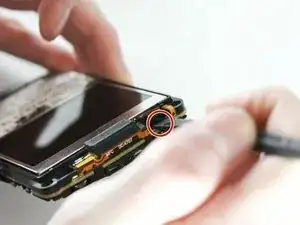
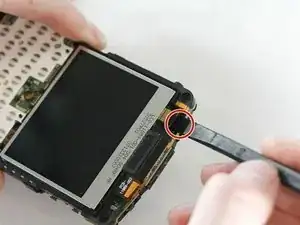
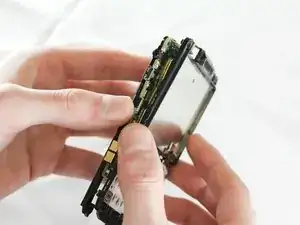
Locate the gloss SATA cable strap connecting LCD screen at the top of the phone.
-
Detach this cable by levering under the connector with a prying tool.
-
-
-
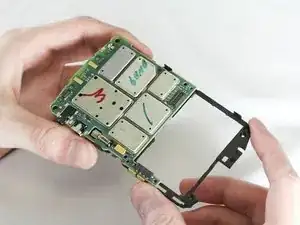
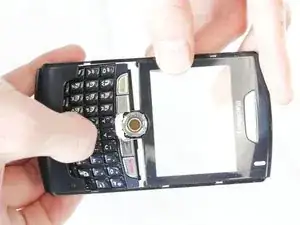
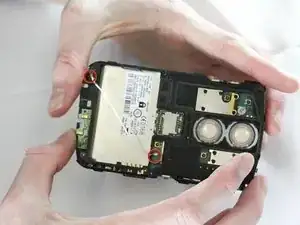
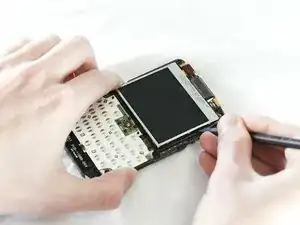
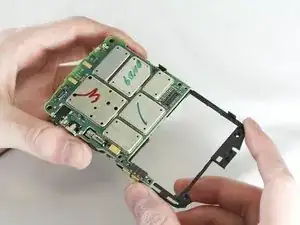
There will be two small clips on each side of the motherboard. Unhook each clip one at a time using the plastic opening tool.
-
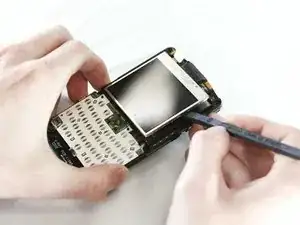
Once all four clips are unhooked you should be able to pull the motherboard from the casing with your hands.
-
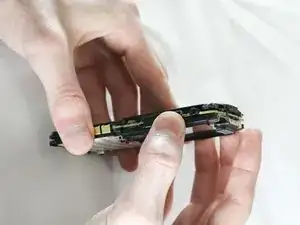
After removing the old motherboard, you can now replace it with a new one.
-

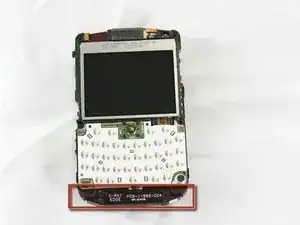
To reassemble your device, follow these instructions in reverse order.