Introduction

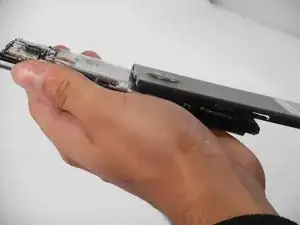
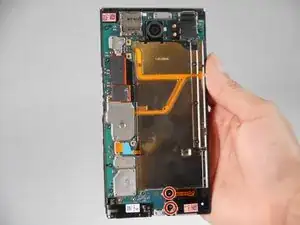
Replacing a phone screen becomes necessary when the screen is damaged or no longer functions properly. This includes cracks from accidental drops, unresponsive touch, or damaged pixels. When the screen involves removing the damaged display and installing a new one, it may also require detaching internal components. The use of your fingers is just fine for most of these components. Always power off your device completely and disconnect it from any external power source before proceeding. Use this guide to replace your damaged screen.

  1. TIkmTxFhddNYwHMG
    TIkmTxFhddNYwHMG
    eJ6uxCmoXDy1GhUA
    mWsAwfLbghNcT52P
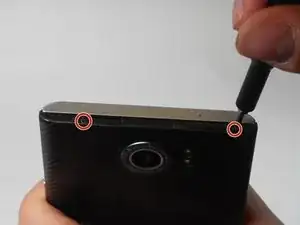
    • Look for the two small holes at the top of your device.

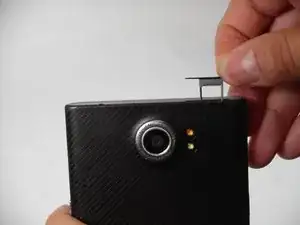
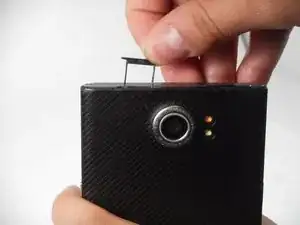
    • Use a SIM eject tool to push down into the holes which lifts the SIM and SD trays.

    • Pull the trays up and out of the device.

  2. vOXwCLDuHkS4VNNO
    vOXwCLDuHkS4VNNO
    EPudiLIaLbDtQMZZ
    5lZsq6OdjmlKLuHJ
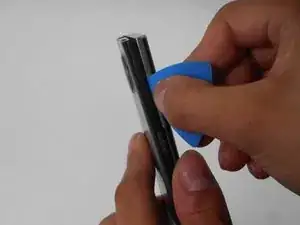
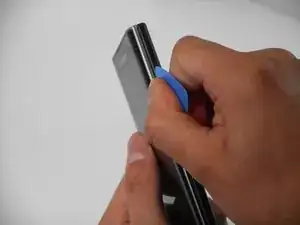
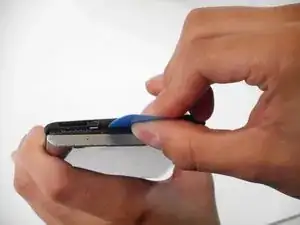
    • Insert an opening pick in the seam between the rear casing and chassis. Apply downward pressure to pry the casing upward.

    • Follow this procedure for only the right, left, and top side of the casing.

  3. HkFXORQsVfosDA4O
    HkFXORQsVfosDA4O
    C1rZmrOXd33RBq32
    cNTRfGIji6SMY3iP
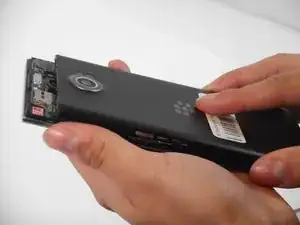
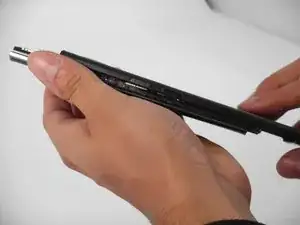
    • Remove the rear casing by sliding the case down and out.

  4. Il5dJcYYVlfIPy4e
    Il5dJcYYVlfIPy4e
    4y1nWfmX4NUPkoMD
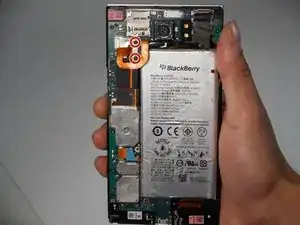
    • Remove the two 3.3 mm T4 Torx screws that secure the battery connector.

    • There may be a plastic protector covering the circuit board and battery. Remove the plastic protector to begin.

  5. T1OFxOIqKrgKAgO6
    T1OFxOIqKrgKAgO6
    ywhBFWkP5PddsNjQ
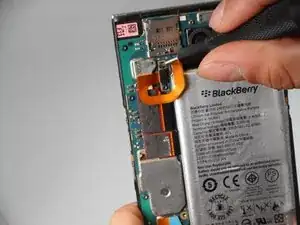
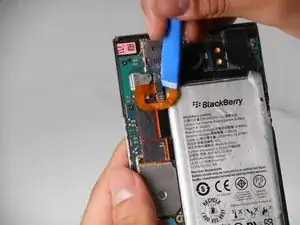
    • Use an opening tool to lift and disconnect the battery connector.

  6. cMWwYFfeDGfRGnEt
    cMWwYFfeDGfRGnEt
    FkNFAbiOFHiOjr4C
    CHEVCkrffFt5F6qB
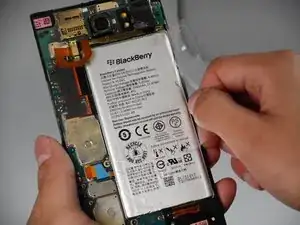
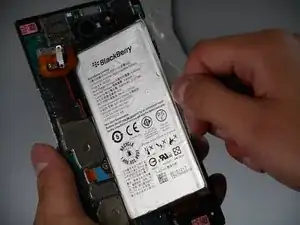
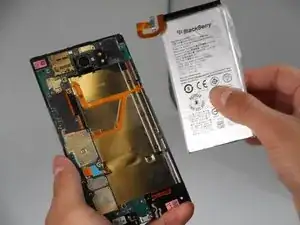
    • Pull on the plastic tab to remove the battery from the device.

    • For easier removal, use a blow dryer to warm the battery glue.

    • Be careful to not overheat the battery or puncture the battery as lithium batteries are dangerous.

  7. bUpfkMLPU4n3RQJy
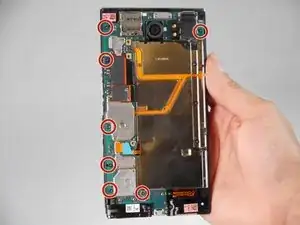
    • Remove the seven 3.3 mm T4 Torx screws that secure the motherboard.

  8. 4sPREYlwBOu3kGgn
    4sPREYlwBOu3kGgn
    ujtLjROKCTDVhICU
    pWNdhqvWRQFxbGjU
    • Remove the two 3.3 mm T4 Torx screws that secure the speaker casing.

    • Lift and remove the speaker casing.

  9. 4oituD54xqwStY2U
    4oituD54xqwStY2U
    yTnLXfOJDGHdRRXQ
    pGCyRFejqTTLVTMT
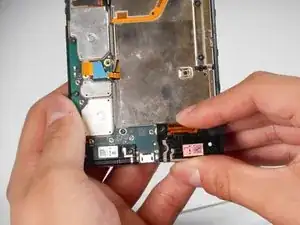
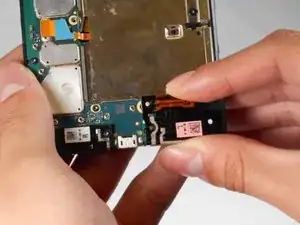
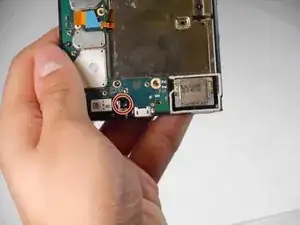
    • Remove the one 3.3 mm T4 Torx screw that secures the headphone jack.

    • Lift and remove the headphone jack.

  10. yZvn13SELdAYppkK
    yZvn13SELdAYppkK
    Uq1lIX4Lya4oMUAN
    H3P12eNb24G1abIi
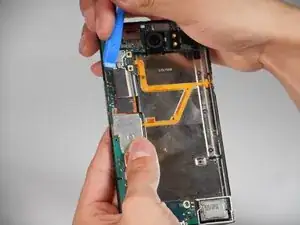
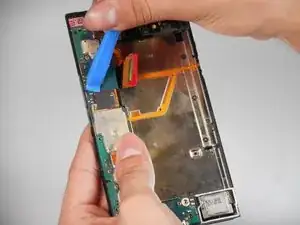
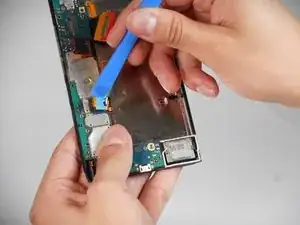
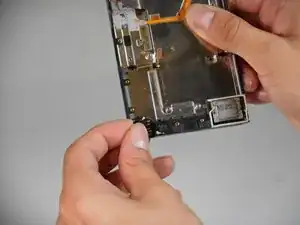
    • Use an opening tool to lift and disconnect the three press connectors.

  11. lIRxvCC5Hlk1ggED
    lIRxvCC5Hlk1ggED
    DQTDsXGrguPfBIZQ
    himSCY2nBqRVkgXE
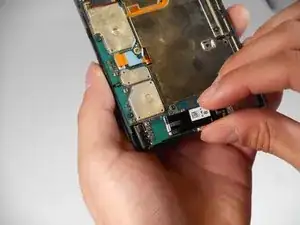
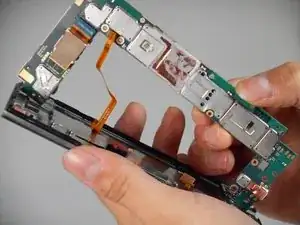
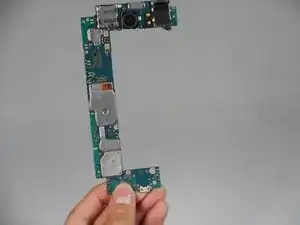
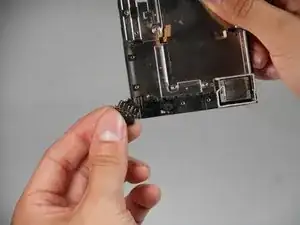
    • Lift the motherboard from the device.

    • Do not pull the circuit board with too much force as there is a strip connected under.

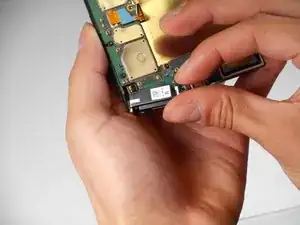
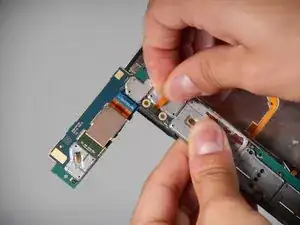
    • Using two fingers, pinch the on the strip as close to the connector as possible.

    • Lift and disconnect the connector from the motherboard.

  12. KplivSWnlApiGUZN
    KplivSWnlApiGUZN
    22nAAEISh1ed2hvu
    FEYmEKVRRhLkYoGe
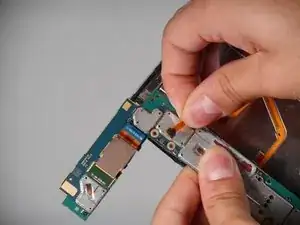
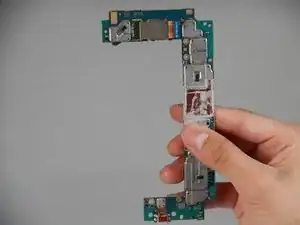
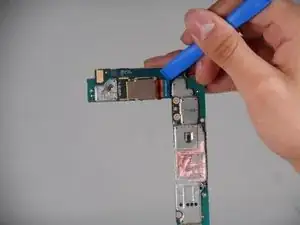
    • Turn the motherboard around.

    • Use an opening tool to lift and disconnect the camera connector.

  13. JaRINkYODRDlRfLG
    JaRINkYODRDlRfLG
    IVXAHKfcIVtXXTgl
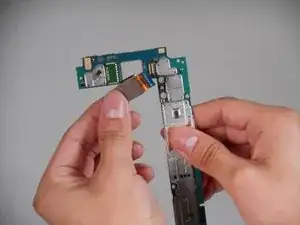
    • Lift and remove the camera from the circuit board.

  14. oW14iKLQZkQVSUKW
    oW14iKLQZkQVSUKW
    15gV2gRAK1R1ZWei
    • Remove the headphone jack.

  15. Z4pEbuCQqsDUdvqK
    Z4pEbuCQqsDUdvqK
    ENIRlRbrcZXJbft3
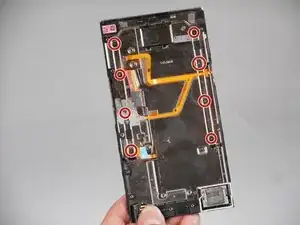
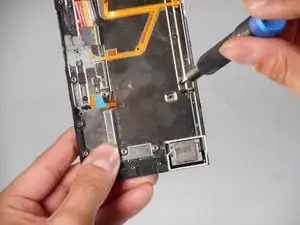
    • Remove the eight 1.7 mm T4 Torx screws that secure the keyboard to the screen.

    • When reassembling, make sure to use these same 1.7 mm screws because not doing so can impede the keyboard's sliding ability.

  16. vjIZKDrPlTNjy1JN
    vjIZKDrPlTNjy1JN
    34LFk1IHGiruMdub
    tWOMLR6Pqp2ZOfPD
    • Carefully lift the keyboard from the screen.

    • Make sure when lifting the keyboard, the screen connectors come out of the keyboard's metal slit because not doing so can cause damage.

Conclusion

To reassemble your device, follow the above steps in reverse order.
Take your e-waste to an R2 or e-Stewards certified recycler.
Repair didn’t go as planned? Try some basic troubleshooting or ask our Answers community for help.

Benjamin Olvera

Member since: 25/09/24

563 Reputation

0 comments