Introduction
Use this guide to replace the daughterboard in your Blink Video Doorbell.
-
-
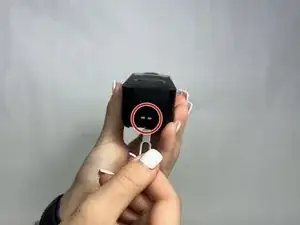
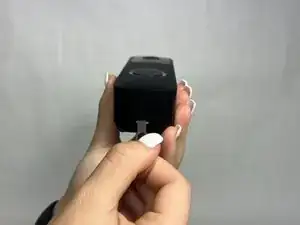
Push the opening key into the small opening with the two gray buttons on the bottom of the device.
-
Push the device up from the mount and slide it off.
-
-
-
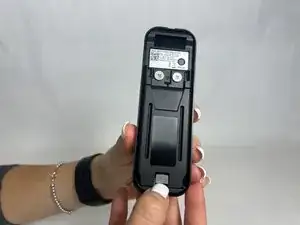
Use your finger to slide the gray tab, located near the bottom of the device, upwards.
-
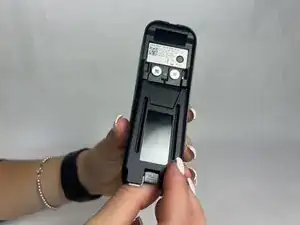
Remove the battery cover.
-
-
-
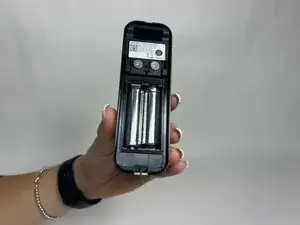
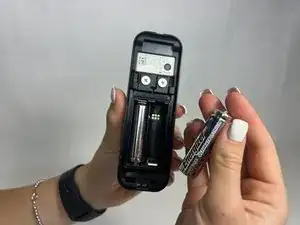
Remove the right battery by pushing the positive end down and pulling the battery out toward yourself.
-
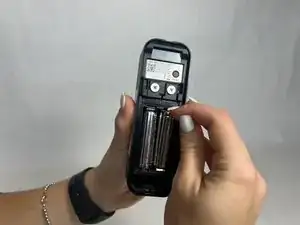
Repeat the procedure for the left battery.
-
-
-
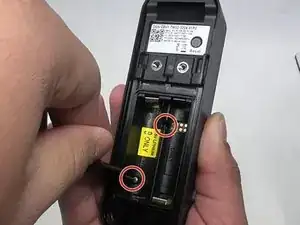
Remove the two 6 mm screws in the battery compartment using a JIS #1 screwdriver.
-
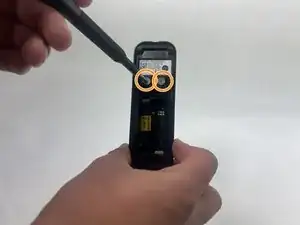
Remove the two 7 mm screws above the battery compartment using a JIS #1 screwdriver.
-
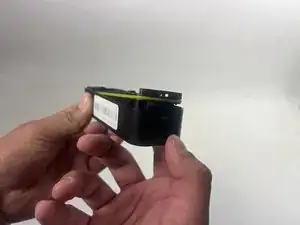
Starting from the bottom of the device, pry the back plate away from the rest of the doorbell.
-
-
-
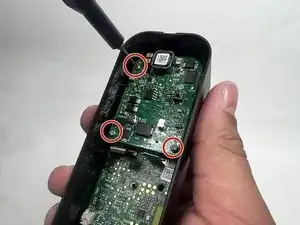
Remove the three 6 mm screws from the upper part of the motherboard using a JIS #1 screwdriver.
-
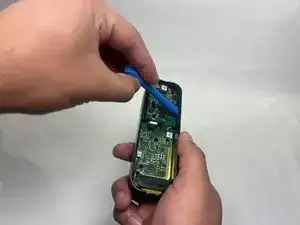
Use an opening tool to release the motherboard from the device.
-
-
-
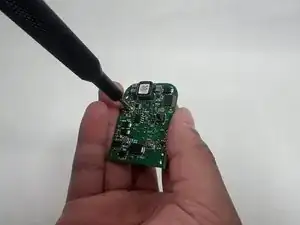
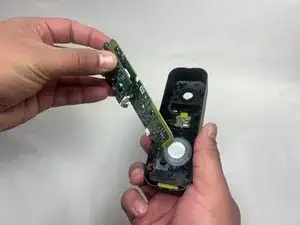
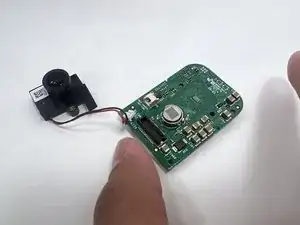
Carefully lift up the small daughterboard which contains the camera.
-
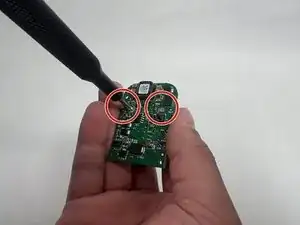
Remove two 5 mm screws from the back of the camera using a Phillips #0 screwdriver.
-
-
-
Use tweezers to detach the white connector from the adapter on the motherboard.
-
Remove the lens.
-


To reassemble your device, follow these instructions in reverse order.