
Introduction
Over time the speaker driver can blow. Some prior knowledge that may be helpful is soldering/ desoldering skills and how to use the Ifixit tools. If you need guidance, there are links to help you at the bottom. Here is a guide to help you replace the speaker driver on your Bose Quiet Comfort 35 II.
Special Skills:
-
-
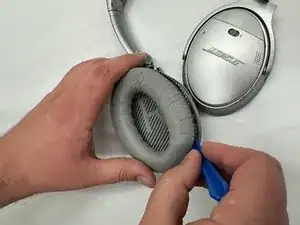
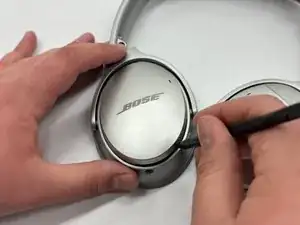
Take off the ear cushion pad using the plastic opening tool on the right headphone.
-
This will be done using a prying motion between the cushion pad and the headphone itself.
-
-
-
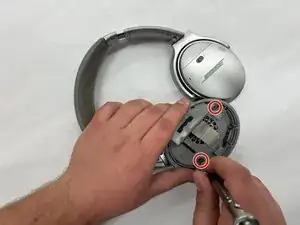
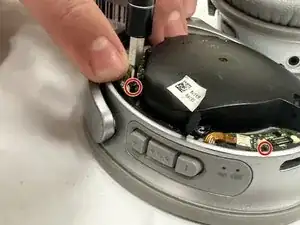
Remove the two 7-millimeter silver screws on the right earphone using the Phillips #000 to disconnect the back cover.
-
-
-
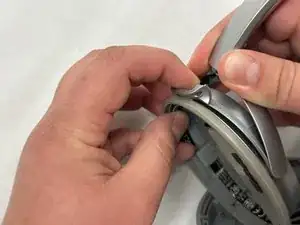
Remove the two 5-millimeter silver screws attaching the earphone to the headband using the Phillips #000.
-
-
-
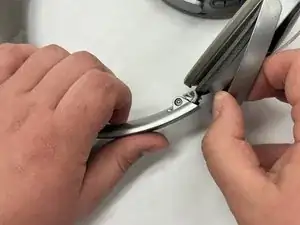
Detach the earpiece from the band to reach the speaker driver with better access.
-
This will be done with your hands. The connecting piece can slide out and allow it to detach.
-
-
-
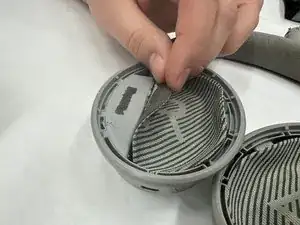
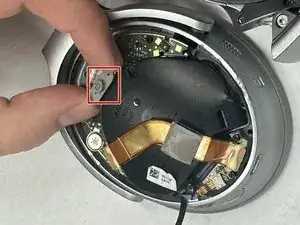
Detach the silver cover piece on the outside of the headset using the black stick spudger.
-
This will be done by entering the black stick spudger in an opening and pry the cover piece off.
-
-
-
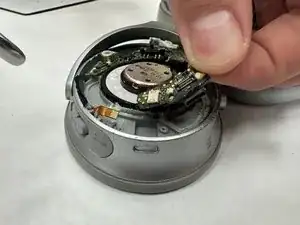
Take off the gray on/off switch on the circuit board.
-
This can be done with your fingers. Just pull up on the switch and it should detach.
-
-
-
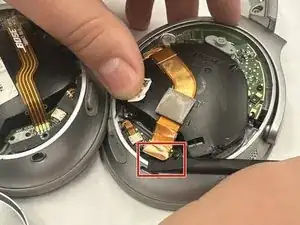
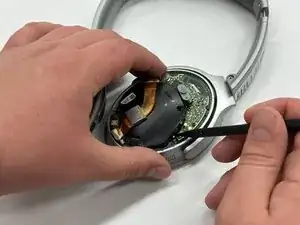
Pry off the glued ribbon cables with the black stick spudger by entering it below the ribbon cable and pulling it up.
-
This prying motion will allow the ribbon cable to come off safely.
-
-
-
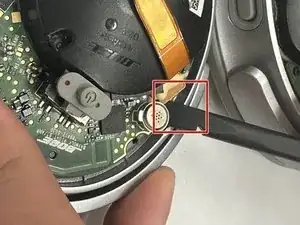
Detach the second ribbon wire for the charging cable with your hands by pulling each side of the component to separate it.
-
No extra tools are needed.
-
-
-
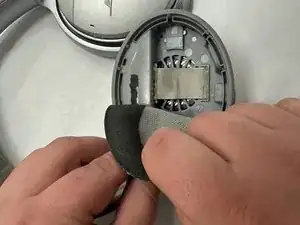
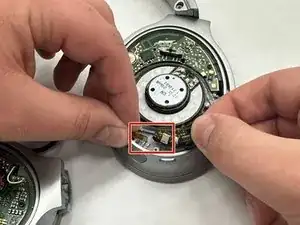
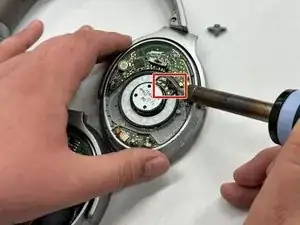
Pry off the speaker cover using the flathead from the Plastic Spudger Set.
-
Enter the flathead under the plastic speaker cover and pry in an upwards motion.
-
-
-
Prior knowledge is needed for this step, it can be very hazardous.
-
You can now reach the speaker driver and replace it with a new part.
-


To reassemble your device, follow these instructions in reverse order.
One comment
Where can i buy the new speaker Driver ?