Introduction

  1. MqY4m6HTtiwiqJIg
    • Remove the two T-10 machine screws at the bottom of the device.

  2. bNKZWP5RJg6hLToF
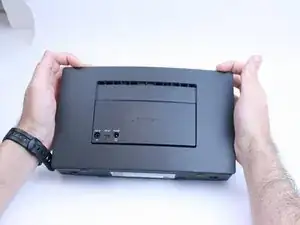
    • Turn the device around.

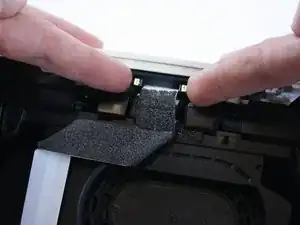
    • From the top, lightly push down the back cover to release it.

    • Lift the bottom of the cover and pull it up.

  3. KWYRrIDSmOy6Zx4W
    • Remove the two T-10 machine screws, then pull the battery straight out.

    Eine Bezugsquelle für den Akku wäre interessant. Ich habe drei Akkus ausprobiert, keiner konnte geladen werden. Über die Service Buchse wäre ggf. etwas mit entsprechender Software möglich gewesen, war mir zu kompliziert.

    Alexander -

  4. gQMLAKEOQB4rhVxU
    • Remove the two screws using a torx screwdriver.

  5. epUmbYVnM4TYIH63
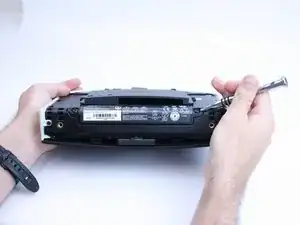
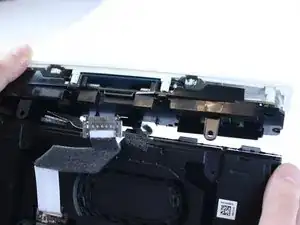
    • With the bottom of the device facing you, pull down the trim pieces to remove from the device body.

  6. slxKNkeJKaIHKtvq
    slxKNkeJKaIHKtvq
    kw1ZGG2OAl5qTYqm
    • Remove four T-10 Torx screws; there are two on the front and two on the back.

  7. YkbiuYJiHQllCTAo
    YkbiuYJiHQllCTAo
    ltaYdpkWBjvoS5mv
    rOLhowe24vKnQPyl
    • Pinch and remove the connectors.

    • Use a flat tool to pry off the top piece.

  8. ZBMYqVuGcAfKN1LC
    ZBMYqVuGcAfKN1LC
    tEOF54LEx1rNLdow
    XVdvWHB6Iy5bNvTe
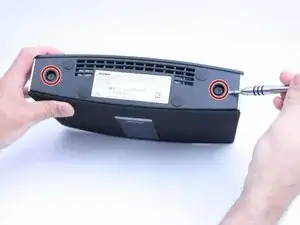
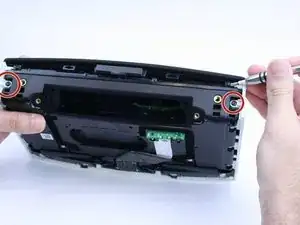
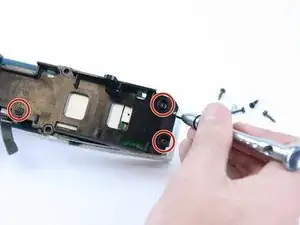
    • Remove the four T-10 Torx screws holding the plastic cover in place.

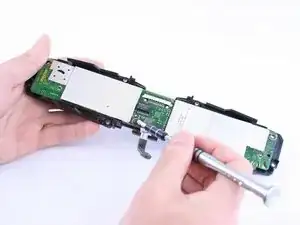
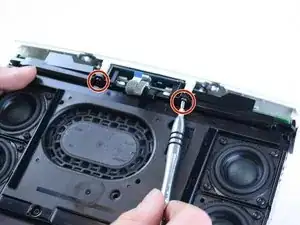
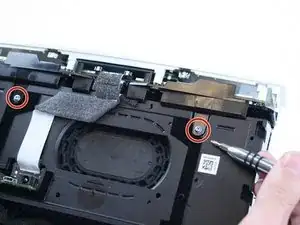
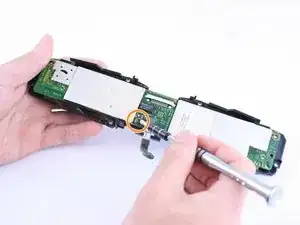
    • Remove the one T-10 Torx screw that is holding the motherboard in place.

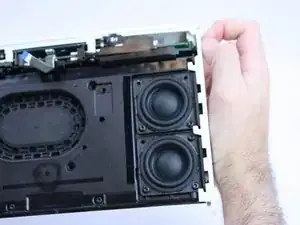
    • Pry off the motherboard.

Conclusion

To reassemble your device, follow these instructions in reverse order.

Chelsea Martin

Member since: 20/02/17

703 Reputation

0 comments