Introduction
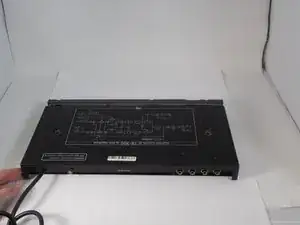
This guide outlines the steps to remove the top panel of the Boss CE-300 Super Chorus, a vintage analog effects processor known for its high-quality sound. Removing the top panel is often the first step in accessing the internal components of the device for maintenance, repairs, or upgrades.
The process is straightforward and requires only a Phillips #2 screwdriver. By following the steps, you will remove several screws on the sides and back of the unit before sliding and lifting the top panel off.
Make sure the device is powered off and disconnected from any power source before starting to ensure safety. This guide is designed to be beginner-friendly, requiring no specialized skills, and should be completed with attention to detail to avoid damaging the device. Carefully follow each step for a successful disassembly.
Tools
-
-
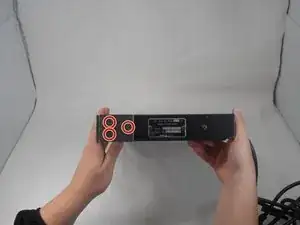
Use a Phillips #2 screwdriver to remove the 3 14.8 mm screws located on the left side of the CE-300.
-
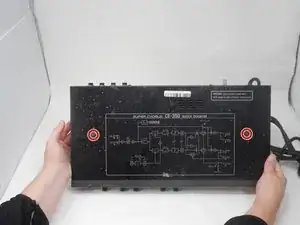
Repeat the previous bullet on the right side.
-
-
-
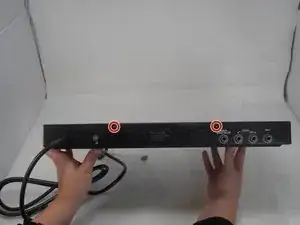
On the left side, remove the one 10 mm screws with a Phillips #2 screwdriver.
-
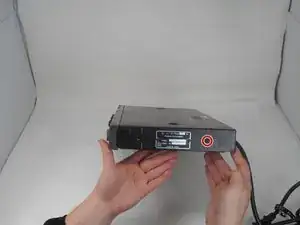
Repeat the previous bullet on the right side.
-

To reassemble your device, follow the above steps in reverse order.
Repair didn’t go as planned? Try some basic troubleshooting or ask our Answers community for help.