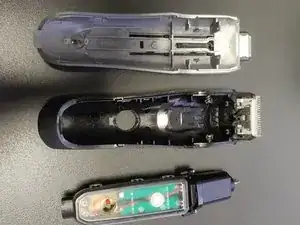
Introduction
Parts
-
-
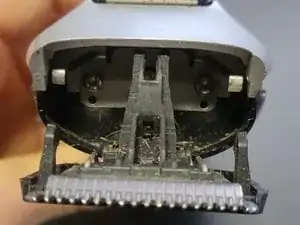
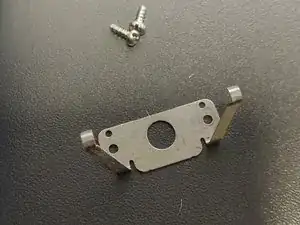
Unscrew the 2 screws at the front under the blade.
-
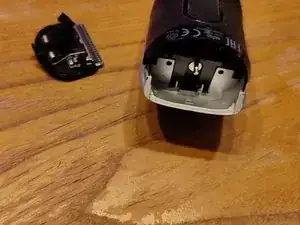
Use tweezers to remove the clip.
-
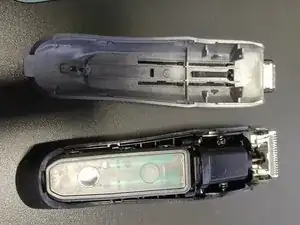
Push the part of plastic body in an upwards direction to separate the case.
-
-
-
Use the iFixit picks or a similar tool to run along the edge between the top and bottom pieces to loosen the retaining clips.
-
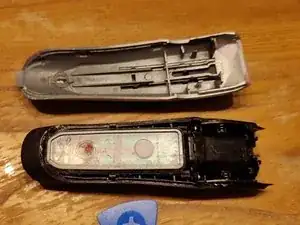
Slide the whole plastic body up (towards the trim head) to open it.
-
-
-
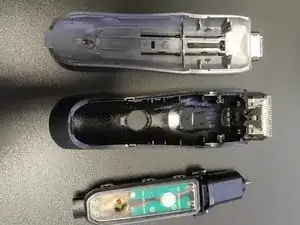
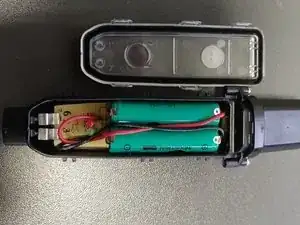
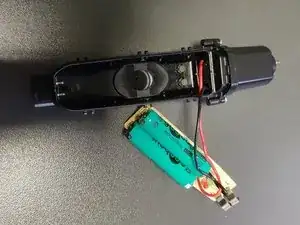
With gentle pressure from the opposite side, you can carefully remove the inner module and motor from the housing.
-
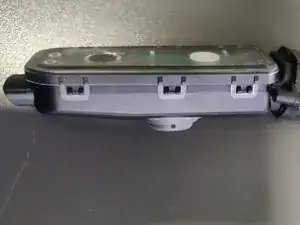
Use a small flat screwdriver to loosen the 6 clips on the module
-
Remove the cover by pulling straight up
-
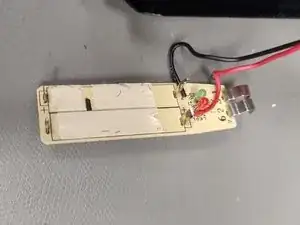
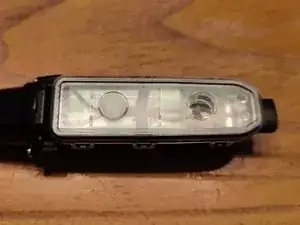
Carefully bend the two pieces of metal that make contact with the charger upwards.
-
-
-
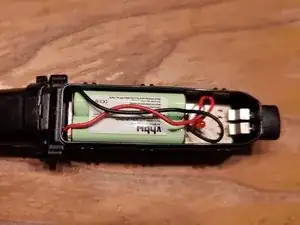
Carefully lever the PCB up and out. The PCB is held by 2 small hooks approximately in the middle. Spread the housing slightly while you carefully lift out the PCB, e.g. using a small screwdriver on the batteries.
-
If you unscrew the motor, you have two openings that you can lever across. Take care not to damage the 2 cables to the motor.
-
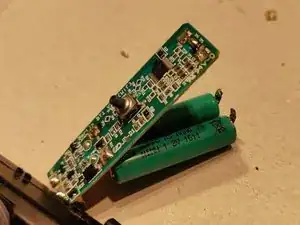
Desolder the old batteries from the PCB. These can also be snipped off as far up as possible with a side cutter
-
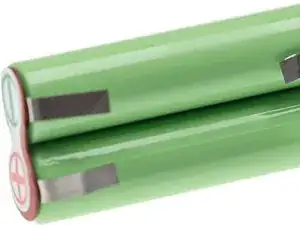
Solder the new batteries to the lugs on the PCB where the old batteries were previously soldered.
-
-
-
If your replacement batteries does not come with its own flags, you still have to unsolder the original flags from the batteries. That doesn't work so well. It is better to use new ones.
-
Use desoldering braid to remove the solder from the solder joints.
-
Be careful not to damage other components
-
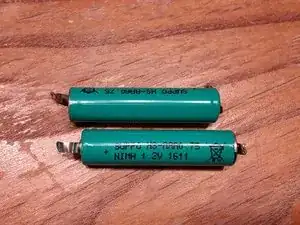
Each of the original batteries is a NiMH battery, 1.2V
-
The spare battery pack used here is a 950mAh, 2.4V, NiMH (AAA)
-
-
-
Lay the cables to the motor past the LEDs
-
Glue the small foam spacer back onto the cables
-
Carefully reseal the housing, making sure the gasket is seated properly and the clips are all fully engaged.
-

To reassemble your device, follow these instructions in reverse order.

13 comments
Danke für die gute Anleitung. Es wäre noch schön zu lesen gewesen, ob es sich um “Micro” (AAA; HR6) oder “Mignon” (AA, HR3) Akkus handelt und welche mAh-Kapazität mindest erfordert wird und welche maximale Kapazität sinnvoll ist.
Hallo,
diese Infos habe Ich leider auch nicht. Ich habe folgende Akkus verwendet:
https://www.pollin.de/p/nimh-micro-akku-...
Viele Grüße
Beim Entfernen des Deckels ist es günstig von hinten (wo der Netzstecker sitzt) zu beginnen. Etwas Druck unter den Deckel mit eine Hebel geben ( Küchenmesser stumpf). Nun jeweils die beiden (linken und rechten) Clips lösen von unten nach oben zum Motor hin ;-)
Achtung, im Deckel sitzt eine Dichtung. Diese nicht beschädigen!!!
Zum entlöten der Kontaktfahnen am besten noch Entlötlitze benutzten! So wird verhindert, das Lötperlen irgendwo hin tropfen wo sie nicht hingehören.
Hallo Lutz, danke für deinen Kommentar und die Hinweise! Bei unseren Anleitungen ist es wie bei Wikipedia, alle können sich einbringen. Du kannst deine Hinweise also auch direkt in die Anleitung schreiben. Nur als Info. ;)