
Introduction
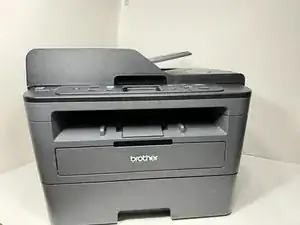
Whether you manage a busy business or handle a variety of printing activities at home, keeping your printer at peak performance is critical for producing high-quality prints. If you've been experiencing print quality difficulties or received a low toner notice, it's time to replace the old cartridge with a new one. Do not fear, we have created this step-by-step tutorial to help you navigate the toner cartridge replacement process with confidence and precision.
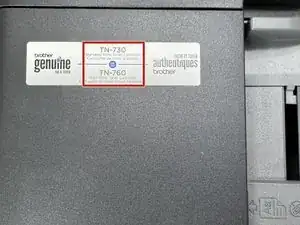
Before we begin, gather the essential supplies, including a replacement toner cartridge for your Brother DCP-L2550DW model. Familiarize yourself with your printer's components to guarantee a smooth procedure; our extensive instructions will walk you through each step. Let's begin!
Parts
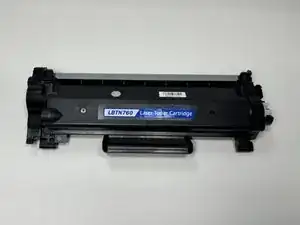
-
-
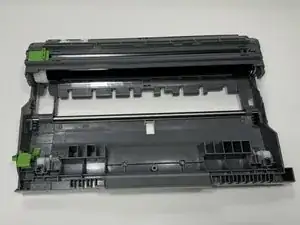
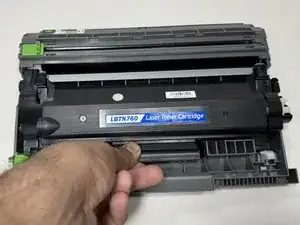
Place the drum unit on a clean flat surface.
-
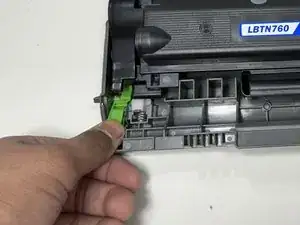
Press down on the green button at the bottom left corner of the drum unit to unlock the toner cartridge.
-
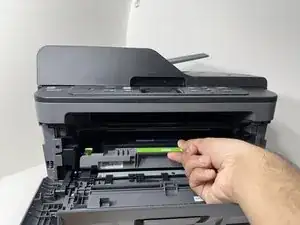
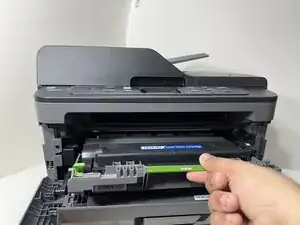
Remove the toner cartridge from the drum unit.
-
-
-
Insert the new toner cartridge into the drum unit by placing it on top of the drum unit and pressing it down, ensuring it is in the locked position.
-
-
-
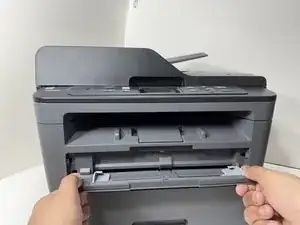
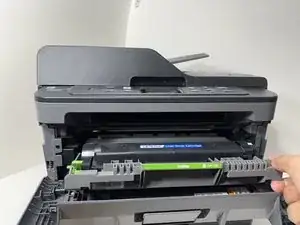
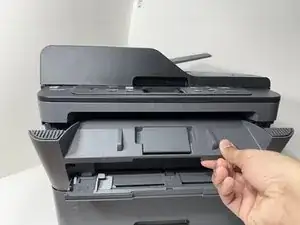
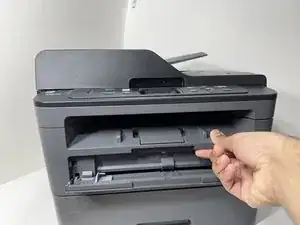
Insert the drum unit back into the printer by placing it at the edge of the opening and sliding it inside until it locks in place.
-
-
-
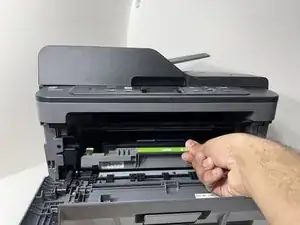
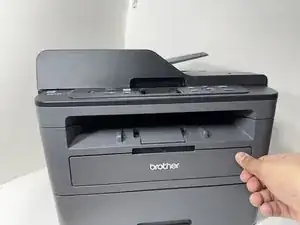
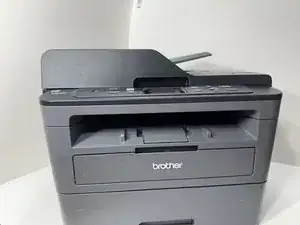
Replacement completed. Plug the printer back in the outlet and test it out. You can now use your printer.
-


To reassemble your device, follow these instructions in reverse order.
One comment
Hi , I’m facing unable to print double sided issue. It able to print on 1 page, but when the paper roll back and ready to print on the other page, it stuck. Could you help me on this?