Introduction
Old, degraded light seals in the Canon AE-1 can cause light leaks, leading to ruined exposures. Use this guide to replace the light seals in your Canon AE-1 to prevent these issues and extend the life of your camera.
-
-
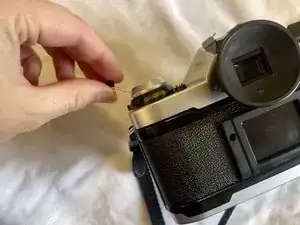
Hold the camera with the back facing you, and gently pull up on the rewind knob located on the top-left side of the camera using your other hand.
-
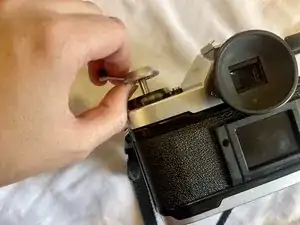
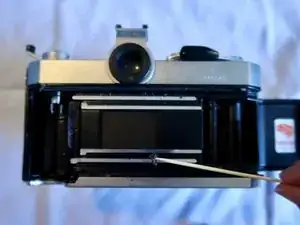
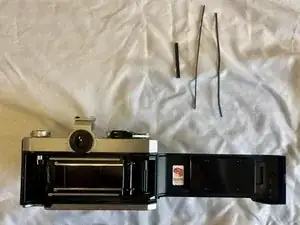
Carefully open the back of the camera to reveal the film compartment.
-
Place the camera on a clean, stable surface to access the grooves more easily and work comfortably on removing the old seals.
-
-
-
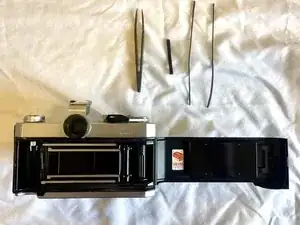
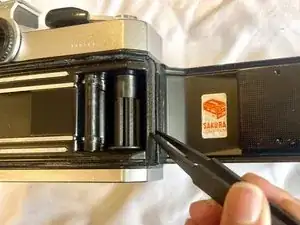
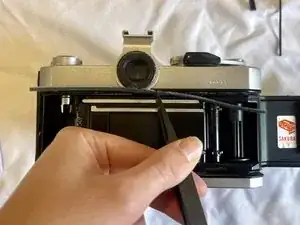
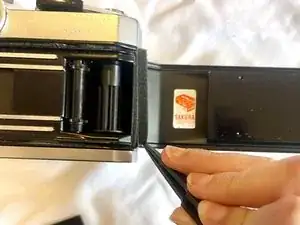
Inspect the edges of the camera back door, the hinge area, and the mirror damper (located near the shutter) for old or deteriorating seals.
-
Take note of where the seals need replacing.
-
-
-
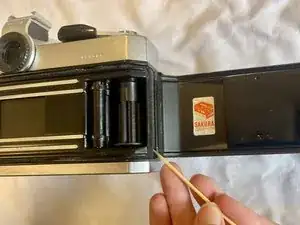
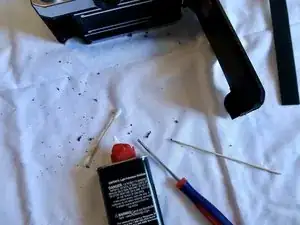
Soak a cotton swab in isopropyl alcohol (90% or higher) and gently clean out the grooves where the old seals were located.
-
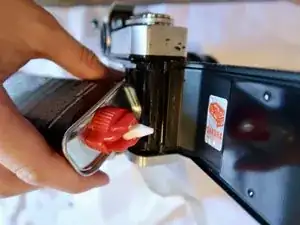
Clear the work area of any remnants from the old light seal.
-
-
-
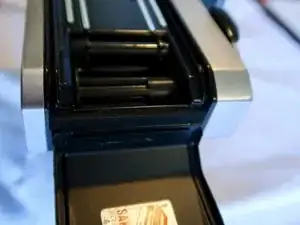
If your replacement seals are not pre-cut, measure the length and width of the grooves and use scissors to cut the foam strips to size.
-
Common areas to replace include:
-
Back door edges: Long, thin strips.
-
Hinge area: Small, thick piece.
-
-
-
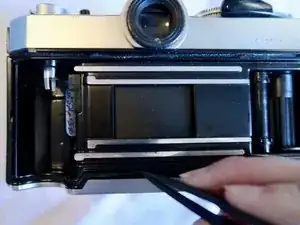
Use tweezers to carefully place the new light seals into the clean grooves.
-
Ensure the seals fit snugly in place without sticking out or causing obstruction to the camera’s closing mechanism.
-
-
-
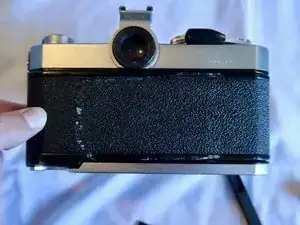
Carefully close the camera back and open it again to check for any gaps or misalignment.
-
Ensure the camera back closes securely without resistance and that the mirror damper is properly installed.
-
Your Canon AE-1 Program is now ready for a test roll to ensure there are no light leaks!
-


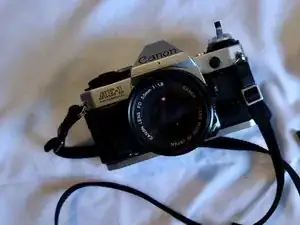
Congratulations! You've successfully replaced the light seals in your Canon AE-1. Enjoy shooting with your refurbished film camera!