
Introduction
This guide provides instructions for the SD card replacement of The Canon PowerShot S400. Whether your preference is to archive the SD card for memories or switch it out for a new one, this purposeful guide walks you through the replacement process step by step. Beginning with which screwdriver to use through removing the memory card, the maximum replacement process is estimated to be 35 minutes. No prior knowledge is necessary to understand the instructions for the SD card replacement guide.
-
-
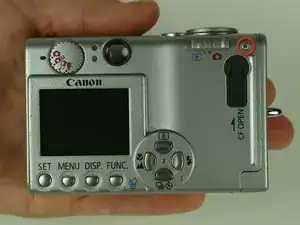
Remove the 4.75mm screw located in the top right corner of the backside of the camera.
-
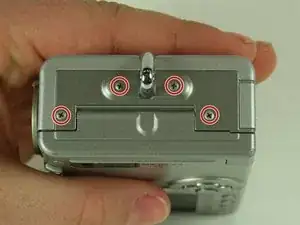
Remove the four 4.75mm screws located on the bottom of the camera.
-
-
-
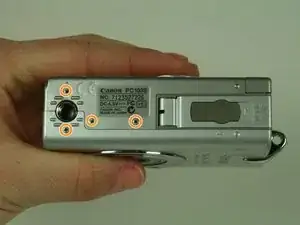
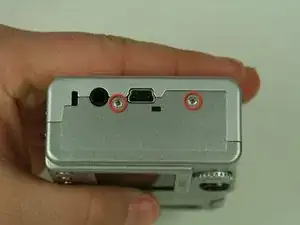
Remove the two 4.75mm screws located on the right side of the camera.(the side with the USB adaption plug)
-
-
-
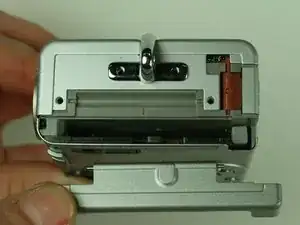
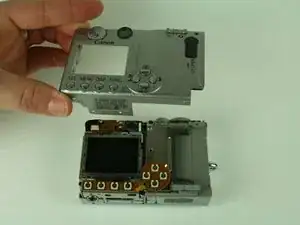
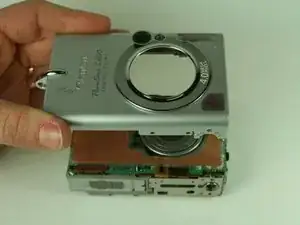
Only remove the back case.
-
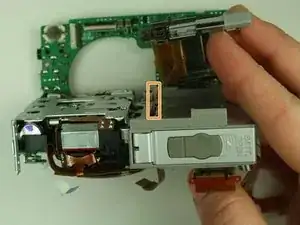
The memory card is held in the metal case located to the right of the LCD screen.
-
Remove the stuck memory card.
-
-
-
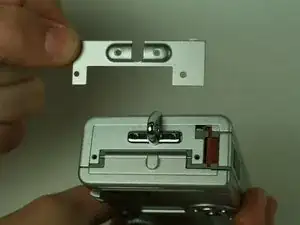
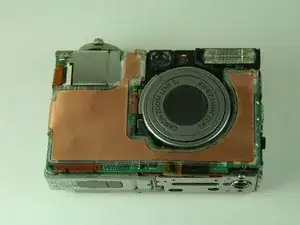
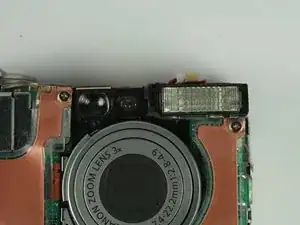
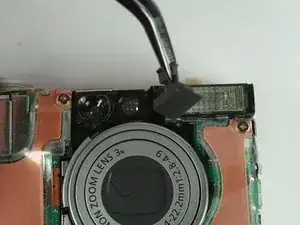
If the small plastic piece described in the previous step did not fall out, remove it now. The piece is located in a small gap above the lens and to the left of the flash.
-
-
-
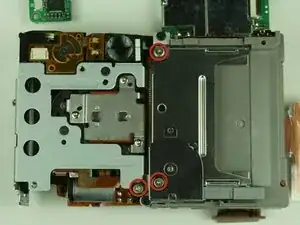
Locate and remove the three 3.45mm screws on the backside of the camera securing the CF card slot.
-
Do not remove ribbon cable. It is not necessary to remove
-
Without removing the ribbon cable, gently remove the memory card.
-
To reassemble your device, follow these instructions in reverse order.