Introduction
This guide is for accessing the cameras internal components for repairs and troubleshooting.
Tools
-
-
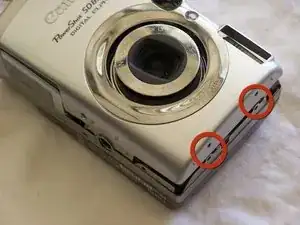
Remove the two side screws, indicated by the red circles, using a Phillips #00 screwdriver.
-
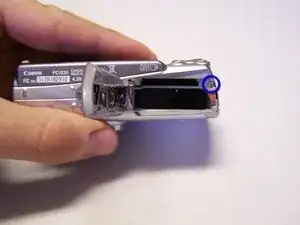
Remove the screw in the battery port, indicated by the blue circle, again using a Phillips #00 screwdriver.
-
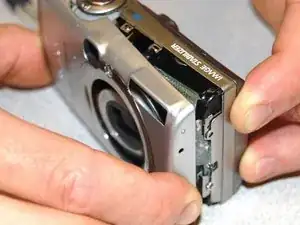
Remove the front face by gently peeling the housing away from the camera.
-
-
-
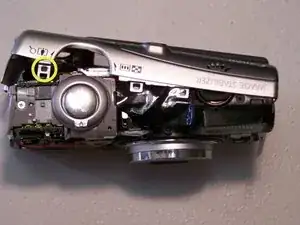
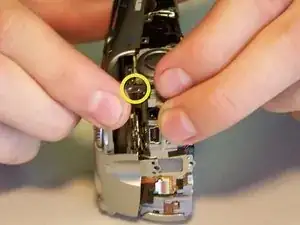
Remove the back face by using a spudger to lift the tab highlighted in yellow
-
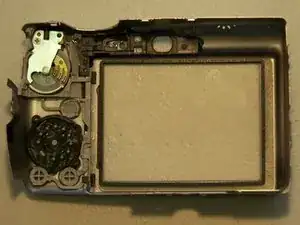
Pivot the back face clockwise as seen in the second photo.
-
Conclusion
To reassemble your device, follow these instructions in reverse order.
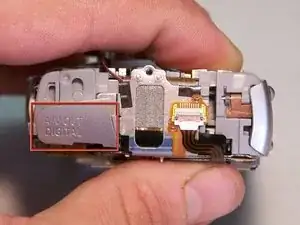
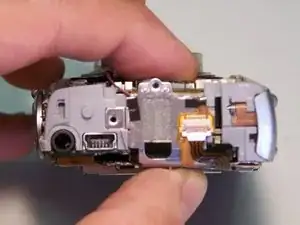

You also need to remove the two #00 screws on the bottom (next to the tripod mount threaded hole) and the small screw under the AV Out door on the side.
Eric Tiffany -