
Introduction
-
-
Remove the screws that secure the back panel using a Phillips screwdriver.
-
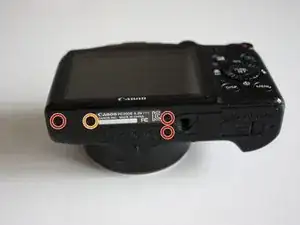
Remove screws on the bottom, left and right sides of the camera using a Phillips screwdriver.
-
-
-
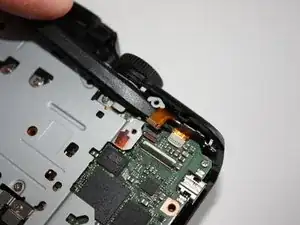
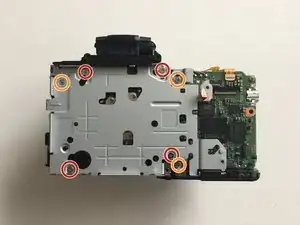
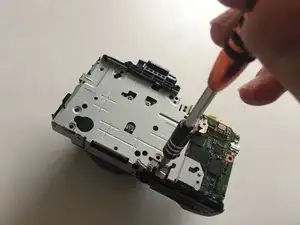
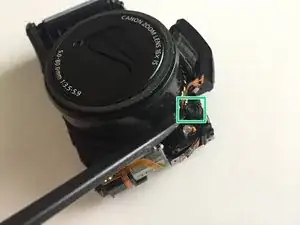
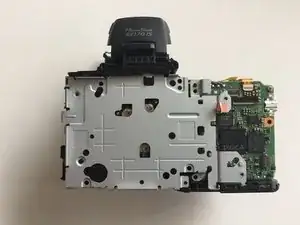
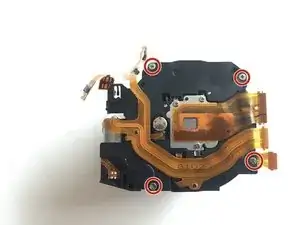
Remove the screws that secure the small metal plate using a Phillips screwdriver.
-
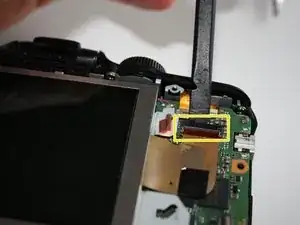
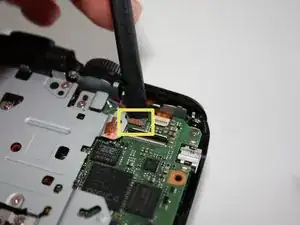
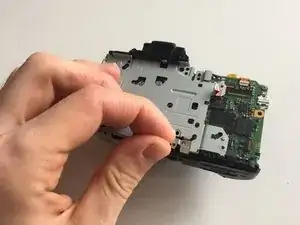
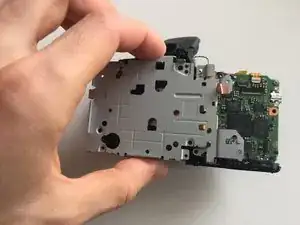
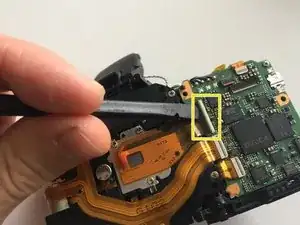
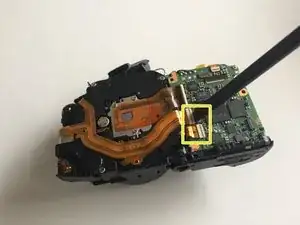
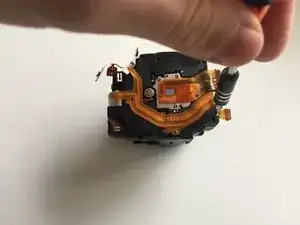
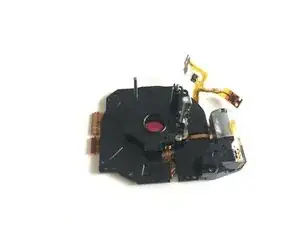
Gently flip up the flex ribbon lock and remove the flex ribbon.
-
-
-
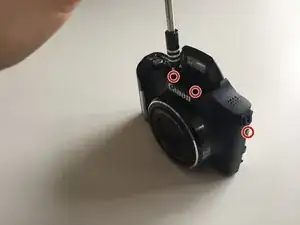
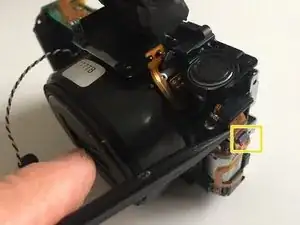
Remove the screws below the flash and on the left sides of the camera using a Phillips screwdriver.
-
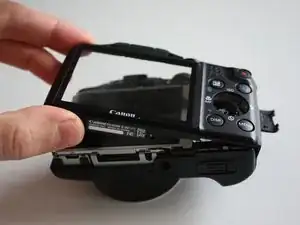
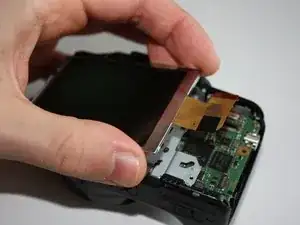
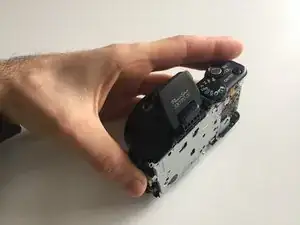
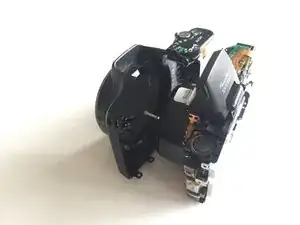
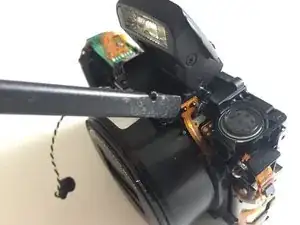
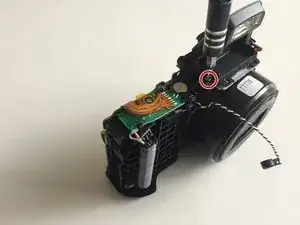
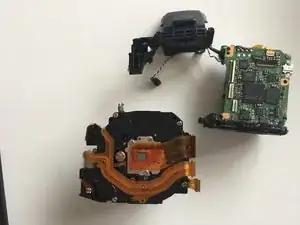
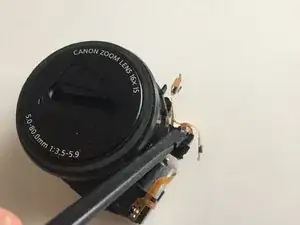
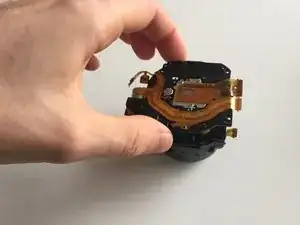
Pull the front case forward.
-


To reassemble your device, follow these instructions in reverse order.
3 comments
Hello JockiToru! Thanks for the guide.
I took the liberty to correct 'lense' to 'lens'... You can have many lenses, but only one lens!
Also 'bellow' is an air pumping device. I suspect you meant 'lower', so the word is 'below'.
Again, thanks and I will be testing you disassembly, as there seems to be an annoying small insect in my camera.
Jon -
Hello Jon,
thank you very much for your feedback. I hope you were able to remove that insect.
Thank you for the guide! my SX170 is taking shots properly again, had to clean the lens after it was kept for a long time, it saved me the cost to bring it to a shop to have it cleaned.