Introduction
This guide explains the location of exterior screws and the process to remove the rear panel of the Canon Powershot A70 camera. This is often the first step to many fixes for this device, and the rear panel itself will need to be replaced after years of use. This can be performed with easy-to-use tools and requires no special skills to complete.
-
-
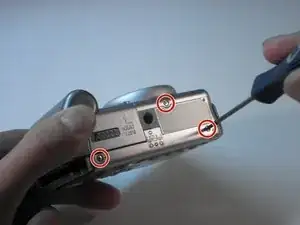
Unscrew the three small screws on the bottom of the camera with a Phillips #00 screwdriver.
-
Remove the wrist strap.
-
-
-
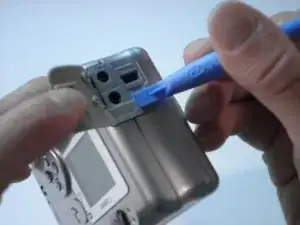
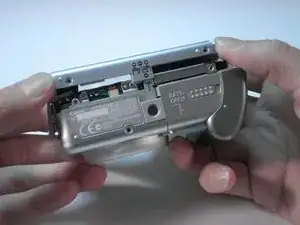
Open the rubber Digital AV Out compartment flap.
-
Pry the battery with an opening tool.
-
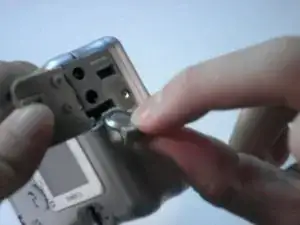
Carefully pull out the battery with two fingers.
-
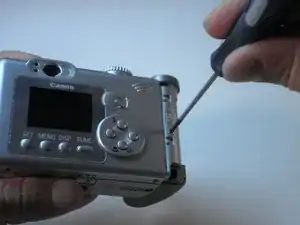
Remove the two screws that are now visible with a Phillips #00 screwdriver.
-
-
-
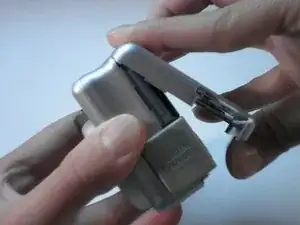
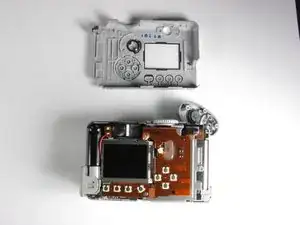
Starting from the bottom, carefully pull the casing off.
-
The casing will now pivot at the top.
-
There are three catches that hold the back casing to the body.
-

To reassemble your device, follow these instructions in reverse order.