Introduction
Use this guide if you need to replace the viewfinder on your Canon Powershot A70
The viewfinder is an essential piece of the camera which allows you to see a preview of what's going to be photographed before you actually take a photo. Often, errors from the viewfinder come with heavy usage or simple things like not enough light in the room.
Rough treatment or regular wear and tear could also eventually either break or dislodge the viewfinder; however if the issue is something like the lens being blurry, you more than likely just have to clean it so inspect the piece before making any possible unneeded purchases.
-
-
Open the battery compartment and remove the batteries.
-
Remove the two screws that are deep in the battery compartment with a Phillips #00 screwdriver.
-
-
-
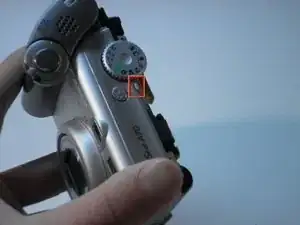
Open the CF compartment and remove the top screw with a Phillips #00 screwdriver.
-
The panel that holds the shutter button and zoom will come off.
-
-
-
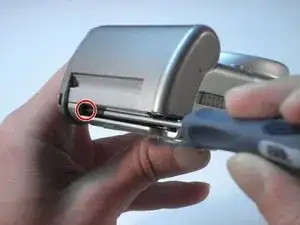
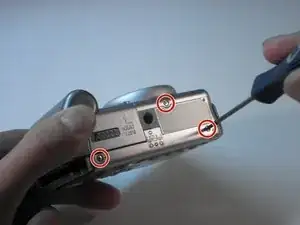
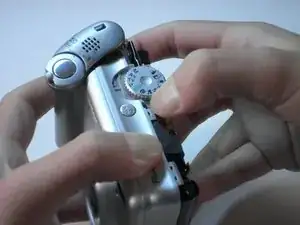
Unscrew the three small screws on the bottom of the camera with a Phillips #00 screwdriver.
-
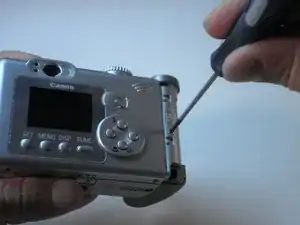
Remove the wrist strap.
-
-
-
Open the rubber Digital AV Out compartment flap.
-
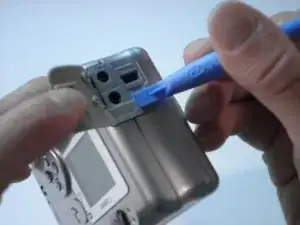
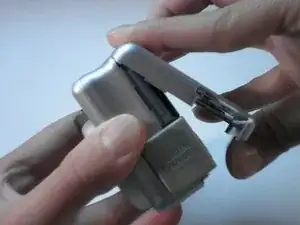
Pry the battery with an opening tool.
-
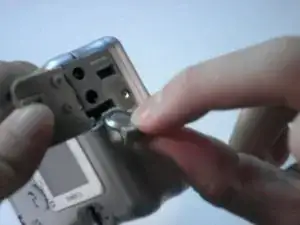
Carefully pull out the battery with two fingers.
-
Remove the two screws that are now visible with a Phillips #00 screwdriver.
-
-
-
Starting from the bottom, carefully pull the casing off.
-
The casing will now pivot at the top.
-
There are three catches that hold the back casing to the body.
-
-
-
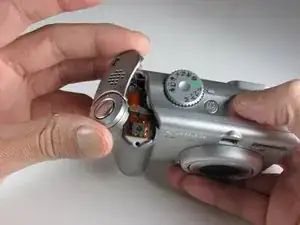
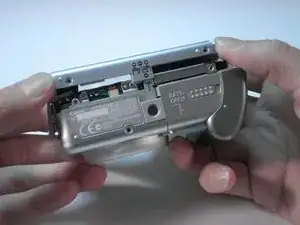
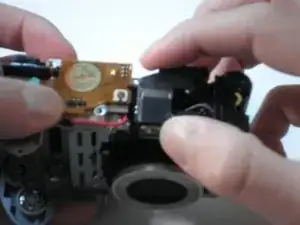
With your right thumb, pull back on the tab while using your left hand to pull the face of the camera away from the body.
-
-
-
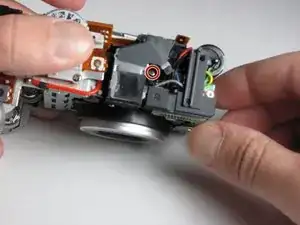
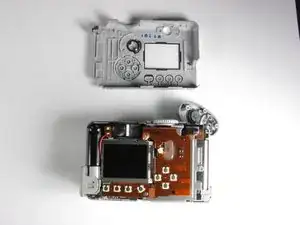
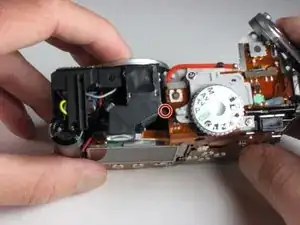
After removing the front and rear panels, locate the viewfinder directly above the lens on top of the camera.
-
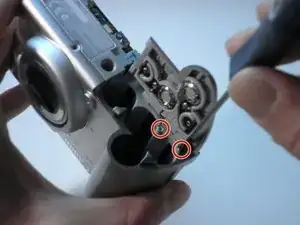
Three screws hold the viewfinder in place: two on the top and one on the lens side of the camera.
-
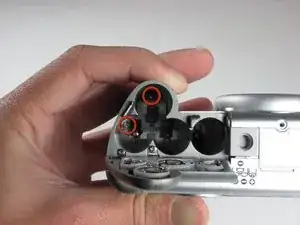
First, remove the screw in the bent corner of the viewfinder with a Phillips #00 screwdriver.
-
-
-
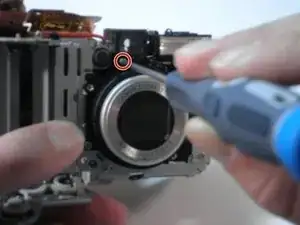
Remove the final screw directly under the left side of the viewfinder (on the lens side) with a Phillips #00 screwdriver.
-
-
-
After removing the three screws, the only thing still holding the viewfinder in place is a small plastic peg.
-
Remove the viewfinder with a firm pull directly upwards.
-

To reassemble your device, follow these instructions in reverse order.