Introduction
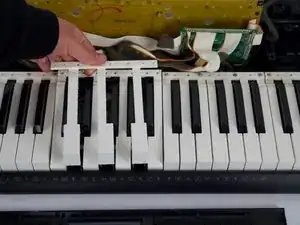
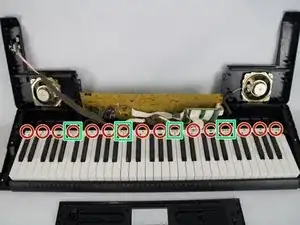
If your Casio CTK keyboard (model 3200) has keys that are sticking, not working, or broken, use this guide to replace them.
The keys are the plastic material that you press on to make the sounds. The keys are pressed and they register that motion by applying pressure down on a button below them.
It makes noise by relaying that signal through the main board, transmitting the press to the speakers which create the sound for that specific key. If any part of the key is broken, you may experience it not making noise or just sitting flat. If that is the case you will have to replace it.
Tools
-
-
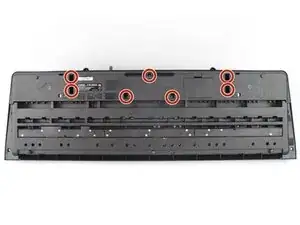
Remove the seven 10 mm Phillips #1 screws on the underside of the keyboard that secure the center front panel.
-
-
-
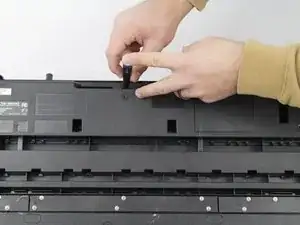
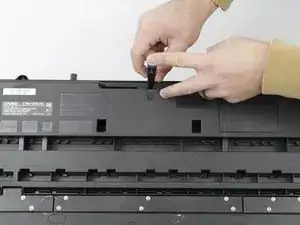
Flip the keyboard over and remove the central panel on the front and place it above the keyboard.
-
-
-
Carefully remove one side panel at a time from the top of the keyboard and place it above the keyboard, making sure not to sever any connections between the yellow-colored mainboard and the side panels.
-
-
-
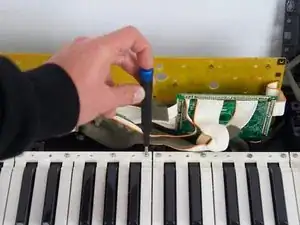
Target which key(s) need to be replaced and unscrew the 10 mm Phillips #1 screws for the targeted section(s).
-
There are five different sections of white keys, you can tell the sections apart by the small gaps between them where the screws are attached.
-
-
-
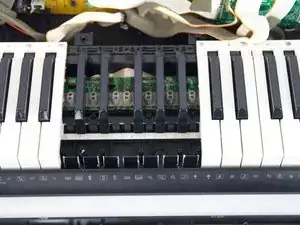
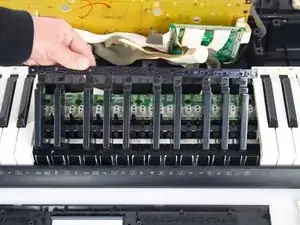
If the broken key(s) are white, remove the set of white keys with the broken piece.
-
If the broken key(s) are black, remove two sets of seven white keys. This will reveal the set of black keys, which are twice the length of the white sets.
-


To reassemble your device, follow the above steps in reverse order.
Repair didn’t go as planned? Try some basic troubleshooting or ask our Answers community for help.