Introduction
To ensure your Celestron HomeCast Lite 47020 Main Unit continues to perform at its best, replacing the battery is an essential and straightforward task. Over time, you may notice reduced battery life or simply wish to refresh the power source. This guide will walk you through the process of safely and effectively replacing the battery. Whether you're tackling this repair due to poor battery performance or for general maintenance, this guide requires no specialized skills or tools. However, keep in mind that it's always a good idea to work in a clean, well-lit environment and take necessary precautions when handling electronic components. Let’s get your HomeCast Lite back to optimal performance!
-
-
Left: Remote sensor; Right: Main unit
-
In this guide, we will replace new batteries for the main unit.
-
-
-
Before beginning, gather the following tools and replacement parts: Replacement battery (compatible with Celestron HomeCast Lite 47020) Small Phillips-head screwdriver Plastic opening tool (optional but helpful) Clean cloth or workspace
-
-
-
Power off the Celestron HomeCast Lite 47020 and unplug it from any power source. This will help avoid electrical hazards and prevent accidental activation during the repair.
-
-
-
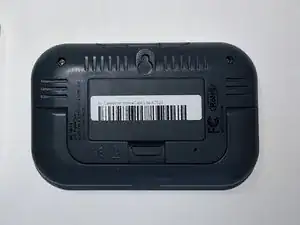
Locate the battery compartment on the back of the unit. If secured with screws, use the Phillips-head screwdriver to remove them. If secured with latches, gently use the plastic opening tool to release them.
-
-
-
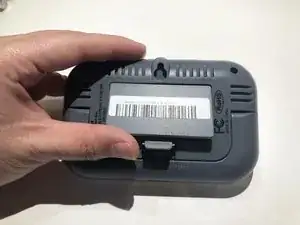
If the compartment has latches, use the plastic opening tool to carefully release them. Avoid using excessive force to prevent damage to the compartment or cover.
-
-
-
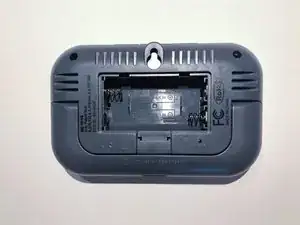
Once the compartment is open, gently lift the old battery out. If it's secured with clips or adhesive, use the plastic opening tool to carefully release it without damaging surrounding components.
-
-
-
If the old battery is swollen, damaged, or leaking, wear gloves to handle it safely. Dispose of it according to local regulations.
-
-
-
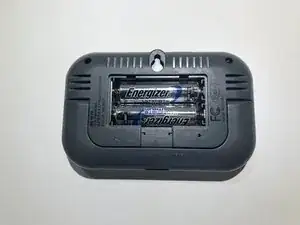
Align the new battery with the compartment, ensuring the positive and negative terminals match. Press it gently into place without using excessive force.
-
-
-
Once the new battery is in place, replace the compartment cover. If screws were used, tighten them carefully with the Phillips-head screwdriver, ensuring not to overtighten.
-
-
-
Power on the device and ensure it functions correctly. If it doesn’t turn on or isn’t performing as expected, check the battery connections or consult the troubleshooting guide for assistance.
-

To reassemble your device, follow these instructions in reverse order.
You only need to put the picture of the right one, or the main unit.
Johnny Shen -