Introduction
This repair helps fix bad battery life which could cause the device to reboot at random
-
-
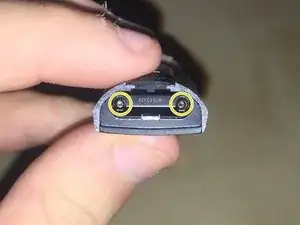
Remove both T2 screws
-
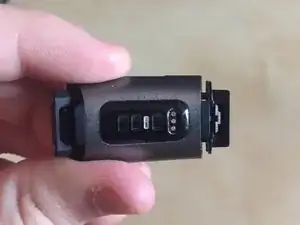
Slide off the plastic piece by lifting out and then up
-
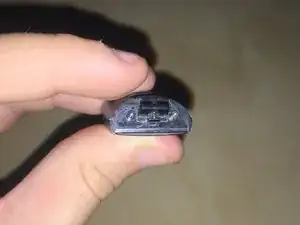
Slide plastic and spring assembly off the rail
-
-
-
Heat the glass screen with a blowdryer to soften the adhesives
-
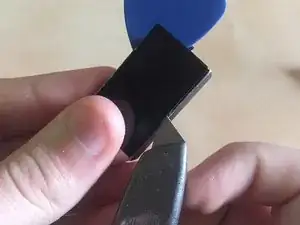
Insert a razor blade between the glass and the body
-
Keep going around the rim of the display until loose
-
-
-
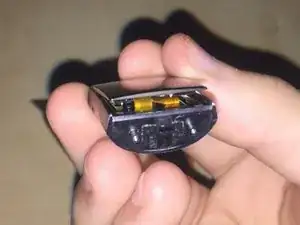
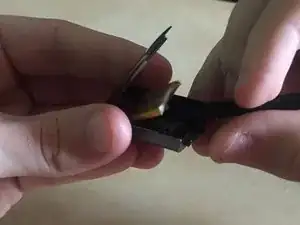
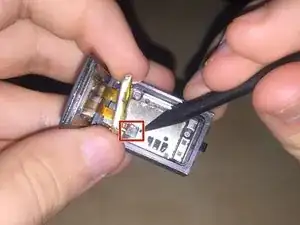
Connect new battery connector
-
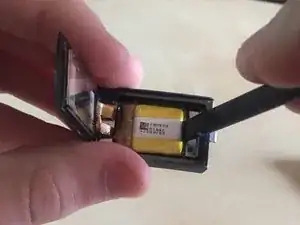
Peel the plastic layer off the adhesive backing
-
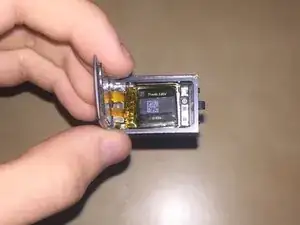
Put the battery back in place
-
-
-
Flip down the screen and remove any extra glue that squeezes out
-
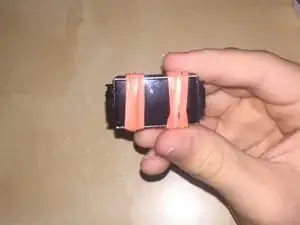
Take a rubber band and wrap it around the device, this will ensure the display stays in place until the glue cures
-
With the rubber bands on go to step 1 and reverse the steps to reinstall the band release
-
-
-
When the glue is fully cured remove the rubber bands
-
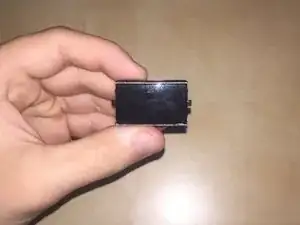
And walla you now have a repaired Fitbit Charge 3
-


Thanks to ShellingRook27's Original Dissasembly I Was Able to Make this Guide And Bring a new life to my old device.

4 comments
Fantastic - thanks for sharing!
K80 -
No problem anything to make the world a more fixable place
Hi! My fitbit charge 4 is taken apart now but now that I've lifted the battery what I see is completely different from what's shown in the photo. If I haven't already destroyed my Fitbit, how about a version for the Fitbit 4? Or a video would be even better. In the meantime, I'm stuck. I bought the battery from you.
Regi
I don't have a charge 4 so I'm only going off the internet here, but you can follow some of the steps here to replace the battery https://www.youtube.com/watch?v=2C1DiVXj... and if you need any further guidance please let me know