Introduction
If your circline/circular fluorescent light bulb has become dim or won't turn on at all, follow this guide to learn the simple steps to remove and replace the bulb.
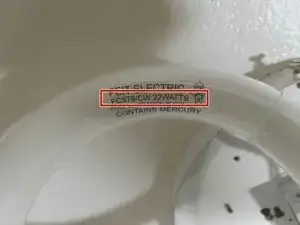
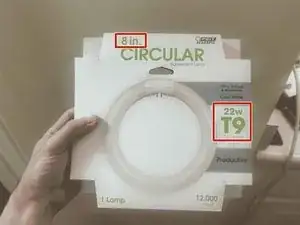
Before using this guide, you may want to order an exact replacement bulb if that information is available to you. Step 5 shows what factors to pay attention to, so if these details are inaccessible you can order a new bulb after removing the old bulb.
Once you have replaced your bulb, you should properly dispose of it at an e-waste recycling center. Step 11 includes tips and information on this disposal process.
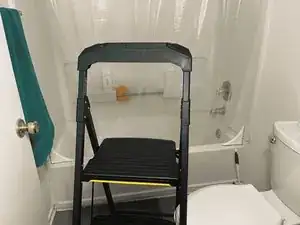
Be aware that much of this repair may be completed on a step ladder (depending on how high your light fixture is), so be careful when setting up the ladder and using it. Additionally, be mindful throughout the entire repair process to not break the old or replacement bulb as toxic mercury vapors may be present within.
Tools
Parts
-
-
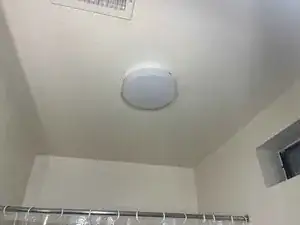
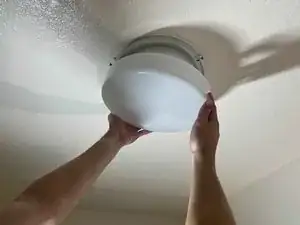
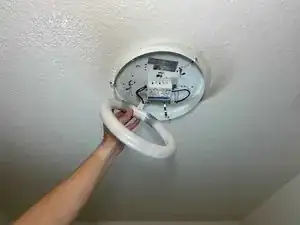
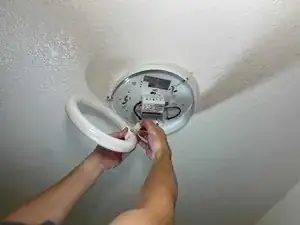
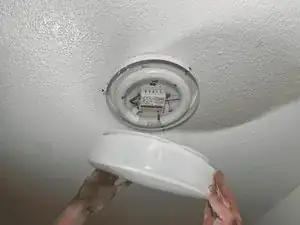
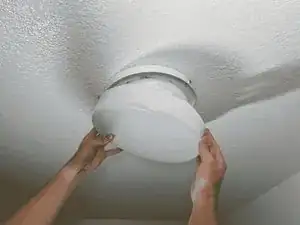
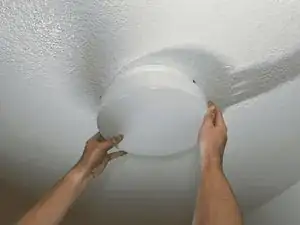
Remove the light cover from the fixture.
-
For this specific cover, it needs to be twisted counter-clockwise to be taken down.
-
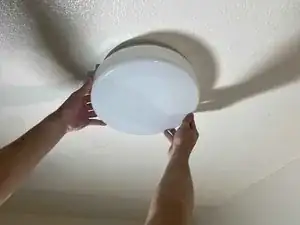
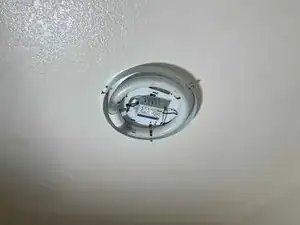
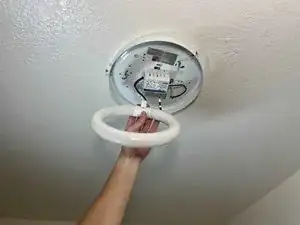
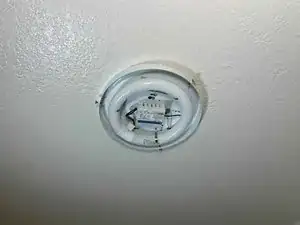
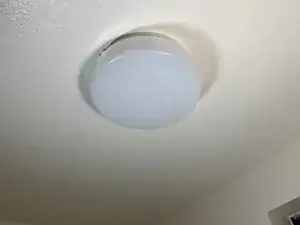
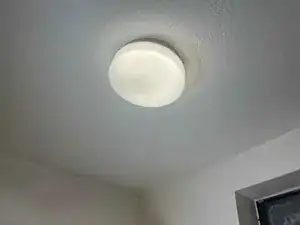
The exposed light fixture should look something like this.
-
-
-
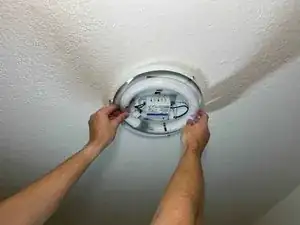
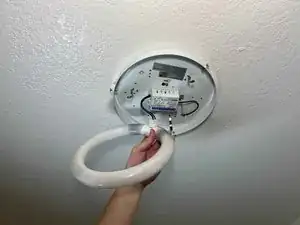
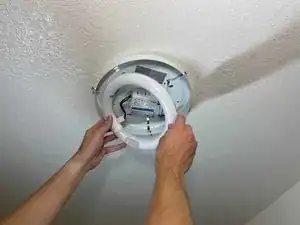
Carefully remove the bulb from the metal supports. Some gentle force may be necessary.
-
Hold the bulb steady with one hand so that its weight does not strain on the wire.
-
-
-
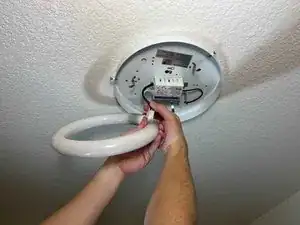
Hold the new bulb's socket near the hanging wire.
-
Insert the wire in same orientation as the old bulb was connected.
-
-
-
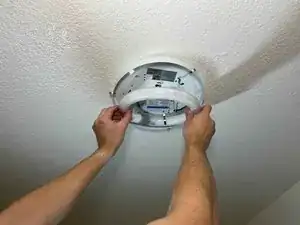
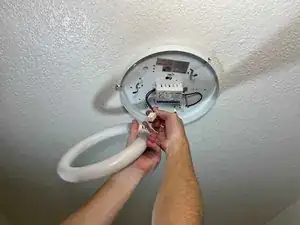
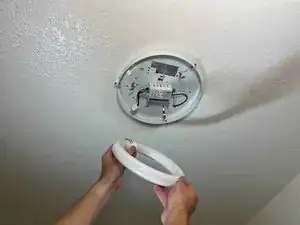
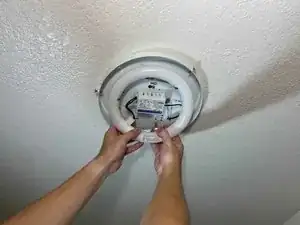
Place the new bulb into the metal supports. This may take some force applied to the metal supports to pull them back far enough for the bulb to be inserted.
-
-
-
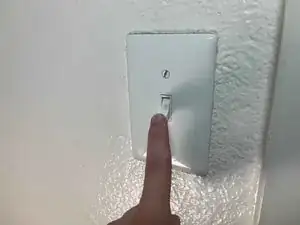
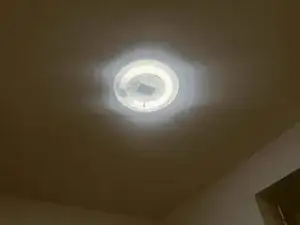
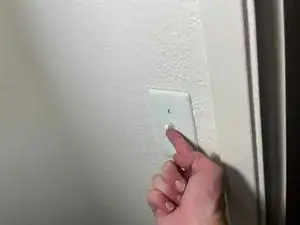
Flick your light switch on and see the results!
-
If it does not turn on, you may want to confirm the wired connection by unplugging and re-plugging it again.
-
-
-
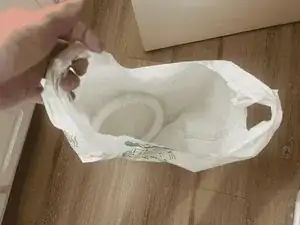
Make sure you hold on to the old bulb and do NOT throw it in the trash.
-
Place the old bulb in a separate bin or bag, you can use this to start an e-waste collection to properly dispose of multiple electronic items.
-
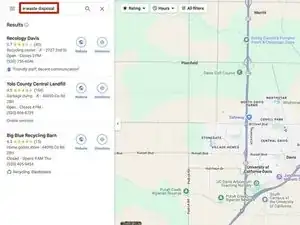
Locate a recycling center that accepts e-waste and properly dispose of your old light bulb and any other e-waste you've collected.
-