Introduction
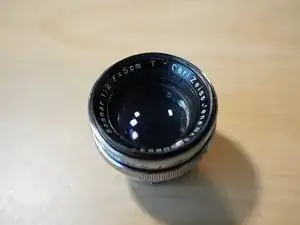
This guide is for a full overhaul of a 1947 Carl Zeiss Jena Sonnar 1:2 f=5cm T lens made for Contax rangefinders. The lens has an aluminum barrel and is classified as type [v3b ZE CR arrs in the Zeiss Sonnar 50mm f/2 overview.
The 3-block optical design is shared with the 50mm f/1.5 Sonnar. In this particular version, everything from the aperture to the front element are held together in a front optical block.
Caution
- All threads referred to in this guide are right-hand threaded (counterclockwise loosen).
- Allegedly all coatings inside the lens are extremely soft. Be careful when cleaning them.
- Sonnar exists in many versions and the design vary significantly. Check the serial number against the overview post to determine your version.
-
-
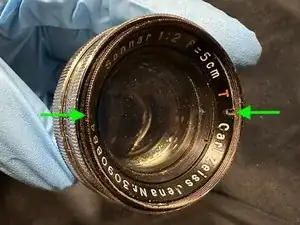
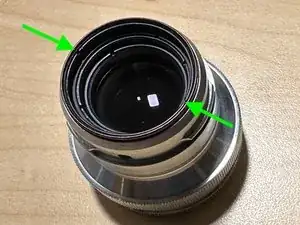
Inspect and clean the front filter thread. Any damage should be addressed beforehand as it will block the subsequent steps.
-
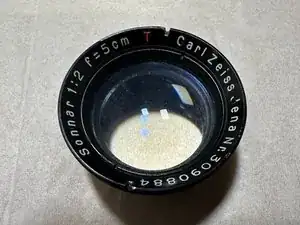
Using a lens wrench, unscrewing the front optical block. Be careful not to damage the glass. Alternatively this may be done with a lens opener.
-
-
-
This is necessary only for cleaning the covered optical surfaces.
-
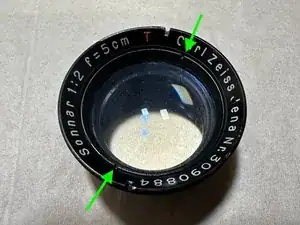
Remove the inner retaining ring with a lens wrench.
-
The front element should come out.
-
-
-
Remove the rear retaining ring with a lens wrench.
-
The rear optical block (grouped 3 element) should come right out.
-
-
-
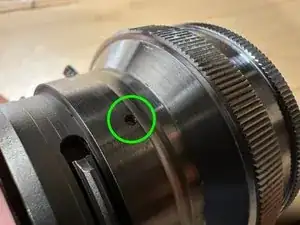
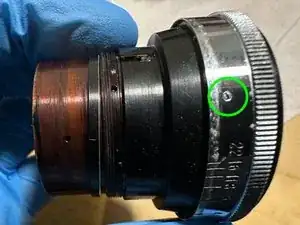
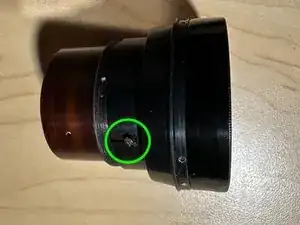
Remove the set screw with a 1.5mm flathead screwdriver.
-
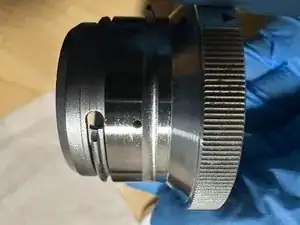
Grab the front of the lens and unscrew the barrel.
-
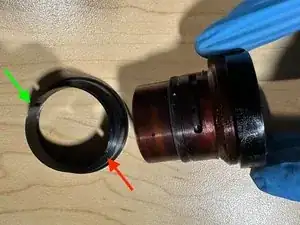
There is a spacer ring on the inner barrel. Be careful not to lose it.
-
-
-
Turn the aperture to f/22.
-
Remove the 3 set screws on the outer aperture ring with a 1mm flathead screwdriver.
-
Pull the aperture ring in the front element direction to remove.
-
-
-
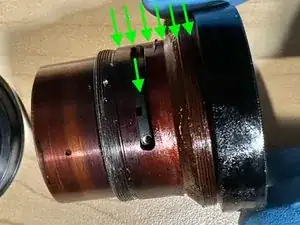
Make note of the position of the aperture control collar. There are 2 forks 180˚ apart.
-
Remove the set screw with a 1.5mm flathead screwdriver.
-
Unscrew the control collar from the inner lens barrel.
-
-
-
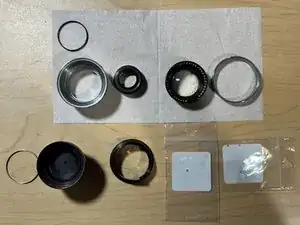
The lens is now disassembled. Parts from left to right, top to bottom: rear retaining ring; outer lens barrel, rear optical block, front optical block, outer aperture ring; spacer ring, inner barrel with aperture assembly, aperture control collar, 1x lens barrel set screw, 3x outer aperture ring set screw.
-
Blow away any dust before cleaning optical elements. Allegedly all coatings inside the lens are extremely soft.
-
Clean optical elements with Pancro lens cleaner (or equivalent) and lens tissue.
-
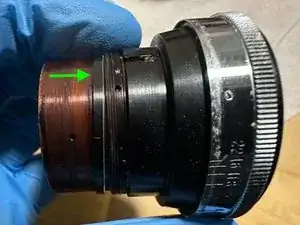
Remove old grease from the inner barrel, aperture assembly, and aperture control collar.
-
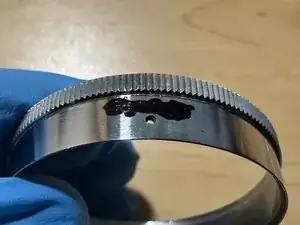
After cleaning, use a fine paintbrush to apply a tiny amount of helicoid grease to the contact surface between the inner barrel and the aperture control collar. The picture is before cleaning; this is way too much grease.
-
-
-
A quick and dirty way: paint over it with a sharpie, then remove excess ink with paper and a bit of isopropyl alcohol.
-

To reassemble the lens, follow these instructions in reverse order.
