Introduction

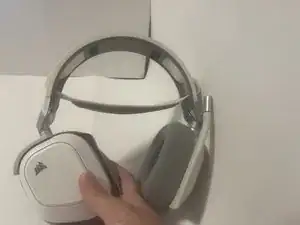
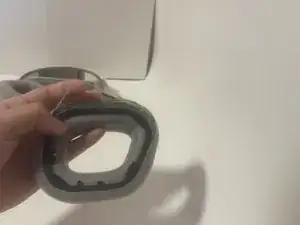
With prolonged use and improper storage, the earpad cushions on a headset may detach from the earpad. These earpads have a unique shape, and buying replacement earpads may be expensive as they are only available on the Corsair website with $10 shipping. This guide will demonstrate how to fix the broken earpad.

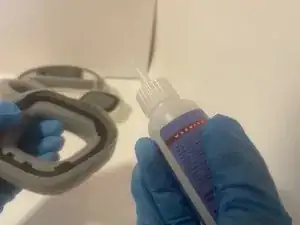
Steps 4 to 7 uses strong adhesives that may result in skin irritation or bonded skin. Wear gloves or have a glue debonder ready.

Before beginning, set up the project in a well-ventilated area as adhesive fumes may irritate eyes and cause respiratory irritation.

  1. Mxo2uOcNjYecQirT
    Mxo2uOcNjYecQirT
    6GDcCfa3Uv563HZr
    lxWDHmSxJwT6JfRH
    • Remove the earpad from the headset by holding the earpad and twisting clockwise.

    • The earpad may be difficult to remove if doing so for the first time.

  2. QLMcp2pg6mAdxZRB
    QLMcp2pg6mAdxZRB
    TuKAy1MHxLw1NakN
    iTLpPn3ILMwDqPu3
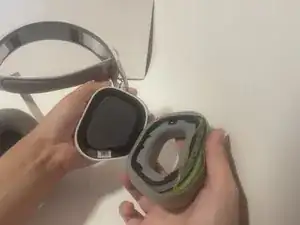
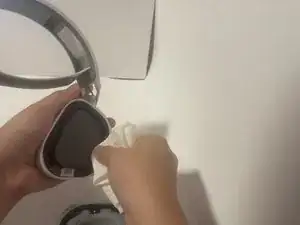
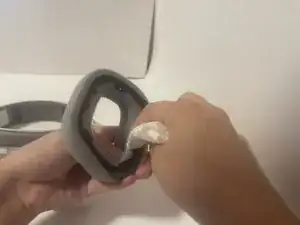
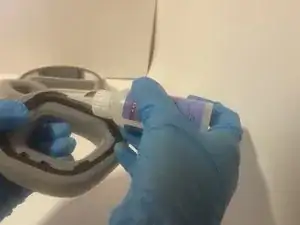
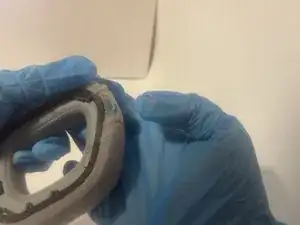
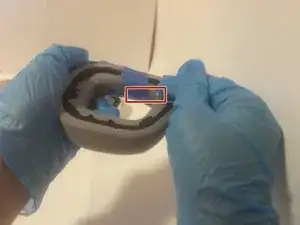
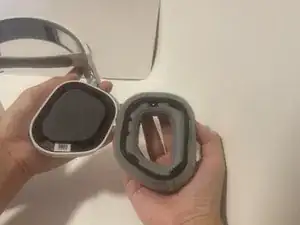
    • Clean the area around the earpad speakers and cushion. A paper towel will suffice if only dust is being cleaned off.

  3. 1CErKdE5dOJoXD6E
    1CErKdE5dOJoXD6E
    RKVX4AWcdkl5rUjh
    lrANeX2mBSmTAgfT
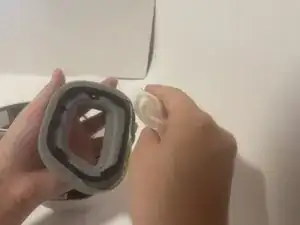
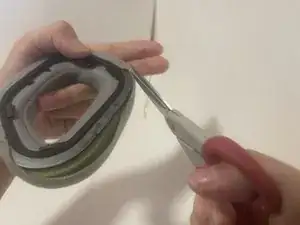
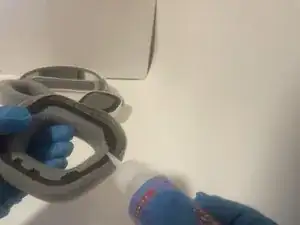
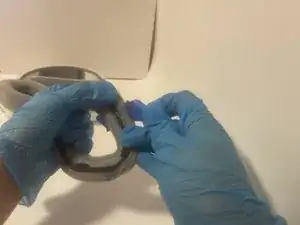
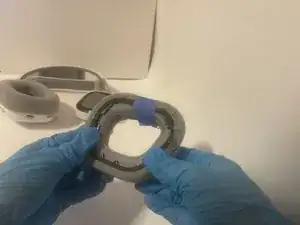
    • Take a pair of scissors and cut the old adhesive as close as possible to the fabric still adhered.

    • This will leave space on the cushion for new adhesive.

  4. ccTTaAMhPmRDxX6M
    ccTTaAMhPmRDxX6M
    AGhQVjmBVHqUitmX
    Jv4xFHCsFowhvgxV
    • Apply adhesive to the free edge of the earpad where the cushion had detached.

    • Wear gloves while working with adhesive. You may super glue your fingers together or your skin to the project. Have a glue debonder on hand if gloves are not available.

  5. CBBBH1BTnuwBFgss
    CBBBH1BTnuwBFgss
    bHBRHRvNjsUNScRa
    pVbetv3uoNyygVJ2
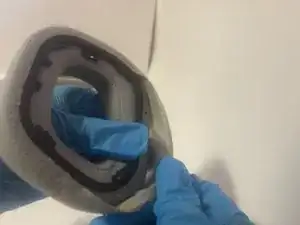
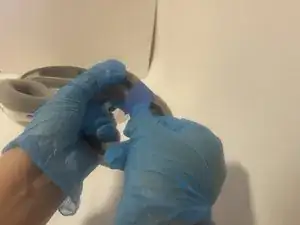
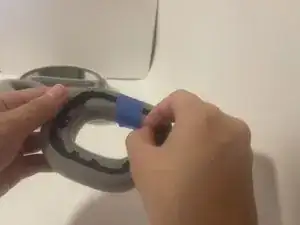
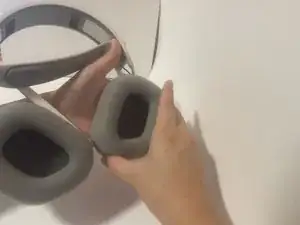
    • Pull the fabric to the newly prepared earpad and hold it flush to the black lining of the earpad.

  6. aMcenMUWWe6o4HnF
    aMcenMUWWe6o4HnF
    2B3X5HOKDYL2NfV3
    • Wrap masking or painter's tape to hold the fabric and earpad together.

  7. 5oVTVs3PFnLZbqKp
    5oVTVs3PFnLZbqKp
    KOXtSHtaQRK2XQyU
    SWHJkdaNMpLXKDKr
    • Insert a needle or sewing pin to hold the tape in place while the adhesive dries.

  8. HBXyYOpfMFKsRIm4
    HBXyYOpfMFKsRIm4
    SAeSmYlBDSGMxu4J
    cnhwAIQbcQMq2Oxo
    • Once dry, remove the pin and tape from the earpad.

  9. 6ScIopBsbp2XXmIg
    6ScIopBsbp2XXmIg
    X1WEy611l4JseDKr
    y1KEtQQXgFIXPJrm
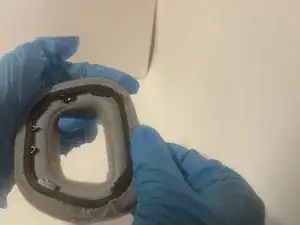
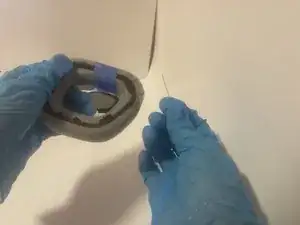
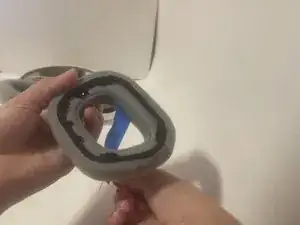
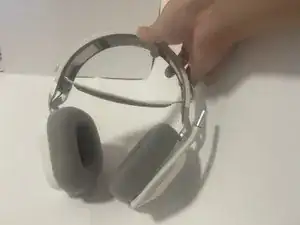
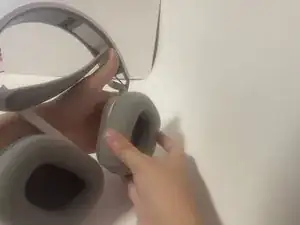
    • Reattach the earpad by lining the earpad in a clockwise direction and twist counter-clockwise to secure the earpad back into place.

miaLau

Member since: 23/10/24

169 Reputation

0 comments