
Introduction
If your Corsair Harpoon RGB Wireless Mouse (RGP0075) is suspected to be a dead battery, then use this guide to gain the knowledge to replace it.
The battery in the mouse gives it wireless functionality. To make sure, plug your mouse into a micro USB cable, let it charge for a while and see if the Bluetooth or 2.4Ghz single is working. If it still does not work, then continue with this guide.
This mouse uses a battery to hold its power so that it can be useable without a cable, and in rare cases, these batteries can give up and become unusable. This takes away from the wireless ability of the mouse.
Steps 3 and 5 of this guide require you to unplug the circuit board and battery along with taking out the battery. Avoid touching the circuit board to avoid damaging it.
-
-
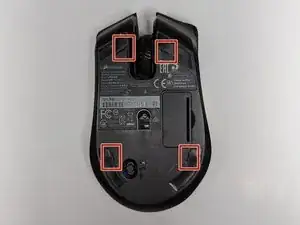
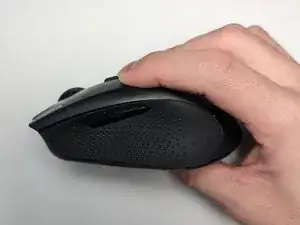
Flip the mouse upside down.
-
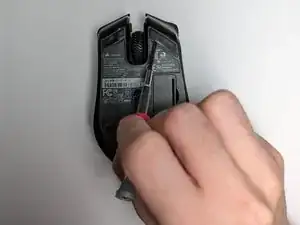
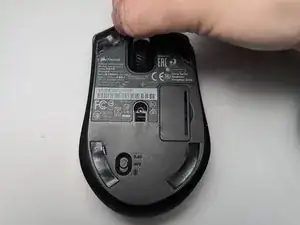
Use a spudger to help pry the 4 mouse feet from the bottom of the mouse.
-
Start at the small grooves at the edge of each mouse foot.
-
-
-
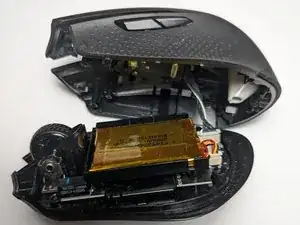
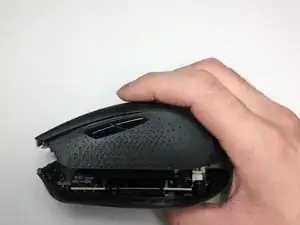
Use a spudger to pry along the seam between top and bottom of the mouse.
-
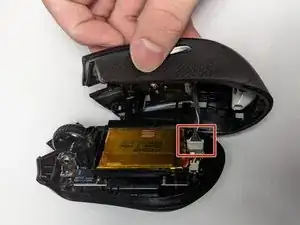
Gently separate the top and bottom case until you can see the internals of the mouse.
-
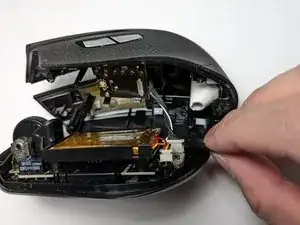
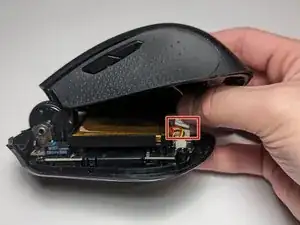
Use the point of a spudger to push on alternating sides of the connector to "walk" it out of its socket and remove the cable attaching the top and bottom of the mouse.
-
-
-
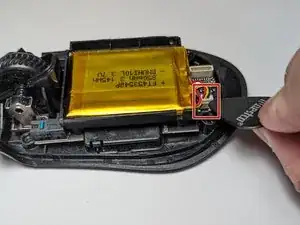
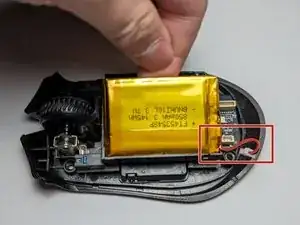
Use the point of a spudger or opening pick to push on alternating sides of the battery connector to "walk" it out of its socket and remove the battery cable.
-
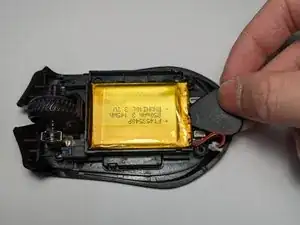
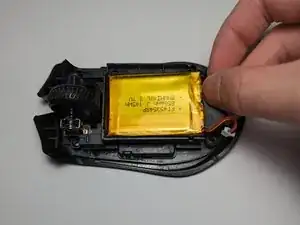
Use a spudger and wedge it between the battery and the mouse.
-
Work the spudger left and right to slowly lift the adhesive.
-
Once it is loose, lift and remove the battery.
-
-
-
Place the new battery into the tray with the battery plug near the port.
-
Use your fingers to carefully plug the battery connector to its connection point.
-
-
-
Take the top of the mouse and plug the connector to the bottom of the mouse
-
Join the two parts of the mouse together.
-
-
-
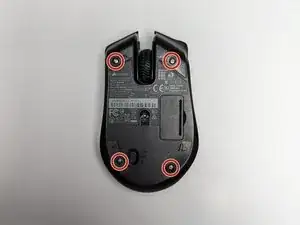
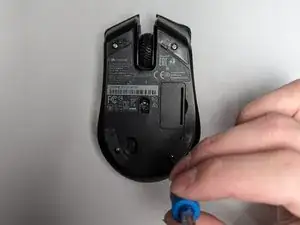
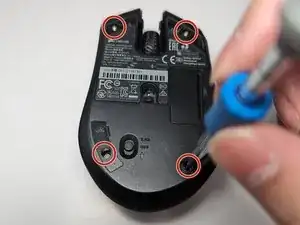
Flip the mouse over and use a Phillips #0 screwdriver to secure the four 9 mm-long screws back in place.
-
Replace the four mouse feet that cover the screws.
-


One comment
Were do I get the replacement battery