Introduction

Replacing the motherboard of the Corsair M55 RGB Pro Gaming Mouse (Model: RGP0086) is a straightforward process if you find your mouse malfunctioning. No specialized skills are required for this task, and there are no hazards involved as the mouse should be unplugged during the repair process. If software updates fail to resolve any issues with your mouse, it's possible that the motherboard is malfunctioning.

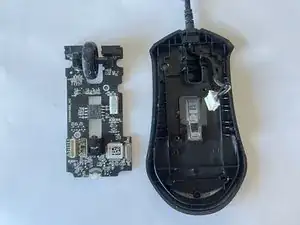
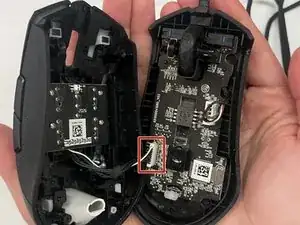
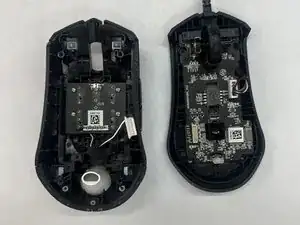
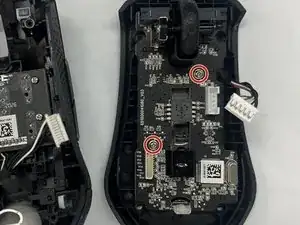
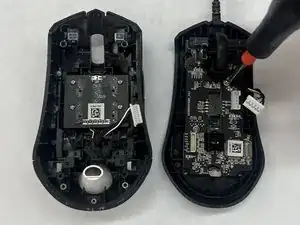
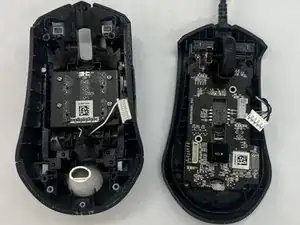
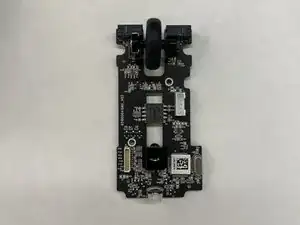
The mouse consists of two main components: the top portion and the bottom portion. The top half houses the PCB (printed circuit board), which controls the secondary buttons on the mouse. The bottom half contains the motherboard, which includes components such as the mouse wheel, USB port, and the main buttons for the mouse.

When replacing your motherboard, handle the new board by the edges only and, if possible, use ESD-safe gloves to avoid damaging it.

  1. iNpZKhT33XGCoc3B
    iNpZKhT33XGCoc3B
    fvtQ42FIR1ZsWdnp
    DAmNu2iBDMUwpaEY
    • Use a spudger to gently peel off and remove the three mouse feet on the bottom of the mouse.

    • If you are not replacing the mouse feet with a new set, put them aside to replace them at the end of the repair.

  2. BsJOITUIQQM2JsXR
    BsJOITUIQQM2JsXR
    Qc1Ft45ZhifvuVQi
    JLvhZXIhaixDfmZc
    • Use a Phillips #1 screwdriver to remove the four 10 mm screws from the bottom of the mouse.

    • There is a cable connecting the bottom and top of the mouse.

  3. nNSnYQQHHUFfZ5y3
    nNSnYQQHHUFfZ5y3
    LOIvOfsof1TsC6eA
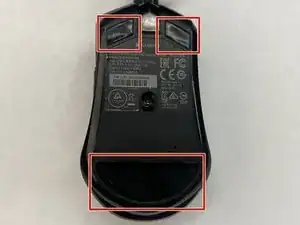
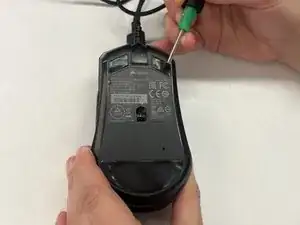
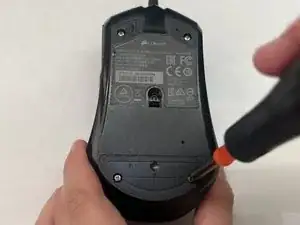
    • Use a spudger to separate the top and bottom of the mouse.

    • Don't pull them apart as they are connected by a cable connector and could become damaged.

    • Pull the PCB cable away from the connector in the same direction as the individual wires are running.

    • Pull evenly on the full width of the cable so that no individual wires are overly strained.

  4. hDtB2CNNWo3P4GFN
    hDtB2CNNWo3P4GFN
    mWGRaFRwktKCGQWN
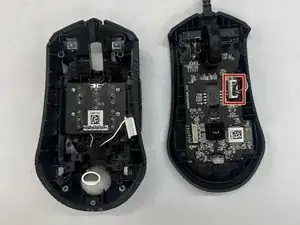
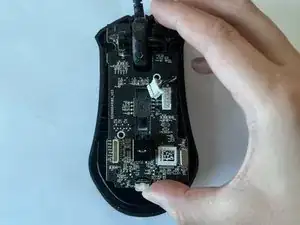
    • Pull the USB pin cable away from the connector in the same direction as the individual wires are running.

    • Pull evenly on the full width of the cable so that no individual wires are overly strained.

  5. 3PfiVDBBtsNUiYYK
    3PfiVDBBtsNUiYYK
    bxVUhRbJyHJ6SvQc
    MPsk2vcLt5HlAPnY
    • Use a Phillips #1 screwdriver to remove the two 5 mm screws that secure the motherboard.

  6. YKCCey3jmd6iw3AD
    YKCCey3jmd6iw3AD
    NSDwMaDl2PvIjrFV
    Hvd3FCqnGQItjMWT
    • Carefully lift the motherboard out of the base of the mouse by the edges.

  7. 1JZsyhgSiPVYLHhe
    1JZsyhgSiPVYLHhe
    RgXQkU6hqBG4acLb
    abRZ3bn3WlnSMVfy
    • If necessary, remove the mouse wheel by sliding it to the right.

    • It should come out of the slot easily as it's not attached.

Conclusion

To reassemble your device, follow these instructions in reverse order.

Rizza Barnwell

Member since: 05/03/24

145 Reputation

0 comments