Introduction
This guide demonstrates how to replace the landing gear on the DJI Phantom 2 Vision. When completing this guide, make sure to clean any residue that may be surrounding the screws before beginning, as doing this will ensure no over or under-tightening of screws may occur.
Note: The drone we worked on already had the propellers removed. However, you will need to remove the propellers before Step 4. Refer to the DJI Phantom 2 Vision+ Propellers Removal for detailed instructions, as the process is identical.
Parts
-
-
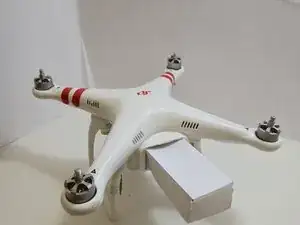
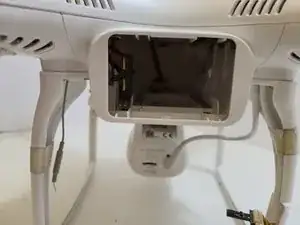
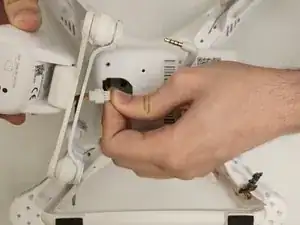
The battery is located on the backside of the drone. You will see a large rectangular indent protruding outward.
-
-
-
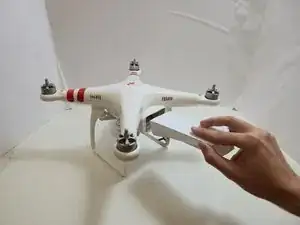
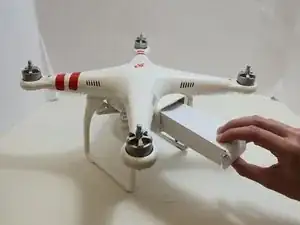
Remove the battery from the compartment by pinching the top and bottom pressure points near the center and pulling the battery towards you.
-
-
-
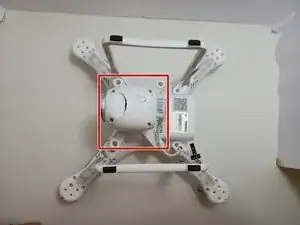
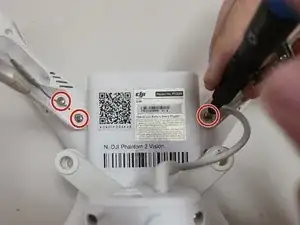
Flip the drone over so the bottom is facing up.
-
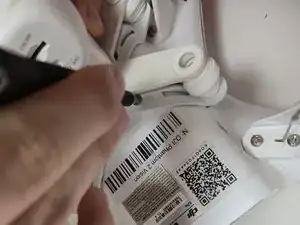
Use a Phillips #00 screwdriver to remove the four 6 mm screws.
-
To access the screws, slowly pull back on the mount in the opposite direction.
-
-
-
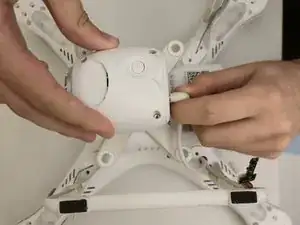
Slowly lift the gimbal housing from the device.
-
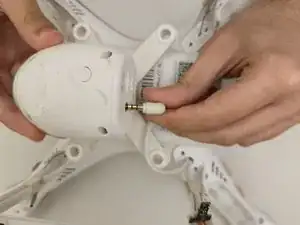
Gently disconnect the camera cable from the cable connected to the motherboard.
-
Push on alternating sides of the connector and pull straight away from the socket.
-
-
-
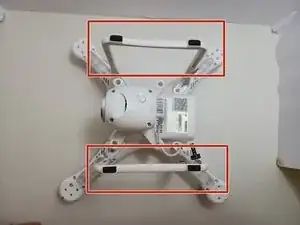
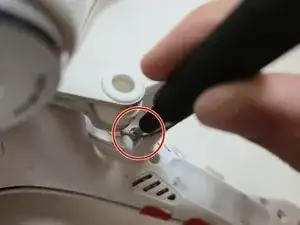
Locate Landing gears, This should be on the bottom of the drone Holding it up if flipped right side up.
-
-
-
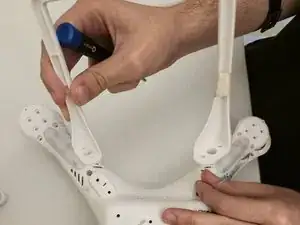
Unscrew each of the 8(9mm) screws using a #1 Philips head bit. These should be near the base of the drone, 2 by each leg of the landing gear.
-


To reassemble your device, follow these instructions in reverse order.