
Introduction
This guide will be used to open the DJI Phantom 3 Standard Remote Controller to access and change the battery. If your controller isn't charging properly, check out this troubleshooting page before continuing onto the repair guide. Step 3 should be handled carefully to avoid damage to the connection between the battery and the connection port.
-
-
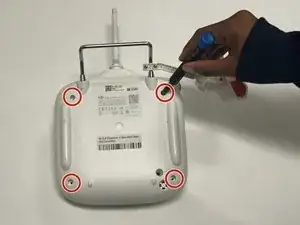
Position the controller so the back is facing up and the joysticks are resting on the table.
-
Remove the four 11 mm screws that secure the back plate using a Phillips #0 screwdriver.
-
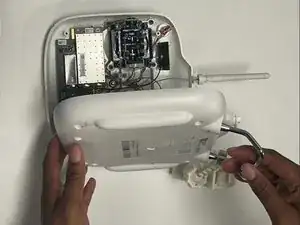
Remove the back plate, being mindful of the wires still connected to the device.
-
-
-
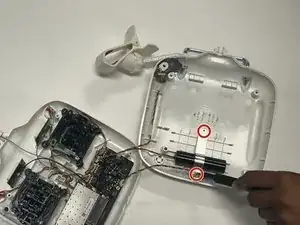
Remove the two 8 mm screws securing the battery to the controller using a JIS #00 screwdriver.
-
-
-
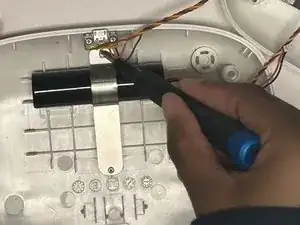
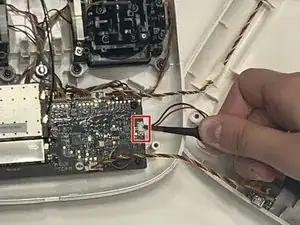
Use the nylon-tipped tweezers to detach the three-prong battery attachment that connects the battery to the motherboard.
-
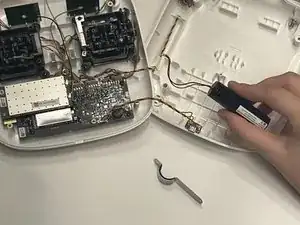
Remove the battery.
-

To reassemble your device, follow these instructions in reverse order.