Introduction

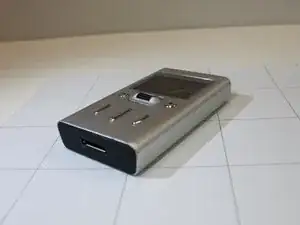
If your screen is cracked or not functioning correctly, follow this guide.

  1. UZlKD4vyitBBaqMu
    UZlKD4vyitBBaqMu
    BOBDT6JJJOMJaWBF
    imBpBBwCCRTusKhs
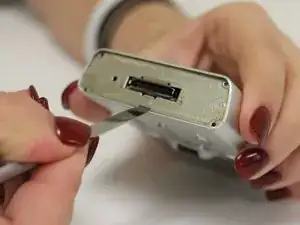
    • Using the metal spudger, carefully slide it under the black rubber bottom to remove it.

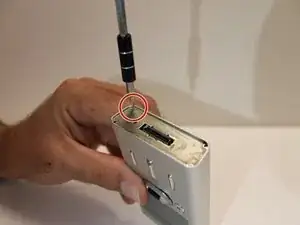
    • Using a Phillips J000 head screw driver, unscrew the 4mm screws placed on the outer corners of the metal plate.

    • Again, take the metal spudger, placing it under the metal plate to take it off.

  2. WsGC3EIPN2K21TMZ
    WsGC3EIPN2K21TMZ
    bINdDlQcSLniVgWO
    CIsEYJq2a32jYnu5
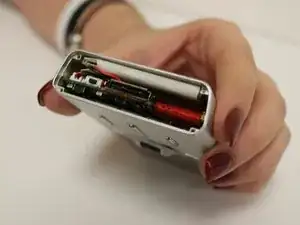
    • Once the metal plate is off, inspect the inside of the device to be sure the battery is plugged in and there's nothing blocking it.

    • Battery malfunction is often caused by internal components that are dirty. Be sure the battery clip is plugged in properly and then reassemble device. Hold the power button and start the device up.

  3. aBJqnHcRjgFXLuTl
    aBJqnHcRjgFXLuTl
    MJZpSRuvfOEvxmqF
    • If the battery is still malfunctioning, carefully unplug the battery using tweezers.

    • Gently place the tweezers on either side of the batter to slide it out of the shell.

  4. SdGfG5PSAPkotqAU
    SdGfG5PSAPkotqAU
    2eOwFBIqQwRfZGdT
    SL3caILeM6FaVJxy
    • To replace the battery, simply insert a new one into the same slot and then plug in the end to the correct spot.

    • After the device is assembled, power the device on. The issue should be repaired.

    • If the device battery is still defective, a greater issue is the cause.

    https://www.ebay.com/itm/New-3-7V-1500mA...

    This battery will fit and works great. The normal ones listed on E bay are too thick. I did solder the connector rather than replace.

    Dimensions: 85x48x3mm

    Dalbani Base Category: Batteries Voltage: 3.7 V Amperage: 1500mAh Dalbani Item Number: 29-16-0658

    MPN: 29-16-0658 1500mAh 3.7V Internal Battery Chemical Composition: Li-Ion

    Glenn Klein -

  5. Iul4SiakdjGoCwim
    Iul4SiakdjGoCwim
    FPOjpXiCS6Y6G1n2
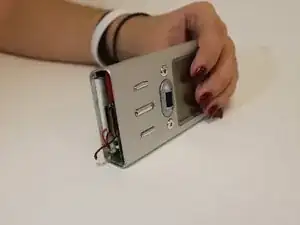
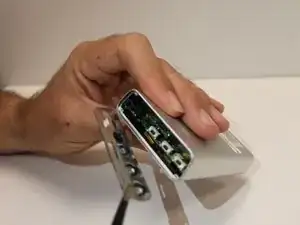
    • Inspect your device and be sure that it matches the device that this guide is disassembling.

    • Familiarize yourself with the specific design of the device.

    • Battery replacement is the only repair that our guide offers that does not require a complete tear down.

  6. U5n4L3QSfrASWm4q
    U5n4L3QSfrASWm4q
    15A5ZB5UMFtpqLdi
    NXA6BUAfXsRCgPx6
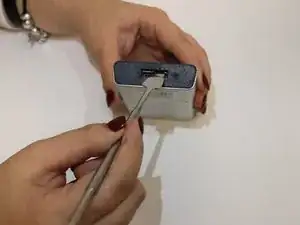
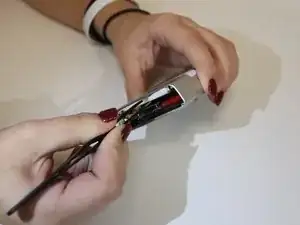
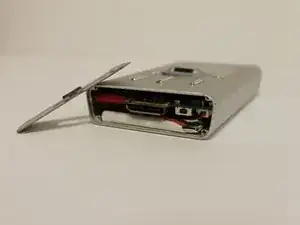
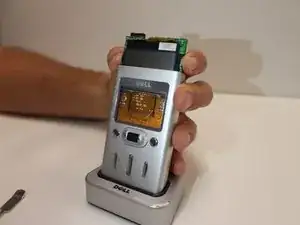
    • The top plate of the device is attached by a dot of glue. Use the metal spudger to pry the plate off.

    • After the top plate is removed, remove the four 4mm screws that attach the inner plate.

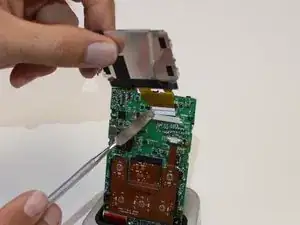
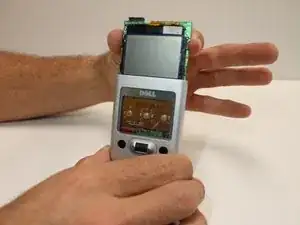
    • When the plate is removed, the motherboard will be ready to be removed.

  7. H2SiOTDctmcOJdFo
    H2SiOTDctmcOJdFo
    RJ1OHvg1QXHMdSUR
    H3n2eBLcHmBsV1Yh
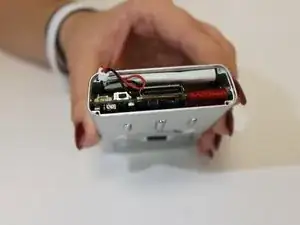
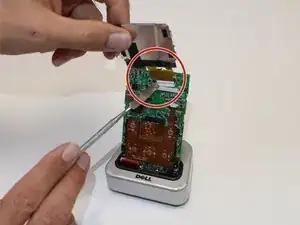
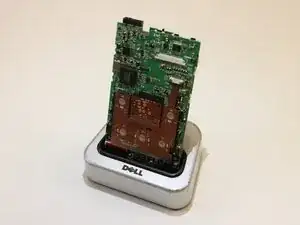
    • Slide the motherboard out of the protective case.

    • Be careful not to snag any wires.

    • When the motherboard is exposed the device is ready to be inspected and repaired.

  8. iVCjcnOWLy2vQnoG
    iVCjcnOWLy2vQnoG
    YGeigRNc4DEPmDL5
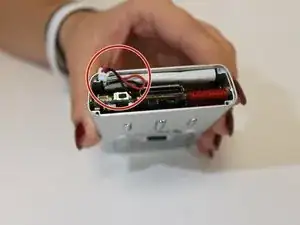
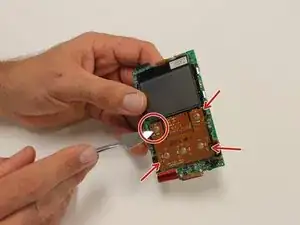
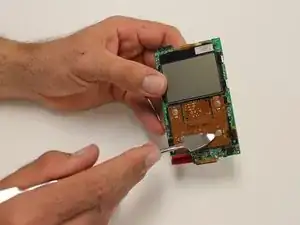
    • Disconnect side clips of screen to detach the base of it from the main circuit board, using the metal spudger.

  9. DMULiY32MAe5t4HA
    DMULiY32MAe5t4HA
    WEDrE5dNrrCQhSbU
    fwDuScHNZieFWKo3
    • Carefully pull the screen up so that it is only attached at the top side.

    • Pull gently to fully detach screen from device.

Conclusion

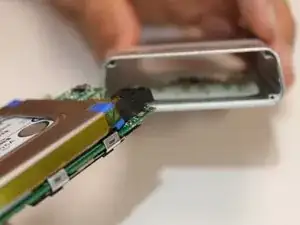
To reassemble your device, follow these instructions in reverse order.

Brittany Abate

Member since: 03/01/16

407 Reputation

0 comments