Introduction
Many Dell laptops, including the Dell G15 5511, are prone to hinge problems due to the way they are tightened. Over time, loose or overtightened hinges can make a "cracking" sound, and, if not fixed, the strain can spread and cause cracks to form along the display frame or even damage internal components.
This guide demonstrates how to fix these hinge issues on your Dell G15 5511 so you don't end up with lasting damage in the future.
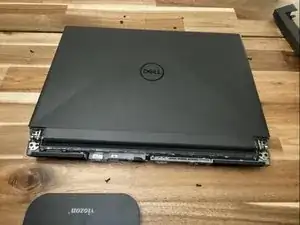
Before you begin, make sure your laptop is powered off and unplugged from the charging adapter.
-
-
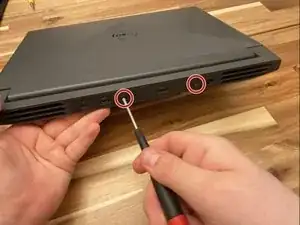
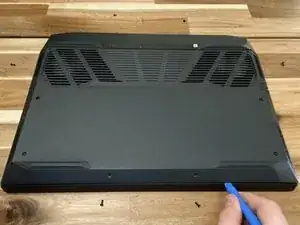
Rotate the laptop so the hinge edge is facing you.
-
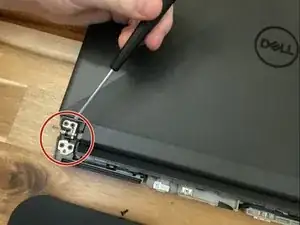
Use a Phillips #0 screwdriver to remove the two 5 mm screws.
-
-
-
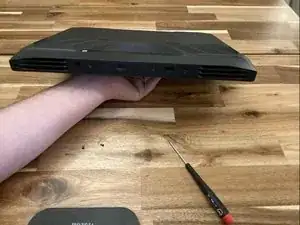
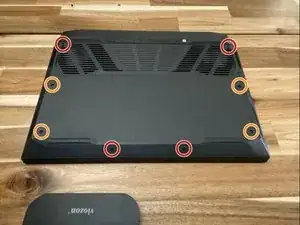
Flip the laptop over so the bottom case is facing up.
-
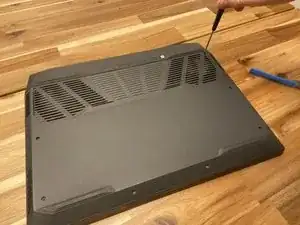
Use a Phillips #0 screwdriver to remove four screws and set them aside.
-
Loosen the four remaining captive screws until you hear the cover pop, signifying you've unscrewed them enough.
-
-
-
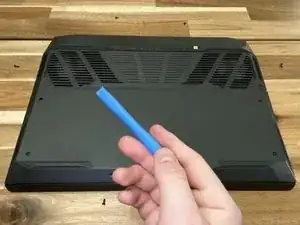
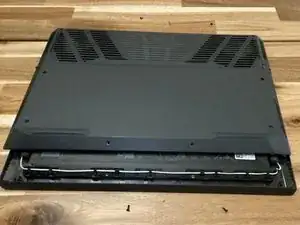
Slowly slide the opening tool along the edge seam of the laptop to release the clips securing the base cover.
-
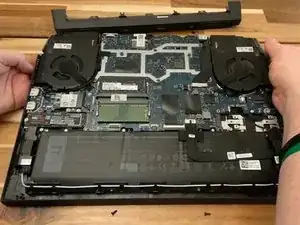
Slide the base cover off to reveal the interior.
-
-
-
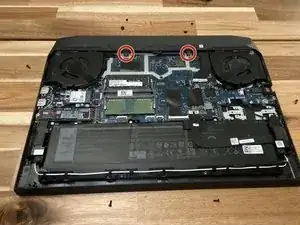
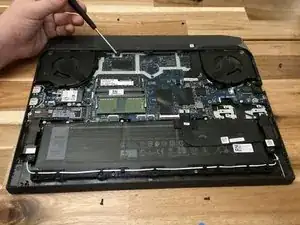
Use a Phillips #0 screwdriver to remove the two 2 mm screws from the rear cover near the hinges.
-
Slide the rear cover off.
-
-
-
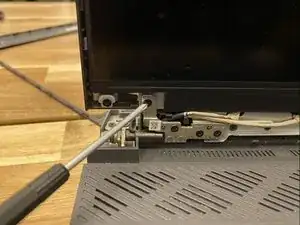
Flip the laptop over while securing the bottom cover and set it down with the top cover facing up and the hinge screws facing you. You now have access to the eight M2.5x4(4mm) hinge screws.
-
Use a Phillips #0 screwdriver to tighten any loose screws, but don't overdo it.
-
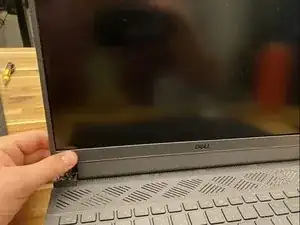
Carefully open and close the top cover of the laptop to test the hinges and adjust the screws accordingly, based on your personal preference for how tight you want it to be.
-
-
-
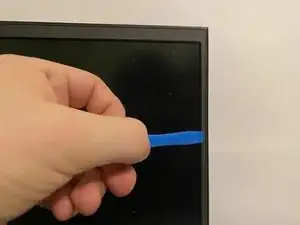
Slide your spudger or opening tool along the edges of the frame, starting with the left or right side.
-
You should hear each side unclip as you slide the opening tool across. After you've detached the sides, slide the opening tool along the top and then finally the bottom.
-
Remove the screen bezel.
-
-
-
Use a Phillips #0 screwdriver to tighten or loosen the remaining hinge screws to your preferred tightness and they don't crack when you open and shut the top cover.
-
Carefully test the display assembly by opening and closing the screen.
-


To finish the repair, follow these instructions in reverse order.