Introduction

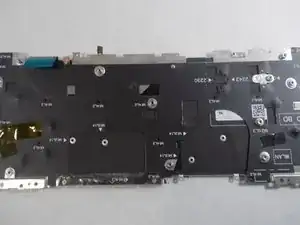
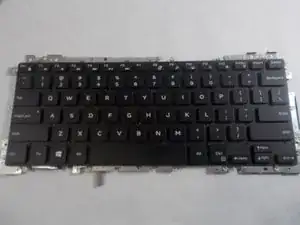
A Dell Inspiron 13-7373 may require a keyboard replacement for several reasons, such as broken keys, physical issues, debris or broken pieces, unresponsiveness, and connection problems. If you use a laptop the majority of your time, it is important to make sure it is comfortable to use and that you get the most out of your keyboard. Before beginning, make sure to power off your laptop completely and disconnect from any external power source.

  1. iyxWP2ODiTQCkD6A
    iyxWP2ODiTQCkD6A
    wqEqCVBmwbDIGHid
    QrHpeWqJVBIU6wVW
    • Before you begin, be sure to turn off your laptop and unplug it from the outlet.

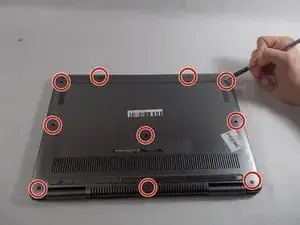
    • Remove the ten 7.5mm Phillips #00 screws from the bottom of the laptop.

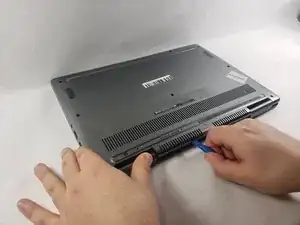
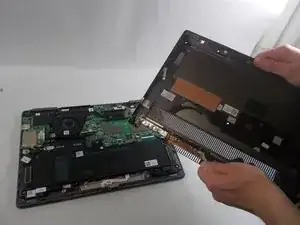
    • Use an opening tool to remove the bottom half of the case from the laptop.

    On the outer part of the hinges there is 1 clip on each side that also need to be snapped out with the opening tool. You will hear a click noise when they are out.

    Sandi -

  2. nEdPWtIILkjdHBuV
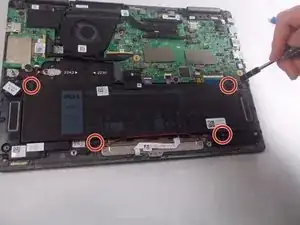
    • Use a Phillips screwdriver to remove the four screws holding the battery in place.

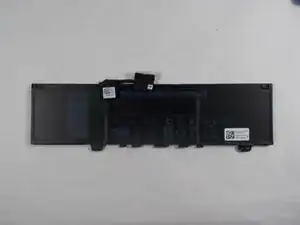
    After this your MUST carefully unweave very thin black and red wires woven up and down at bottom of battery before the next step!

    Deborah Weaver -

  3. oQPIgKkMIbjlp452
    oQPIgKkMIbjlp452
    53UDQmaJdNqi5uVd
    • Pull the plastic tab on the battery cable to disconnect the cable from the battery.

  4. lANNax1OXLJmyjVI
    lANNax1OXLJmyjVI
    oKLAwiVSbojlOAwK
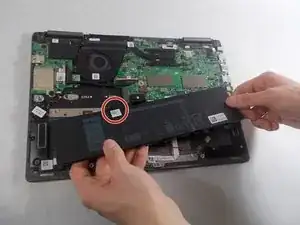
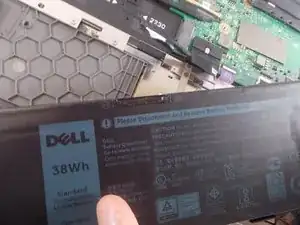
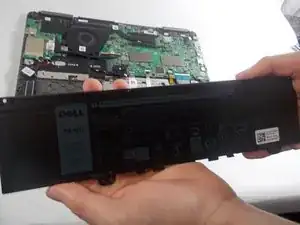
    • Remove the battery from the laptop.

    Before lifting up and trying to unplug the battery, don't forget to move the black&red wire under the routing tabs on the front of the battery out of the way.

    bstan -

  5. rrWw4vSQ4IYjThjk
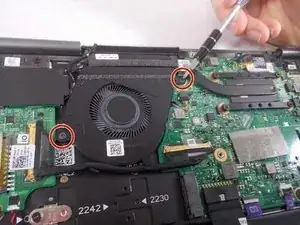
    • Remove the two screws holding the cover for the fan.

  6. OhcfOsYmsCyqBEXM
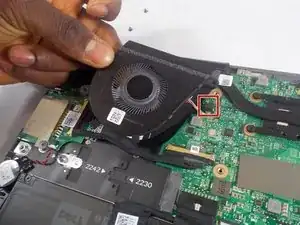
    • Unplug the connector holding the fan’s wires.

    • Remove the fan from the laptop.

  7. gAqCd4ramokgUvPn
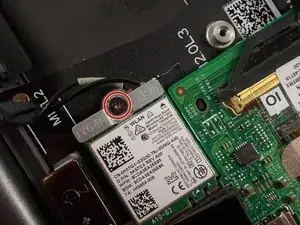
    • Use the Phillips #00 screwdriver to remove the single screw holding in the network card.

    • Remove the network card from the laptop.

  8. jG3BfCuRZ66PXeXF
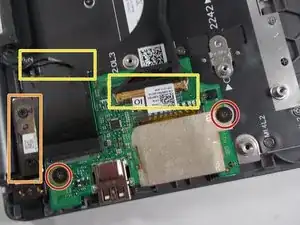
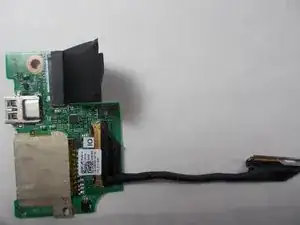
    • Use the Phillips #00 screwdriver to remove the two 1mm screws holding in the daughterboard.

    • Remove the metal piece holding in the daughterboard.

    • Disconnect the two cable connectors from the daughterboard.

    • If the cables are stuck, gently wiggle them until they disconnect.

  9. 1hEYdxi3wyttKLjT
    • Remove the daughterboard.

  10. qZkBvlMnWrEKxYJQ
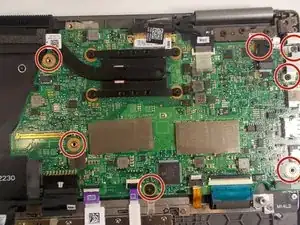
    • Remove the seven 2mm screws securing the motherboard.

  11. EBSgm2HtIxOHEMPx
    EBSgm2HtIxOHEMPx
    MhYNenRE6OHiPkHh
    MHETBjcLJYglxghA
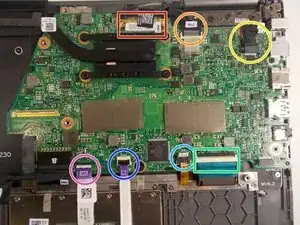
    • Release the IO Board Cable.

    • Release the Touchpad cable.

    • Release the keyboard back-light cable.

    • Release the keyboard cable.

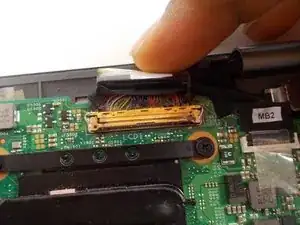
    • Release the eDP cable.

    • Release the dc-in cable.

    • Release the cable for the LED charging indicator by gently pulling up on the connector.

    The yellow here isn’t the keyboard back-light cable. It’s the power adapter input. There is one screw holding it in.

    P L -

  12. laDEkNhFbu4SdVSB
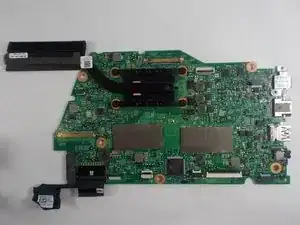
    • Gently lift up on the motherboard to remove it.

  13. NNLFDpMLV3jnQjBn
    NNLFDpMLV3jnQjBn
    HuTpBW3cK4ldEqwo
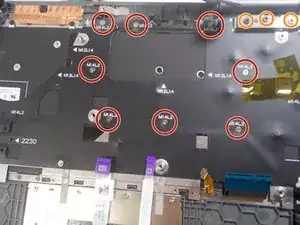
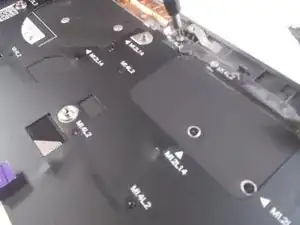
    • Use the Phillips #00 screwdriver to remove the eight 1mm screws at the back of the keyboard.

    • Remove the 3 screws holding the hinges of the laptop on each side.

  14. 1WoS5qrCC6rdr2YX
    1WoS5qrCC6rdr2YX
    OQIJ1gL4sALfeE4J
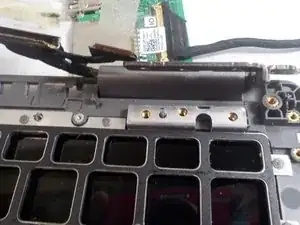
    • Lift up on the hinges that the three screws were removed from.

    • They are difficult to move and may require a tad bit more effort.

  15. Xgoc6MhDU6AoLdPw
    Xgoc6MhDU6AoLdPw
    V4HWUZ5IAsyAN2PT
    • Gently remove the keyboard from beneath the hinges that were lifted up.

Conclusion

To reassemble your device, follow these instructions in reverse order.

Kameron Jusseaume

Member since: 25/10/19

492 Reputation

0 comments