Introduction
If your Dell Inspiron 16-7610 is experiencing random crashes, file corruption, decreased performance, distorted graphics, freezing, and other random occurrences, then your RAM may be going bad. You also may just want increased speeds on your laptop, so replacing your RAM with a better one will do so. If any of the above apply to your laptop situation then follow this guide to replace or repair your RAM for your Inspiron 16-7610. Below are a couple of options of RAM that can be used for the 16-7610. There are other options that can also be found with research.
RAM options: 16GB CT16G4SFRA32A or 64 GB CT2K32G4SFD832A (faster speeds)
Warning before beginning this repair, power off your laptop, unplug it from the AC adapter and unplug the battery connector.
-
-
Flip the device over, so the backside is facing up.
-
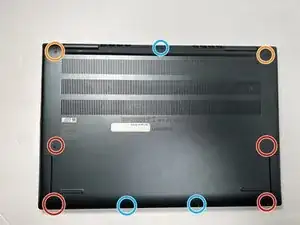
Use a Phillips #00 screwdriver to remove four 4.00 mm screws.
-
Use the Phillips #00 screwdriver to unscrew or loosen two captive screws at the right and left corner near the hinges.
-
Three of the screws are dummy screws, only screwed into retainers. They are not holding anything in and can be left in place for simplicity.
-
-
-
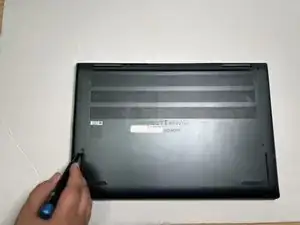
-Use the opening tool between the seams of the top and bottom case to pry the back case off of the laptop.
-
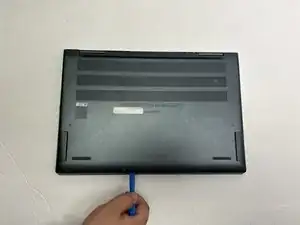
Undo the clips gently as you pry the back of the device to avoid breaking them when removing the back case.
-
Remove the back case from the device.
-
-
-
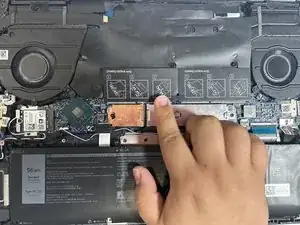
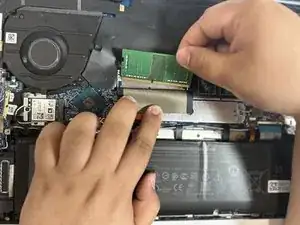
Flip the plastic cover over to reveal the RAM stick. Do not pull the plastic cover off.
-
Pull the two RAM retaining arms away from the center of the RAM stick.
-
Pull the RAM stick out of the socket. Repeat for each of the RAM sticks you are replacing.
-

To reassemble your device, follow these instructions in reverse order.
Only 6 screws have to be removed - the central one on the hinge area can remain.
Bob Irving -
As Bob noted in January, the top center screw doesn't do anything and doesn't need removing. As I found today during my repair, that is true but also the two bottom central screws are also unnecessary. If you check the photos in step 3, in the bottom of the battery near the screws circled in red, there are cutouts where the screws would go, but there is no mounting points on the bottom of the palmrest assembly where the screws go, so it was the case in the device photographed for this guide in the first place as well, the original guide author must simply not have noticed. (I did not notice at first, either, until reassembly found me questioning where the screws go.)
I have edited this step to reflect as such. It also means if you lose one of the important screws accidentally, you have three replacements that aren't holding anything in that are good to go.
Hope this helps.
Justin Castle -