Introduction
If your Dell Inspiron 15 5100 (2015) is thermal throttling use this guide to replace the thermal paste.
If your laptop is performing very slow, reporting high temps, or hasn't had its thermal paste replaced in the last 5 years, this guide will show you how to repaste your laptop's CPU.
Before using this guide, download a free piece of software called HWmonitor from CPUID. This will allow you to see your laptop's temperatures to see if your CPU is reporting high temperatures.
Before beginning, make sure to power off your laptop completely and disconnect from any external power source.
-
-
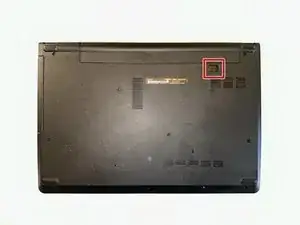
Use the slider to release and remove the battery.
-
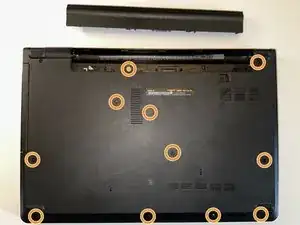
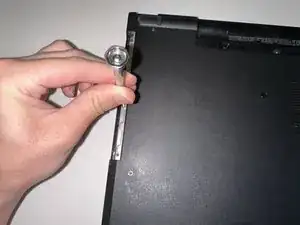
Remove the 11 screws using a small tip Phillips screwdriver.
-
-
-
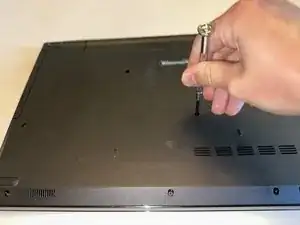
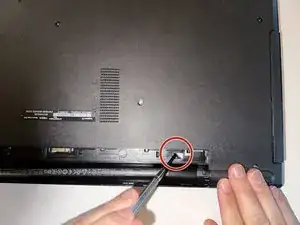
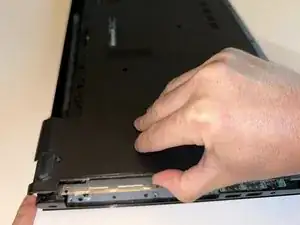
Use a flat screw driver to pry against the angled metal.
-
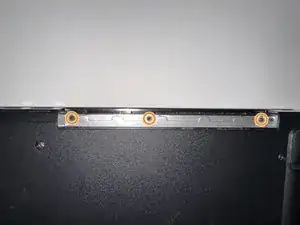
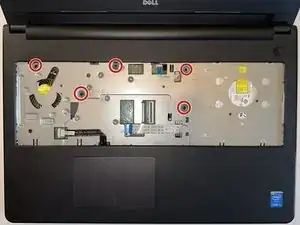
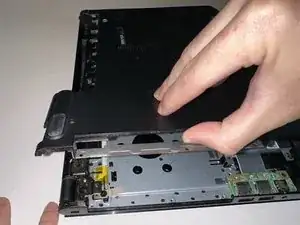
Remove the 3 small screws that were under the optical drive using a small tip Phillips screwdriver.
-
-
-
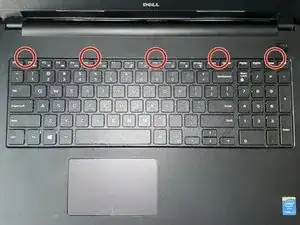
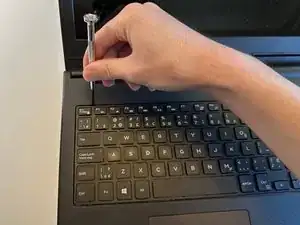
Use a small flat-head screwdriver to pry up at each point indicated to unclip the keyboard from the chassis.
-
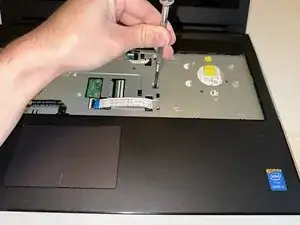
Lift the keyboard 2-3 inches up and carefully disconnect the two ribbon cables by unlatching the mechanism and carefully sliding the cable out horizontally.
-
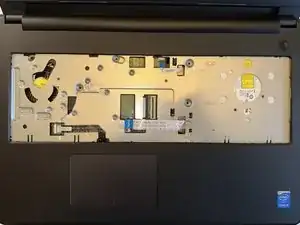
Place the keyboard to the side.
-
-
-
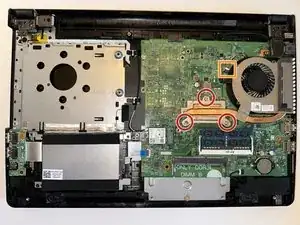
Loosen the screws one at a time and repeat until they are fully unscrewed.
-
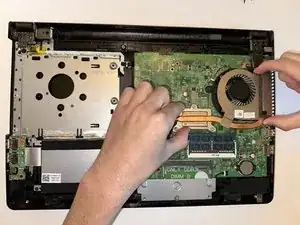
Unplug the fan cable from the header by sliding it out horizontally.
-
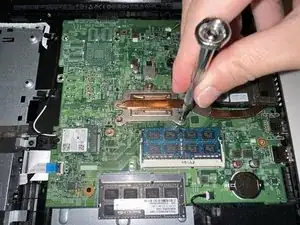
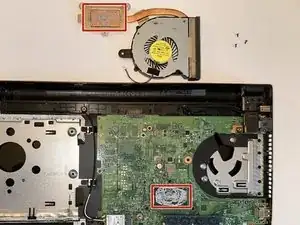
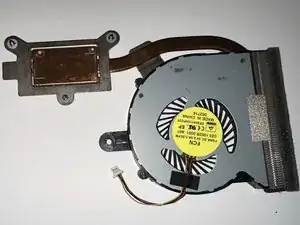
Lift the cooler off the CPU with one hand on the CPU area and one hand on the fan assembly.
-
-
-
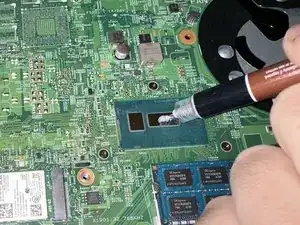
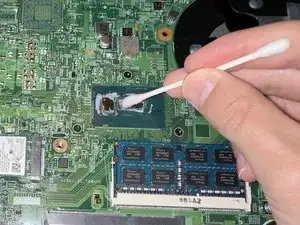
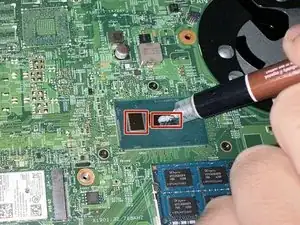
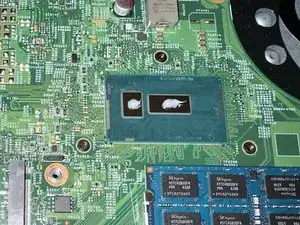
Using paper towels, q-tips, and isopropyl alcohol, clean off the old thermal paste on the CPU and heatsink.
-


To reassemble your device, follow these instructions in reverse order.