Introduction
This is a guide on how to replace a Dell Latitude 5411 Webcam. As a device gets older some of its components may begin to fail. The webcam is an easy device to recognize when broken and it is simple to replace.
-
-
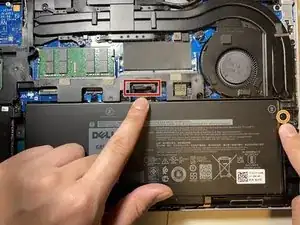
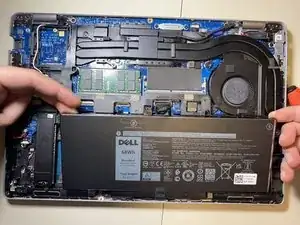
Pull the battery connector pull tab straight up to disconnect the battery.
-
Remove the one 2 mm Phillips #1 screw that secures the battery.
-
Lift the battery straight up and out of the chassis.
-
-
-
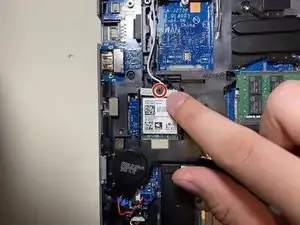
Remove the one 1 mm Phillips #1 screw that secures the Wi-Fi card.
-
Take note of which color wire went into each spot, then disconnect the antenna cable connectors by lifting them straight up.
-
-
-
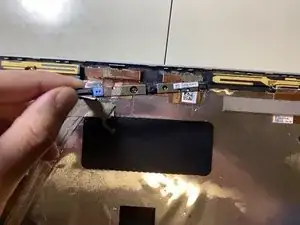
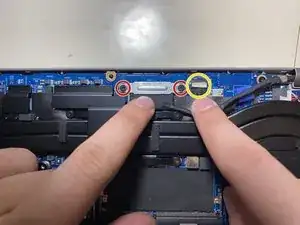
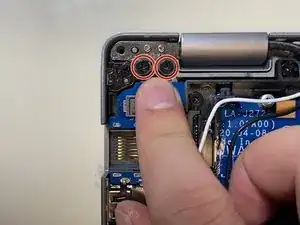
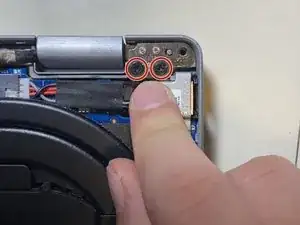
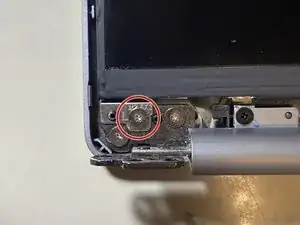
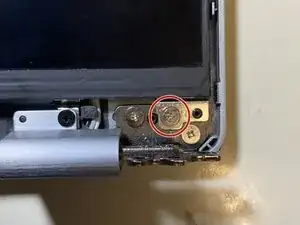
Remove the two 2 mm Phillips #1 screws that secure the display cable bracket.
-
Pull straight up on the display connector pull tab to disconnect the cable.
-
Disconnect the touchpad connector by pulling it straight out of its socket.
-
-
-
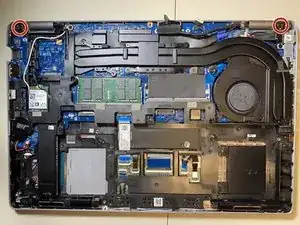
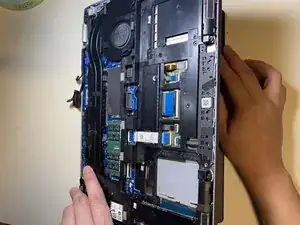
Open up the laptop to 90 degrees.
-
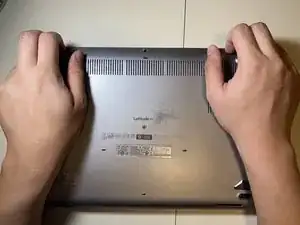
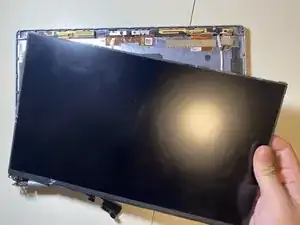
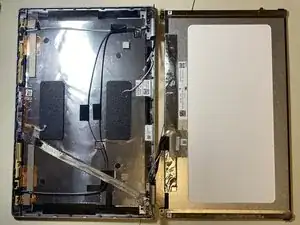
Pull the laptop chassis from the laptop screen and separate them.
-
-
-
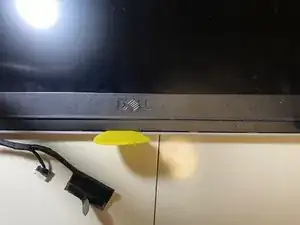
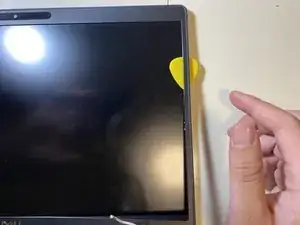
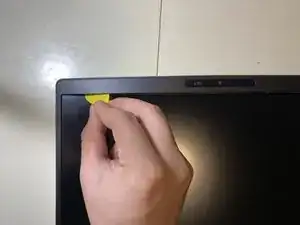
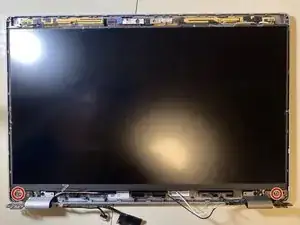
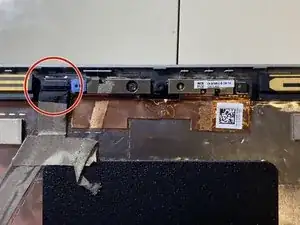
Insert an opening pick into seam between the bezel and the back display cover. Slide and pry around the entire perimeter to separate the entire bezel from the back cover.
-


To reassemble your device, follow the above steps in reverse order.
Take your e-waste to an R2 or e-Stewards certified recycler.
Repair didn’t go as planned? Try some basic troubleshooting or ask our Answers community for help.