Introduction
This guide provides a step by step tutorial for users who would like to replace the power jack, otherwise known as a charging port, on a Dell Latitude 5480 laptop. Power jacks are used to power the user's battery life on their laptop. Users will replace their power jack if they notice that their computer is overheating while charging, charging to slow, if it stops working completely or in drastic instances: smoke is coming out of their charging port. The cause for these symptoms could be gradual debris that has built up over time in the charging port, an exposed wire, or a faulty cable. The process of replacing the charging port is moderately simple, but it does take a few key steps that we will be guiding you through.
-
-
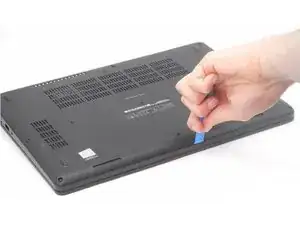
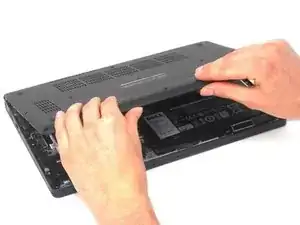
Insert an opening tool into the seam between the lower case and chassis.
-
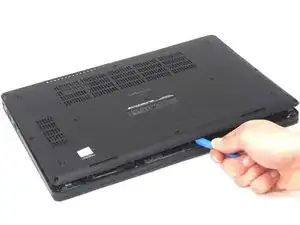
Pry up around the perimeter of the device until the lower case fully releases.
-
Lift off the lower case.
-
-
-
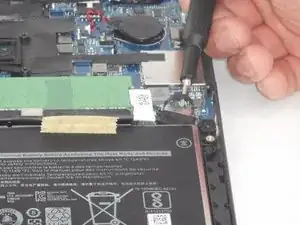
Grip the black battery cable connector loop and pull it directly up to disconnect the battery.
-
-
-
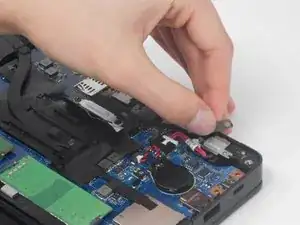
Unscrew the right 3.7 mm screw that secures the fabric flap and the right side of the charging port bracket.
-
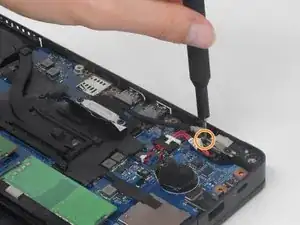
Carefully lift the flap out of the way of the left charging port bracket screw.
-
Unscrew the second 3.7 mm screw on the left side of the charging port bracket.
-
-
-
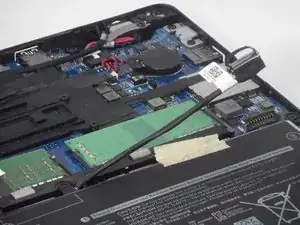
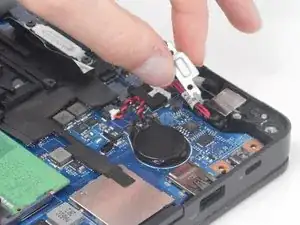
Remove the metal bracket that secures the charging port.
-
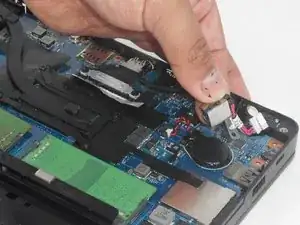
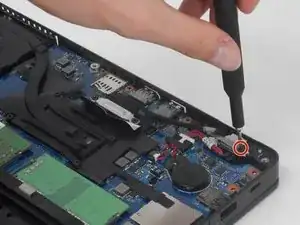
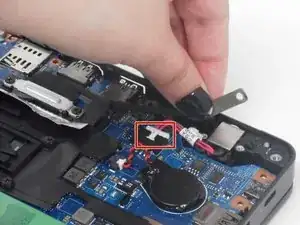
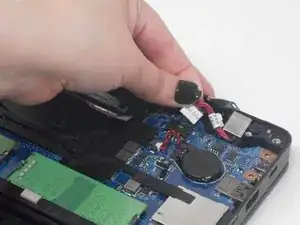
Use the pointed edge of a spudger to push the charging port motherboard connector directly out of its port.
-

To reassemble your device, follow these instructions in reverse order.