Introduction
If you need to repair or replace the fan component in the Dell Latitude 7390, this guide shows you step-by-step how to access it.
Prior to starting this repair, be sure to turn off your laptop and unplug from the power adapter.
-
-
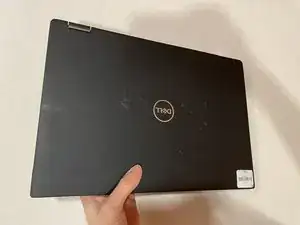
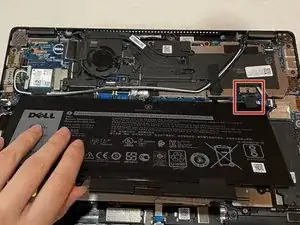
Orient your Dell Latitude 7390 laptop so that it is facing towards you as if you're going to open it.
-
-
-
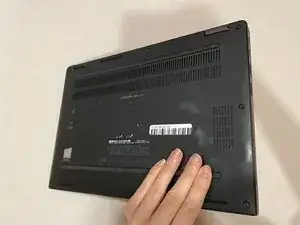
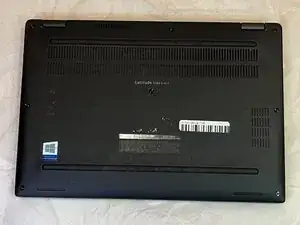
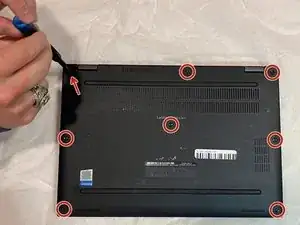
Using your Phillips #1 screwdriver, remove the eight 6 mm screws around the border of the bottom panel.
-
-
-
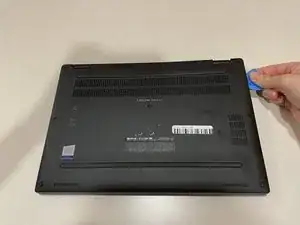
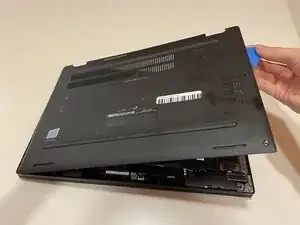
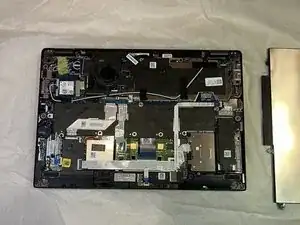
Using an opening tool or picks, work your way around the periphery and pry the back case off.
-
-
-
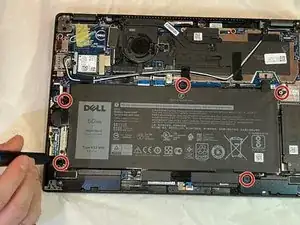
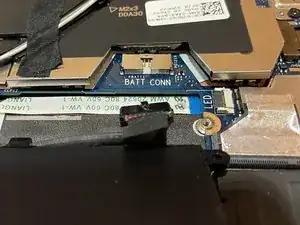
Use the Phillips #1 screwdriver to remove the five 6 mm screws holding the battery in place along the edges of the battery.
-
-
-
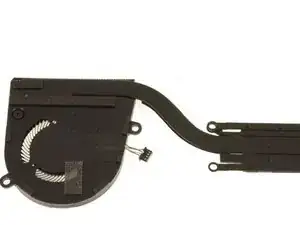
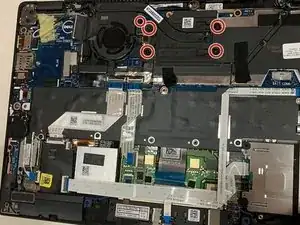
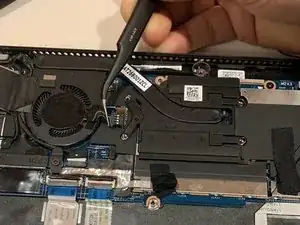
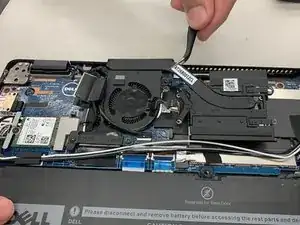
Remove the five black screws holding the fan and heatsink in place using the Phillips #0 screwdriver.
-


To reassemble your device, follow these instructions in reverse order.

One comment
Wonderful!! :)
Since a couple of weeks, my laptop is heating up to 95 degrees even when noting much is going on. I wanted to have it fixed, but I don't have hundreds of dollars to spend to fix a laptop that (in apparence) works just fine. But I know it's not smart, and it keeps stressing me out.
With the step-by-step explanations and photos, it doesn't look hard at all to do it by myself... and the replacement part is like<30-50$ on Dell's website! Hallelujia!!
Thanks a lot!!
*The only thing that would be nice to add is the model name/number of the heatsink or fan that I need to use to make the replacement (the heatsink isn't mentioned in the parts that you need).
Sara Xa -