Introduction

This guide will help you replace your hard drive or upgrade to a SSD on the Dell Latitude E6320.

Make sure to fully turn off your laptop to prevent file corruption and minimise the risk of electric shocks!

  1. XOrKImM1uS3YpHvU
    XOrKImM1uS3YpHvU
    MUVRMweTotgqP4Fj
    • Shut down your computer. Disconnect all power sources before starting physical work.

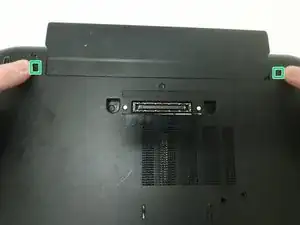
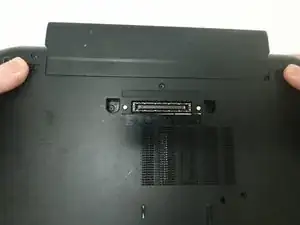
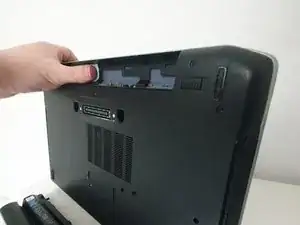
    • Slide the two latches each side of the battery outwards. You'll notice you've unlatched the battery from the chassis when you hear two clicks.

    • Don't do this while the computer isn't upside down! When you lift up the computer to turn it over, you could damage the battery or injure yourself or someone else.

  2. acMAmLeXUEYM3B4E
    acMAmLeXUEYM3B4E
    uN6ZKSssCUD3nhiZ
    2xc1pya1f4yEyuuf
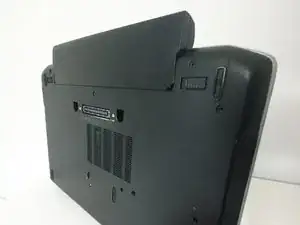
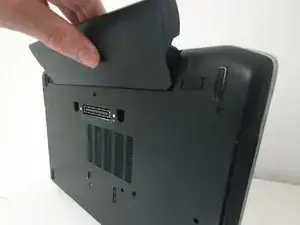
    • To remove the battery from the chassis, pull it up from underneath the top of the battery.

    • The latches should relatch back to their original position once you pull out the battery,

    • Place the battery on a sensible surface, where it won't fall down.

  3. vlpQGVpBIabYDdX6
    vlpQGVpBIabYDdX6
    XKEgkxRBpFQcaSv5
    • Remove the four Phillips #00 screws that secure the hard drive to the computer.

    • If you can't be bothered taking a look at the provided images, you'll see the screws indicated by the same hard drive icon that lights to up to show disk activity above the screw.

  4. 5FcaYTRLNFLgj2Yd
    5FcaYTRLNFLgj2Yd
    PbDPlKEIoPKQGPHH
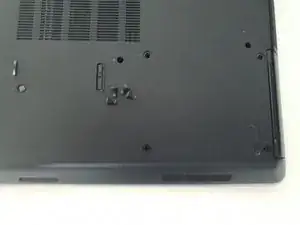
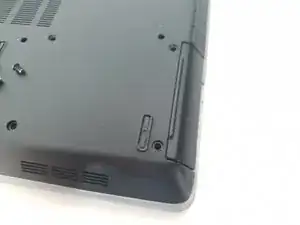
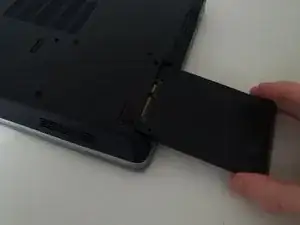
    • Find the outdent at the right side of the chassis, and pull it outward to release and slide out the hard drive.

    • You don't need too much force, so don't yank it out fast!

  5. bYprOjOykulJbTGI
    bYprOjOykulJbTGI
    c2OevXWpl61nDuFw
    • Remove the Phillips #00 screw that secures the drive caddy to the hard drive.

    • Make sure to hold the drive firmly so no accidents happen!

  6. M124TMPkFfUdjsIt
    M124TMPkFfUdjsIt
    rbgUeu1QMWglohtD
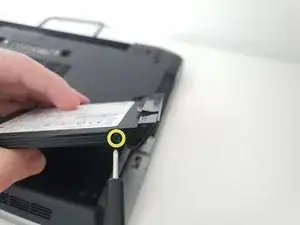
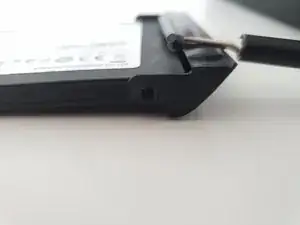
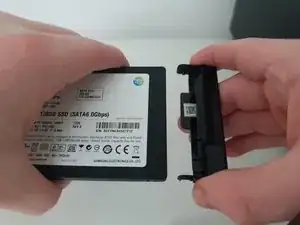
    • Dislodge the caddy from the drive by lifting the caddy up and wiggling it outwards at the same time.

    • Do not use too much force. Doing so will cause the top mount screw to potentially bend.

Conclusion

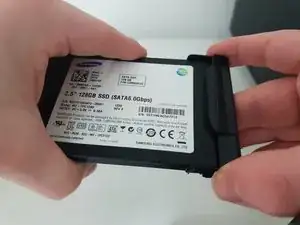
To install your new hard drive and reassemble your device, follow these instructions in reverse order.

If you are replacing your exisitng HDD with a SSD, make sure to get a spacer.

Hezekiah Brown

Member since: 11/02/21

6169 Reputation

0 comments