Introduction

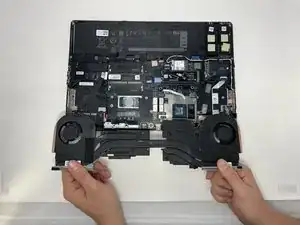
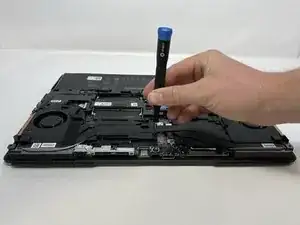
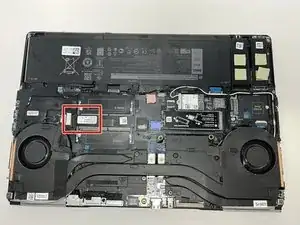
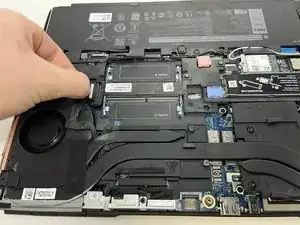
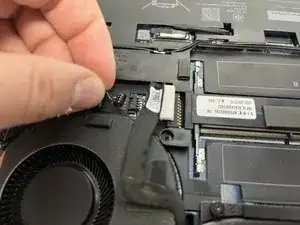
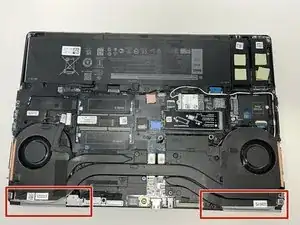
This guide covers how to replace the fans in a Dell Precision 7560 laptop. The fans are responsible for maintaining the laptop's internal temperature. A poorly functioning fan means a poorly functioning laptop, so keeping the fans spick and span, free from dust and grime is a sure way to keep performance high, Caution is required when pulling connecting wires throughout the process.

  1. Ut44ZnQXdbd2cq1l
    Ut44ZnQXdbd2cq1l
    esuntJX5YegKFkp3
    • The screws holding the fan in place cannot be fully removed.

    • Loosen the eight captive screws that secure the fan assembly.

    • Each screw is numbered in the order that they should be loosened.

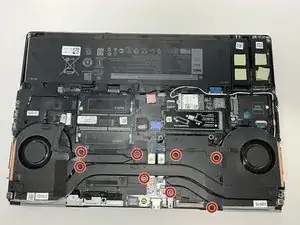
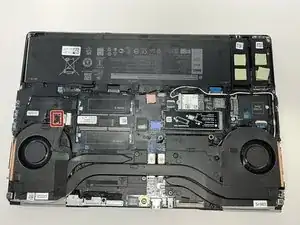
    I highly suggest having a can of air spray ready before doing this and blow the fans and the heat sink vents clean from dust at this point and before going forward. Because when the fan assembly is lifted any dust accumulated on it can get on to the surfaces of the sticky heat sink pads that on the components below the assembly. Another important suggestion is to have thermal paste cleaner and new tube of thermal paste ready. Once you remove the fan assembly you will have to have to clean the remainder of the old caked thermal paste and put new one before placing the replacement back on.

    niyeziterenkoy -

  2. 6YyPpQ5YymOsjcJ2
    6YyPpQ5YymOsjcJ2
    bYvFpa4HsGp6uyRJ
    • Locate connector cable and pull lightly to remove.

  3. Jx6OQewZESYJdakV
    Jx6OQewZESYJdakV
    BgxXbtOnrGPKStq2
    • Gently pull the first fan connector from the head until it is removed.

    • The thin wire is prone to damage. Exercise extra caution during removal.

  4. gGPLZVOjpAGPBDD1
    gGPLZVOjpAGPBDD1
    XH4pbj4EByxrcydw
    • Gently pull the second fan connector from the head until it is removed.

    • The thin wire is prone to damage. Exercise extra caution during removal.

  5. l4AorUpeXdkOyUqH
    l4AorUpeXdkOyUqH
    MlRUqyymTQfHejZA
    • Lifting from the bottom, carefully remove the laptop's fans.

    Have to be very careful to keep the heat sink pads at their places and clean when lifting and placing this fan assembly back on. In this picture it can be seen that a white strip of heat sink pad is seen that had been moved out of its place. Also need to have thermal paste cleaner, q-tips, lint free cloth or similar to clean the old thermal paste that will be very likely caked on and have a new thermal paste to replace for the CPU and GPU chips.

    niyeziterenkoy -

Conclusion

To reassemble your device, follow these instructions in reverse order.

Jack Allred

Member since: 09/02/23

345 Reputation

0 comments