Introduction

The motherboard of a computer is its control center and can seem daunting to replace. This guide will demonstrate how to efficiently replace the motherboard for a Dell Precision 7560 laptop.

Motherboards can be damaged by rough handling, drops, water damage, or power surges.

Some possible indications of a failing motherboard are: external USB devices are no longer being read by the laptop correctly, if at all; the laptop is operating much slower than normal; the computer boots with a blank blue screen, and/or any burning smell coming from the laptop while operating.

Power off and unplug your device before beginning.

  1. vZehpNTyJ5xcLV1l
    vZehpNTyJ5xcLV1l
    NP4f3YAs1KBjPGqM
    vThRcAoFRGpVVDqx
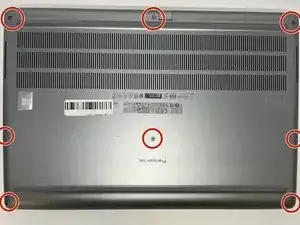
    • The screws holding the back cover in place can not be removed.

    • Use a Phillips #0 screwdriver to loosen the the eight 5 mm captive screws in the bottom cover.

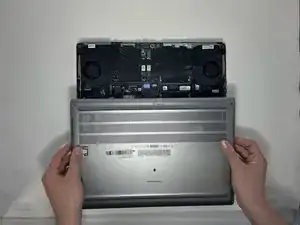
    • Remove the back cover by lifting at the corners.

  2. lRSsGIPBWtnrcOuj
    lRSsGIPBWtnrcOuj
    VE5llP5vsjpjCE3Z
    GiFNpJBWkIRKPIcp
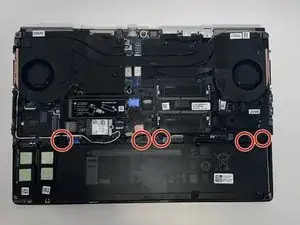
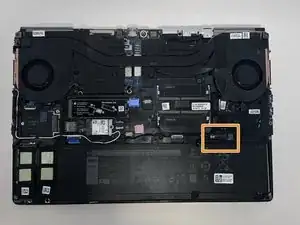
    • Unscrew and remove the five 2 mm screws that secure the battery.

    • Locate the battery connector.

    It is only 3 screws to remove the battery. Each one is labeled M2x5L on the tabs extending from the battery.

    Barry Todd -

  3. FyFPrlSeFykDFa5Z
    FyFPrlSeFykDFa5Z
    llPdDjMaviZfoBTv
    Jj3XVwEmWROhVvkL
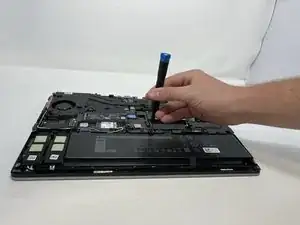
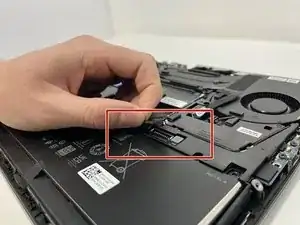
    • Pull the connector towards you to disconnect it.

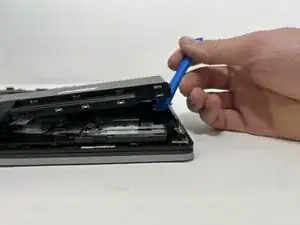
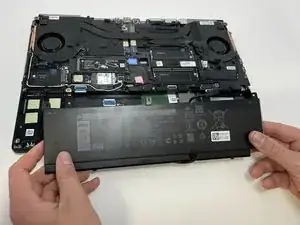
    • Use your fingers or a plastic opening tool to pry the battery up and remove it from the laptop.

  4. Ut44ZnQXdbd2cq1l
    Ut44ZnQXdbd2cq1l
    esuntJX5YegKFkp3
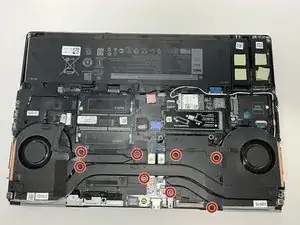
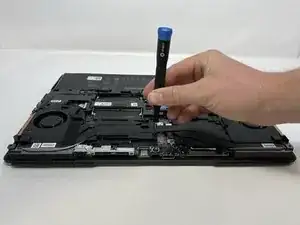
    • The screws holding the fan in place cannot be fully removed.

    • Loosen the eight captive screws that secure the fan assembly.

    • Each screw is numbered in the order that they should be loosened.

    I highly suggest having a can of air spray ready before doing this and blow the fans and the heat sink vents clean from dust at this point and before going forward. Because when the fan assembly is lifted any dust accumulated on it can get on to the surfaces of the sticky heat sink pads that on the components below the assembly. Another important suggestion is to have thermal paste cleaner and new tube of thermal paste ready. Once you remove the fan assembly you will have to have to clean the remainder of the old caked thermal paste and put new one before placing the replacement back on.

    niyeziterenkoy -

  5. 6YyPpQ5YymOsjcJ2
    6YyPpQ5YymOsjcJ2
    bYvFpa4HsGp6uyRJ
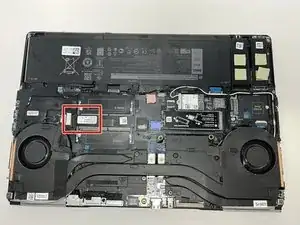
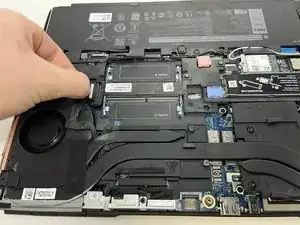
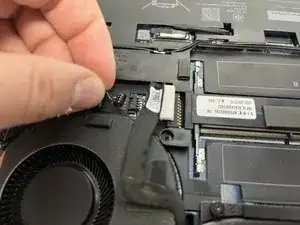
    • Locate connector cable and pull lightly to remove.

  6. Jx6OQewZESYJdakV
    Jx6OQewZESYJdakV
    BgxXbtOnrGPKStq2
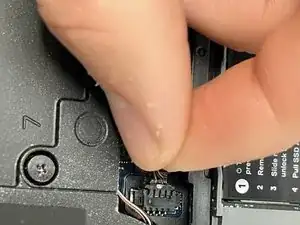
    • Gently pull the first fan connector from the head until it is removed.

    • The thin wire is prone to damage. Exercise extra caution during removal.

  7. gGPLZVOjpAGPBDD1
    gGPLZVOjpAGPBDD1
    XH4pbj4EByxrcydw
    • Gently pull the second fan connector from the head until it is removed.

    • The thin wire is prone to damage. Exercise extra caution during removal.

  8. l4AorUpeXdkOyUqH
    l4AorUpeXdkOyUqH
    MlRUqyymTQfHejZA
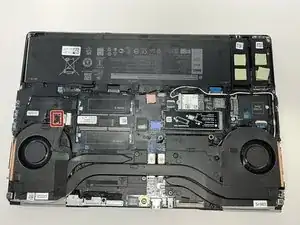
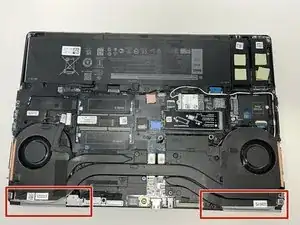
    • Lifting from the bottom, carefully remove the laptop's fans.

    Have to be very careful to keep the heat sink pads at their places and clean when lifting and placing this fan assembly back on. In this picture it can be seen that a white strip of heat sink pad is seen that had been moved out of its place. Also need to have thermal paste cleaner, q-tips, lint free cloth or similar to clean the old thermal paste that will be very likely caked on and have a new thermal paste to replace for the CPU and GPU chips.

    niyeziterenkoy -

  9. deSVQNrpaFgWWKuX
    deSVQNrpaFgWWKuX
    xkOfoiceqMCLcnZh
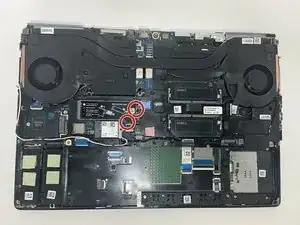
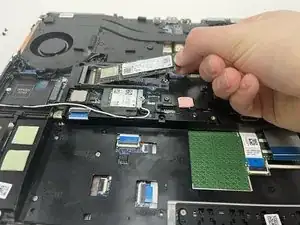
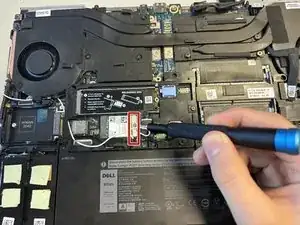
    • Unscrew and remove the two 3 mm screws that secure the solid-state drive.

  10. V26eoQjSibCyckmQ
    V26eoQjSibCyckmQ
    OoQMvWkUfEAnnLfA
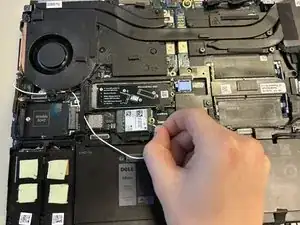
    • Remove the top cover of the Solid State Drive by lifting up from the corners.

    • Notice that the Solid State Drive is located underneath the cover.

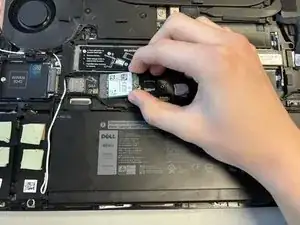
    • Pull the Solid State Drive gently towards you from its exposed end to disconnect it.

    • With an appropriate replacement part, exchange the old SSD with a new one.

  11. g63sOOoiXm4LoD2a
    g63sOOoiXm4LoD2a
    SyxAlu1EfoBdYmMt
    DdN2ubHiBZ5DKpZe
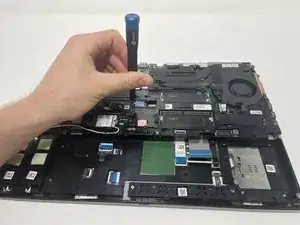
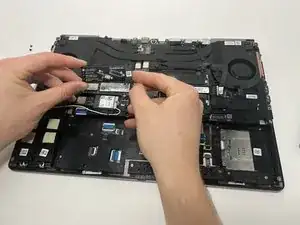
    • Remove the 5 mm screw holding the Wi-Fi card in place using a Phillips #0 screwdriver.

    • Lift to remove the metal overlay.

    • Disconnect the wires attached to the Wi-Fi card.

    • Lift from the sides to remove the Wi-Fi card.

  12. XlbMYDExhYaFCiD5
    XlbMYDExhYaFCiD5
    XZWCKE3FaNwrBfVW
    • Remove the 2 mm screws holding the metal frame in place using a Phillips #0 screwdriver.

    • Remove, carefully and completely, any wires running over the frame.

    • Grab securely and lift to remove the metal frame.

  13. Ix5mf6Ckcfp1gFcw
    Ix5mf6Ckcfp1gFcw
    bdJN1UPgAsSYmGhi
    • Flip up the metal edge holding down the SD connection.

    • Gently pull to disconnect the connecting strip.

  14. hflD6SmsBXNd3AmY
    hflD6SmsBXNd3AmY
    DCpvItGbLPk6cwXA
    flWuX6RRUNPQv6pQ
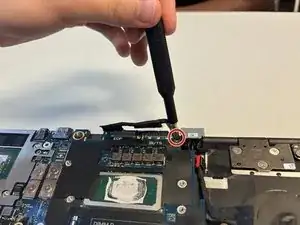
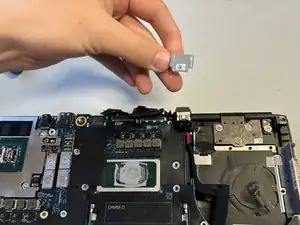
    • Remove the 5 mm screw holding the metal cap over the wire connection using a Phillips #0 screwdriver.

    • Holding the sides, lift to remove the metal cap.

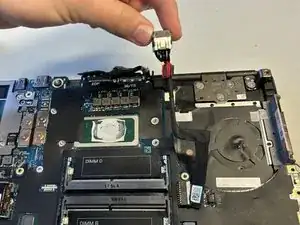
    • Lift to disconnect the wire bundle.

  15. EhIsi3lBl6ZgUWuj
    EhIsi3lBl6ZgUWuj
    qOCMIaAapOIoh4Nv
    E2un335DLrYEJA6O
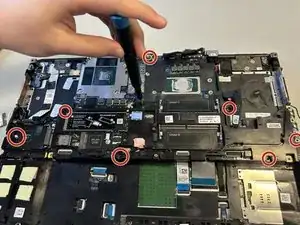
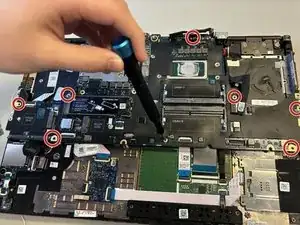
    • Using a Phillips #0 screwdriver, remove the eight 2 mm screws holding the motherboard.

    • Flip the motherboard over, exposing the underside.

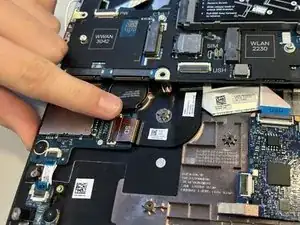
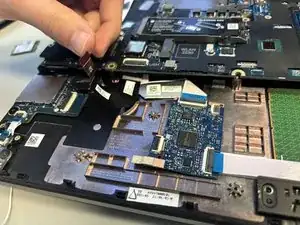
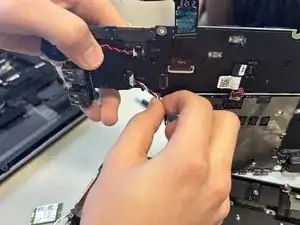
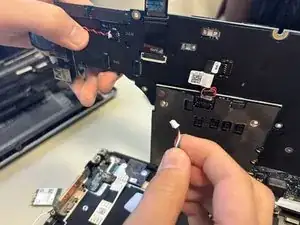
    • Pull to disconnect the wires leading to the speaker unit.

  16. rBRv6WWGPAkaxmMw
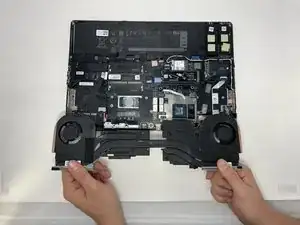
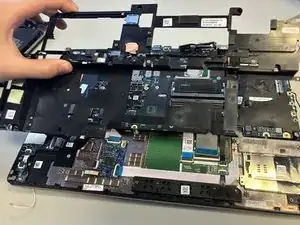
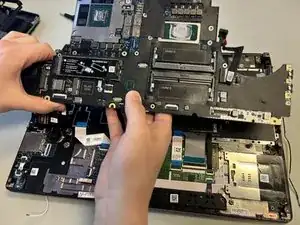
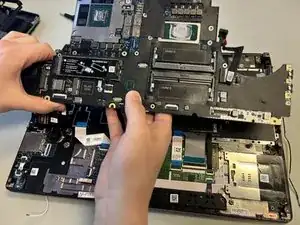
    • Using both hands, securely lift and remove the motherboard.

Conclusion

To reassemble your device, follow these instructions in reverse order.
Khadija

Member since: 08/02/24

133 Reputation

0 comments