Introduction
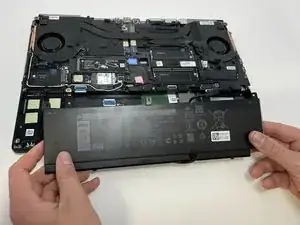
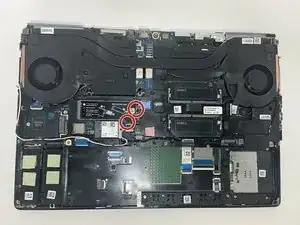
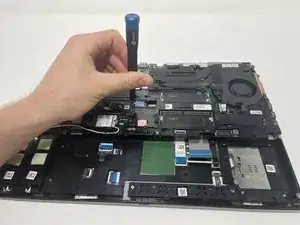
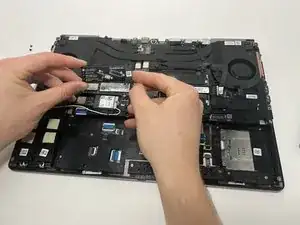
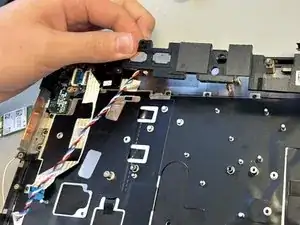
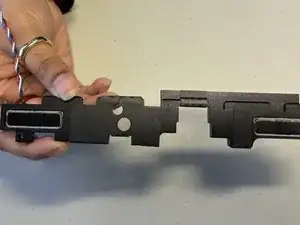
Use this guide to replace a faulty speaker in your Dell Precision 7560 laptop.
The speakers are responsible for the sound you hear when you play music, watch videos or do anything else that involves the audio on your laptop. If you notice distorted audio or no audio at all from your laptop, you should replace your speaker.
Make sure to power off your laptop completely and disconnect from any external power source prior to beginning this guide.
Tools
-
-
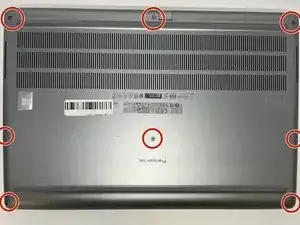
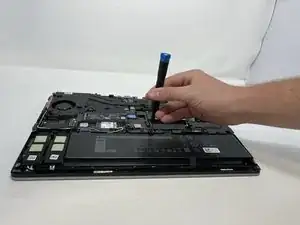
Use a Phillips #0 screwdriver to loosen the the eight 5 mm captive screws in the bottom cover.
-
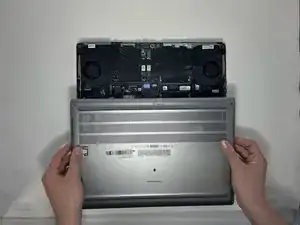
Remove the back cover by lifting at the corners.
-
-
-
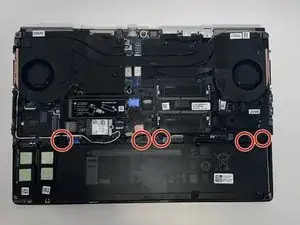
Unscrew and remove the five 2 mm screws that secure the battery.
-
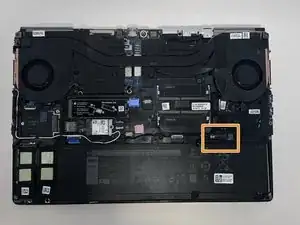
Locate the battery connector.
-
-
-
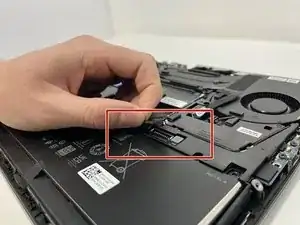
Pull the connector towards you to disconnect it.
-
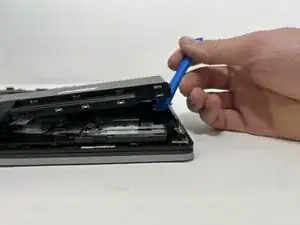
Use your fingers or a plastic opening tool to pry the battery up and remove it from the laptop.
-
-
-
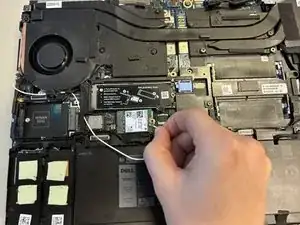
Remove the top cover of the Solid State Drive by lifting up from the corners.
-
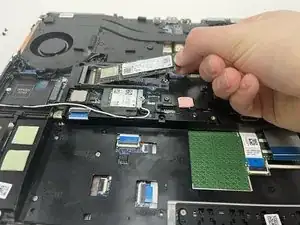
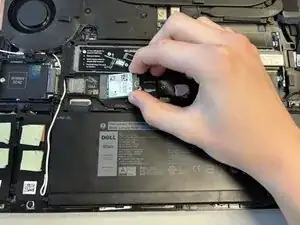
Pull the Solid State Drive gently towards you from its exposed end to disconnect it.
-
With an appropriate replacement part, exchange the old SSD with a new one.
-
-
-
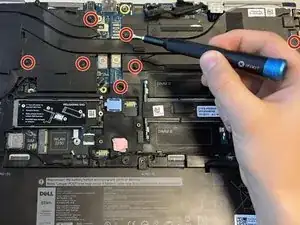
Loosen the eight captive screws that secure the fan assembly using a Phillips #0 screwdriver.
-
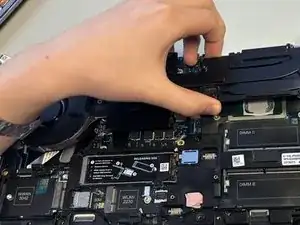
Lifting from the bottom, carefully remove the fan.
-
-
-
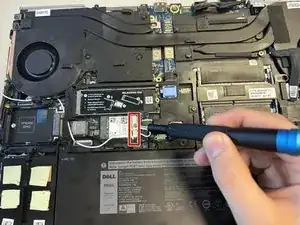
Remove the 5 mm screw holding the Wi-Fi card in place using a Phillips #0 screwdriver.
-
Remove the metal overlay.
-
Disconnect the wires attached to the Wi-Fi card.
-
Remove the Wi-Fi card.
-
-
-
Remove the 2 mm screws holding the metal frame in place using a Phillips #0 screwdriver.
-
Remove, carefully and completely, any wires running over the frame.
-
Lift the metal frame.
-
-
-
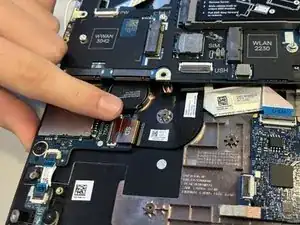
Flip up the metal edge holding down the SD connection.
-
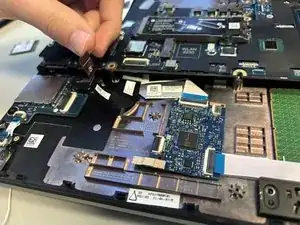
Gently pull to disconnect the metal connecting wire.
-
-
-
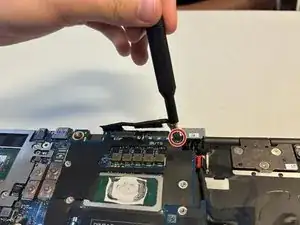
Remove the 5 mm screw holding the metal cap over the wire connection using a Phillips #0 screwdriver.
-
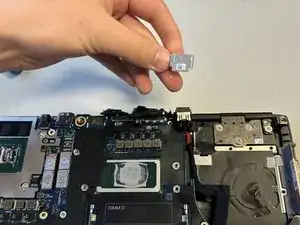
Remove the metal cap.
-
Disconnect the wire bundle.
-
-
-
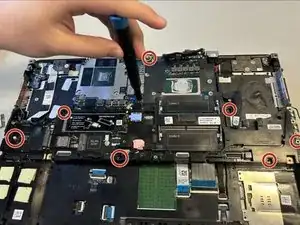
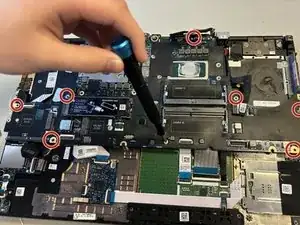
Using a Phillips #0 screwdriver, remove the eight 2 mm screws holding the motherboard.
-
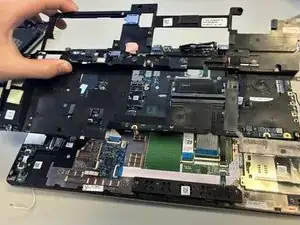
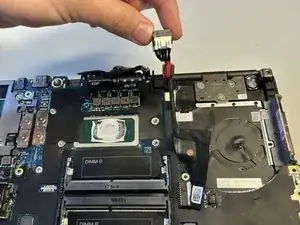
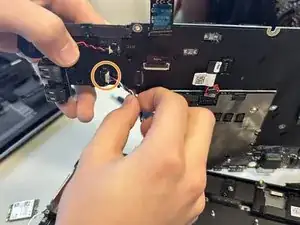
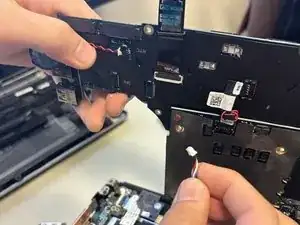
Carefully remove the speaker wire from the motherboard.
-
To reassemble your device, follow these instructions in reverse order.
