Introduction
If you’re experiencing slowness with your Dell Vostro 1320, or if you notice that your fan is constantly loud even when you’re performing simple tasks, use this guide to replace the fan in your Dell Vostro 1320.
When running intensive tasks such as video editing, gaming, coding, or 3D modeling, the central processing unit (CPU) generates more heat than usual, which impacts the speed of your computer. The fan dissipates the heat by circulating hot air out and cold air in, ensuring that your computer can perform at its best.
A worn-out or malfunctioning fan will either spin at high speeds at all times, generating excessive noise, or will not spin at all, damaging the CPU and slowing down your computer. After long periods of use, dust may also accumulate in the fan, degrading fan speeds.
Before beginning, make sure to shut down your computer and disconnect from any external power source.
Note that the last instruction in this guide will teach you how to remove dust from your fan, which can be taken as a precursory step before replacing the fan entirely.
Tools
-
-
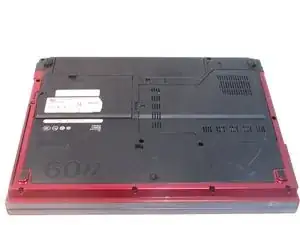
Turn the laptop over so that the bottom of it is exposed.
-
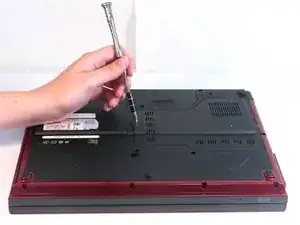
The section of the computer that we need to access is the right panel. You need to start by using the J00 bit attachment to the Bit Driver to unscrew the screw
-
-
-
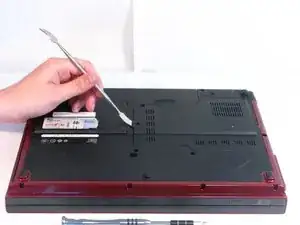
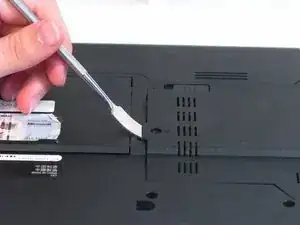
Use the flat Metal Spudger to open the plastic panel.
-
If the panel does not open right away try placing the flat Metal Spudger to the adjacent or opposite side of the plastic panel.
-
-
-
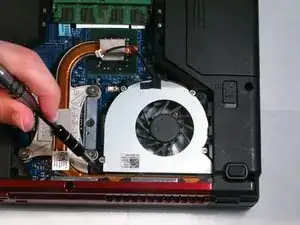
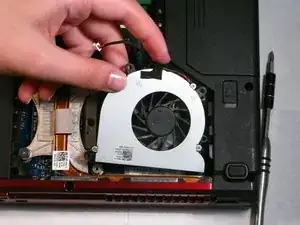
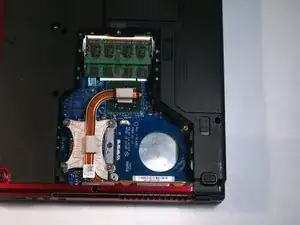
Gently pull the fan away from the side of the computer. Lift it out completely.
-
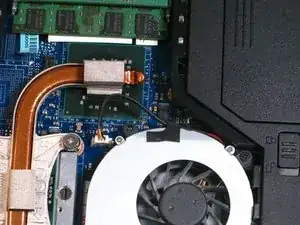
At this point you can now blow all the dust out of your fan and the copper heatsink.
-

To reassemble your device, follow these instructions in reverse order.