Introduction
This guide will show you how to replace the motherboard of the Dell Vostro 5510. The motherboard is the part of a computer which connects all of its internal components and transmits both information and power. A typical symptom of a faulty motherboard is a totally dead system; however, it is common for a power supply issue to be confused with a motherboard issue. If the system remains dead after replacing the power supply, there is most likely a problem with the motherboard. See this link for more information on motherboard troubleshooting: Computer Motherboard Troubleshooting.
-
-
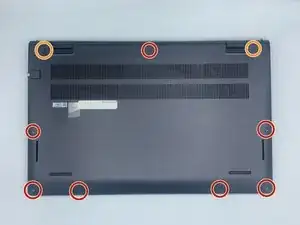
Remove the remaining (M2x4mm) screws with the screwdriver.
-
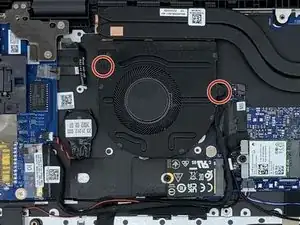
Loosen the two captive (M2x7.5mm) corner screws with the screwdriver.
-
-
-
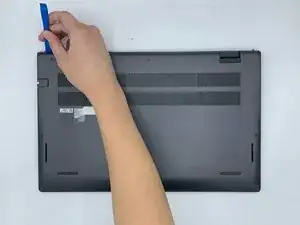
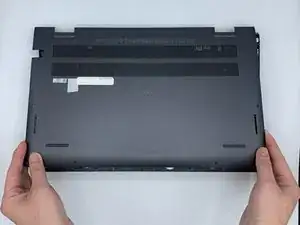
Pry open the top left corner of the cover with the opening tool.
-
Pry open the top right corner of the cover with the opening tool.
-
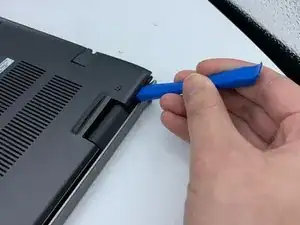
Pry the rest of the cover with the opening tool, working in a clockwise motion until it is completely loosened.
-
-
-
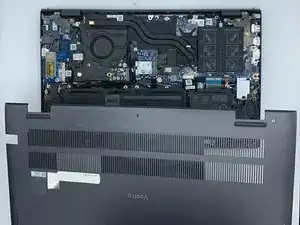
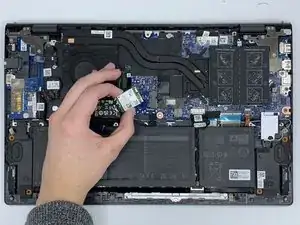
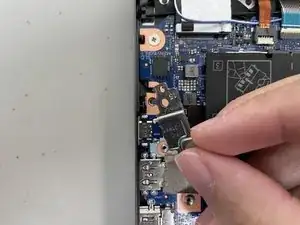
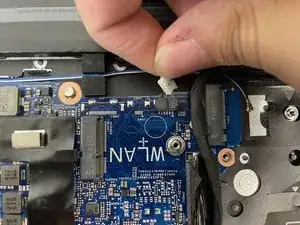
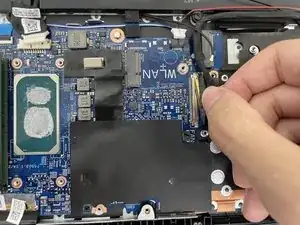
Remove the screw (M2x3mm) from the wireless card with the screwdriver.
-
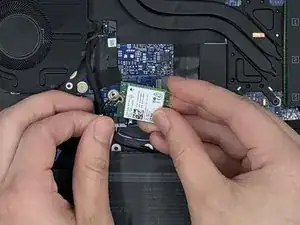
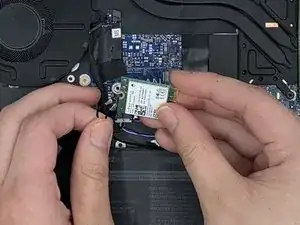
Lift the card without removing it completely.
-
-
-
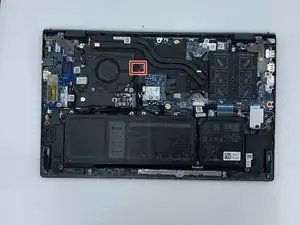
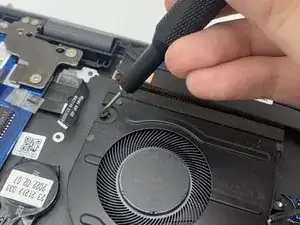
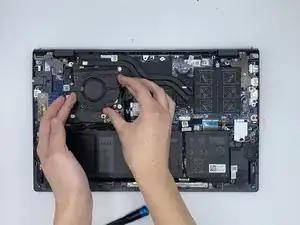
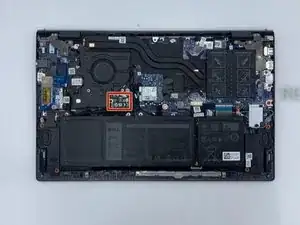
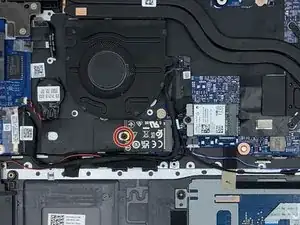
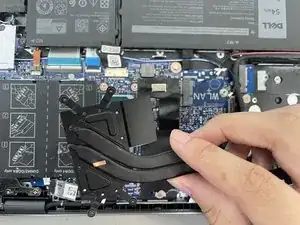
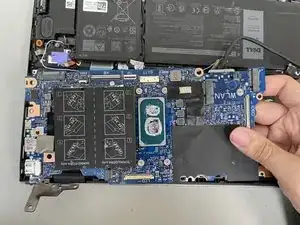
Loosen the four 2.9 mm screws from the heat pipe with the Phillips #0 screwdriver.
-
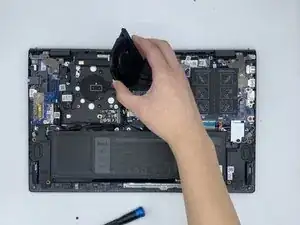
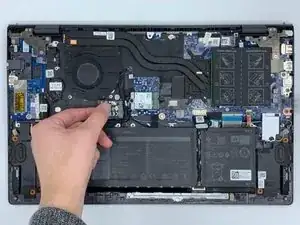
Remove the heat pipe with your fingers.
-
-
-
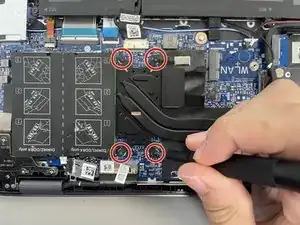
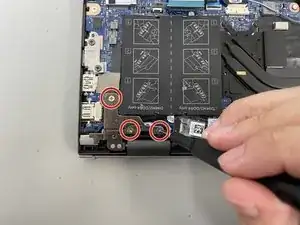
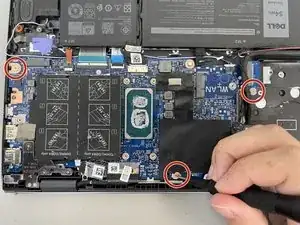
Remove the three 4.9 mm screws from the hinge on the left with the Phillips #0 screwdriver.
-
Lift the hinge up from the motherboard.
-
-
-
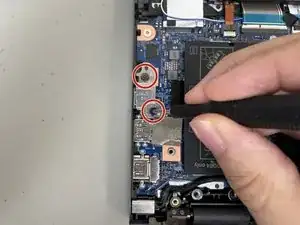
Remove the two 4.7 mm screws from the metal plate on the left of the motherboard with the Phillips #0 screwdriver.
-
Remove the metal plate with your fingers.
-
-
-
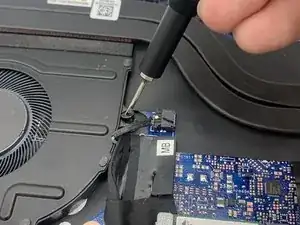
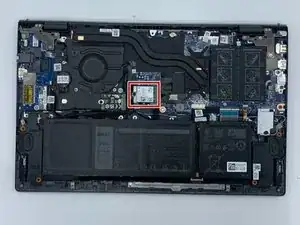
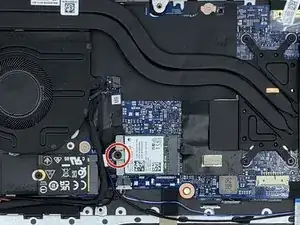
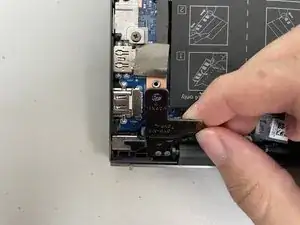
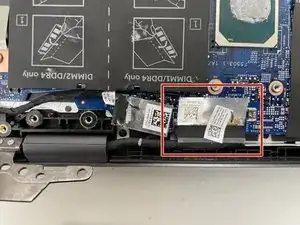
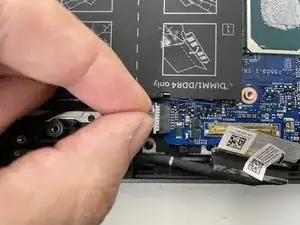
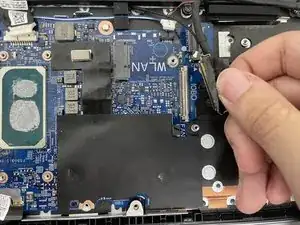
Remove the 3.7 mm screw from the flat plate at the top of the motherboard with the Phillips #0 screwdriver.
-
Remove the flat plate with your fingers.
-
-
-
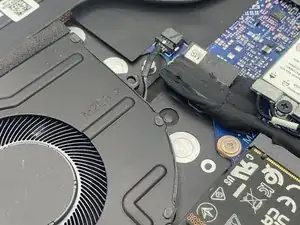
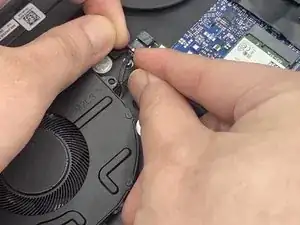
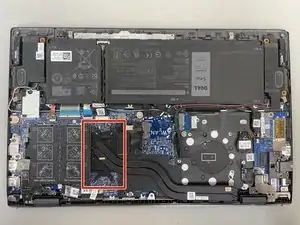
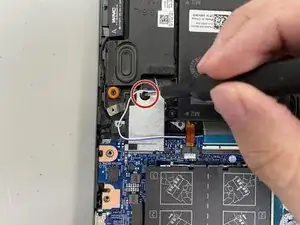
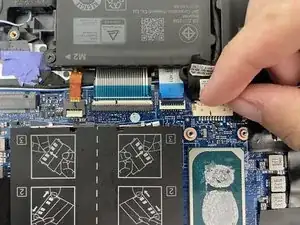
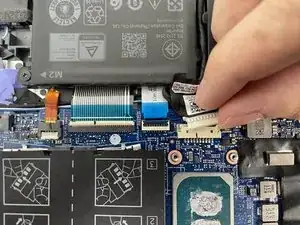
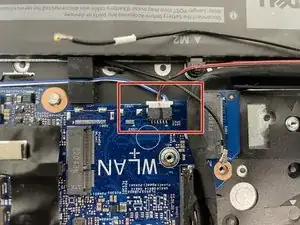
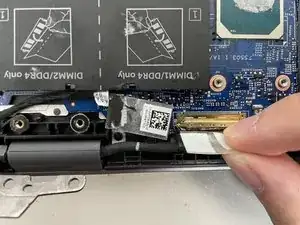
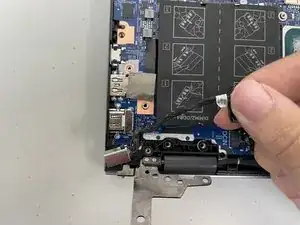
Disconnect the white plug from the bottom of the motherboard.
-
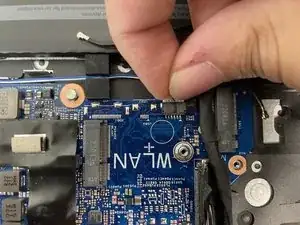
Remove the entire part the plug is attached to with your fingers.
-


To reassemble your device, follow these instructions in reverse order.