Introduction
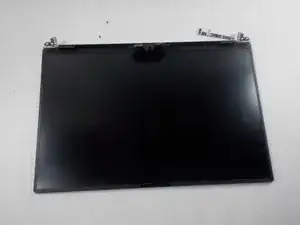
This guide will walk you through replacing the display assembly on your Dell XPS 15 9510 laptop. A display replacement is often needed when the screen is cracked, malfunctioning, or has become unresponsive. The display assembly includes the screen, connectors, and casing around the display, so replacing it can resolve issues like flickering, dead pixels, or physical damage.
Before starting, keep in mind that the display assembly is fragile, and care should be taken to avoid damaging other components during the repair. The edges of the laptop’s metal case can be sharp, so handle it with caution. This repair does not require advanced skills, but basic familiarity with handling small screws and electronic components is necessary. Be sure to take precautions to avoid electrostatic discharge during the repair.
Additionally, ensure you have backed up important data in case of any unforeseen issues during the repair. Follow this guide to replace the display assembly and restore your laptop's screen functionality.
Warning: If your display is damaged due to physical trauma, check the internal components for any signs of damage before proceeding with the replacement.
-
-
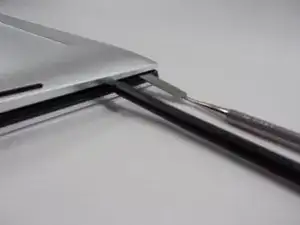
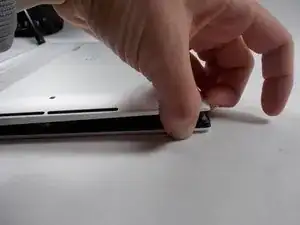
Remove the four screws (eight total) from each display hinge using a Phillips #00 screwdriver.
-


To reassemble your device, follow the above steps in reverse order.
Take your e-waste to an R2 or e-Stewards certified recycler.
Repair didn’t go as planned? Try some basic troubleshooting or ask our Answers community for help.

2 comments
Missing a very important step.
Two small screws above the display cable clamp - Step 5 - need to be removed. If you look at the picture in step 5, the far left red/orange circle actually contains one. You can spot it inside and at the top of the of the circle. You can't separate the display assembly without removing those 2 screws.
Aren't there any cables that need to be removed?
Ned Eff -