Introduction

A broken heat sink can have a result of overheating to your device. This guide shows how to replace the heat sink under the fans within the Dell XPS 15 9510. Allowing the heatsink to cool down the device along with the fans.

Make sure to power off your laptop completely and disconnect from any external power source before to begin the process.

  1. YY1uMIXAKpsoTi6r
    • Make sure the laptop is powered off and unplug all cables before beginning any repair.

    • Remove eight 3 mm screws from the underside of the case using a T5 Torx screwdriver.

  2. CsyiMEh56dOAySMo
    • The metal case of the XPS 15 9510 is extremely sharp, so be careful not to run your fingers along the edge when disassembling the laptop.

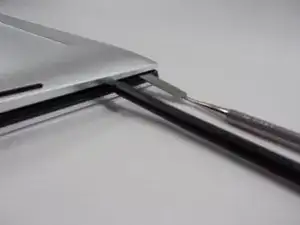
    • Wedge the case apart with a nylon spudger.

    • If the plastic one isn't possible to insert, use the metal spudger to carefully create a small gap first.

    • Slide spudger along each side of the laptop

  3. UCdtoFAuEYa1ZWTT
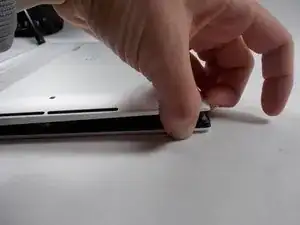
    • The metal case of the XPS 15 9510 is extremely sharp, so be careful not to run your fingers along the edge when disassembling the laptop.

    • Lift the back panel of the laptop off and set it aside.

    Please do not miss this warning of it being sharp...
    After opening a few laptops for my office, I have generally been fine. But after opening my own XPS... I had sliced my finger badly.

    Alipoodle M -

  4. tqUcgsb1XWDwaYif
    tqUcgsb1XWDwaYif
    4xFkRdAtj1kEpmJi
    • Using the small battery pull tab, disconnect the battery connector from the motherboard.

  5. 3bycfaJUmwbdMa4X
    • Remove eight 2.5 mm from around the perimeter of the battery using a Phillips #0 screwdriver.

  6. pqXq1tECUaFouWW4
    pqXq1tECUaFouWW4
    leOkjNDgNTLITdeE
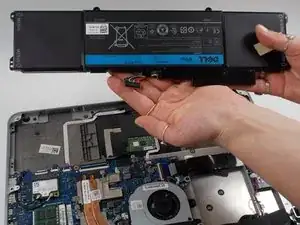
    • There are many delicate components in the vicinity of the battery, so be extremely careful removing it

    • Remove the old battery from the laptop.

  7. PFASMFTehIfnK6QQ
    PFASMFTehIfnK6QQ
    MNZmxEHCExMXibWl
    • Remove two 4.3 mm screws from the left fan and one 4.3 mm screw from the right fan using a JIS #000 screwdriver.

    I had to remove three screws in total to remove the right fan. One that is circled in the image above, and two more which hold the small black bracket to the right of the right fan. This bracket, while seemingly there to protect/secure a ribbon cable, also secures the right fan. Perhaps the guide should be corrected to account for this? or maybe there are multiple variants.

    Cagdas Uzunahmet -

  8. 23oJ6sJJu653ObKF
    23oJ6sJJu653ObKF
    lr1BvpZtREZPsijU
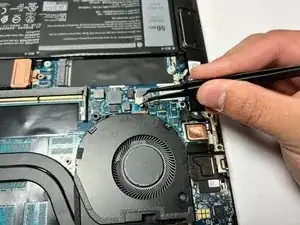
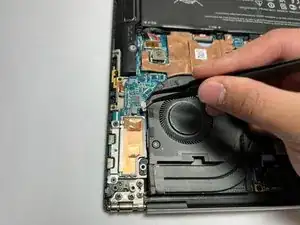
    • Gently unplug the motherboard fan connector using a pair of tweezers.

  9. 3YQP3tOLnJBvBbXS
    • Unplug the motherboard connector on the other fan using a pair of tweezers.

  10. 4jx4gJVlk3TKkHGS
    4jx4gJVlk3TKkHGS
    bOWvpPl5G4kFqRNs
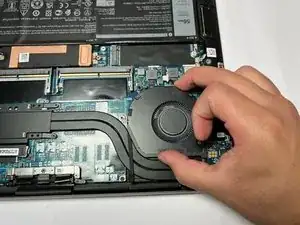
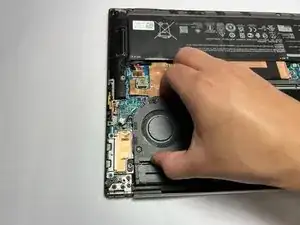
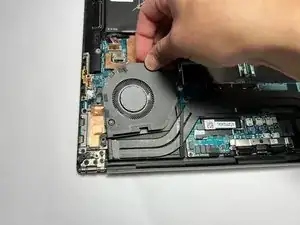
    • Gently slide and then lift the fans out of their positions.

  11. EKieYrTpLLOnIBJh
    EKieYrTpLLOnIBJh
    FDTcQONjXvdXiPNW
    t1AJLSPcVReGCcid
    • Repeat the previous step and remove the other fan.

  12. hQcoIfu4vELMOKHB
    hQcoIfu4vELMOKHB
    Mxpae2lRMrj3LVTA
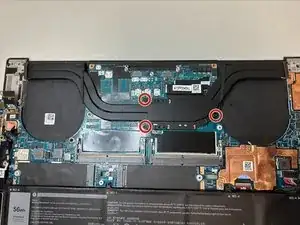
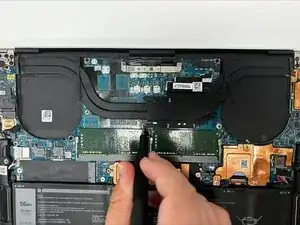
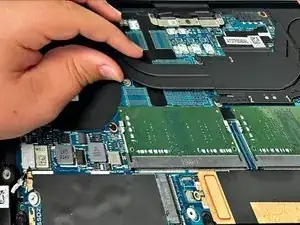
    • Remove the three 4.6 mm screws that secure the heat sink with a Phillips #00 screwdriver.

  13. SpSifNBSDmdsAHNe
Conclusion

To reassemble your device, follow the above steps in reverse order.
Take your e-waste to an R2 or e-Stewards certified recycler.
Repair didn’t go as planned? Try some basic troubleshooting or ask our Answers community for help.
Liz Huynh

Member since: 23/09/24

85 Reputation

0 comments