Introduction

Laptop hinge replacement is important because it ensures that the display system stays in place without wobbling, moving, or being too tight. A broken hinge will affect the usability of your laptop. This guide will show you how to replace the hinges using the iFixit iOpener tool.

  1. YY1uMIXAKpsoTi6r
    • Make sure the laptop is powered off and unplug all cables before beginning any repair.

    • Remove eight 3 mm screws from the underside of the case using a T5 Torx screwdriver.

  2. CsyiMEh56dOAySMo
    • The metal case of the XPS 15 9510 is extremely sharp, so be careful not to run your fingers along the edge when disassembling the laptop.

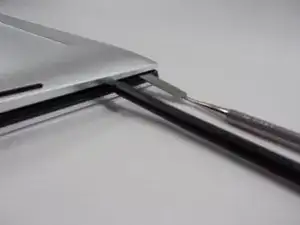
    • Wedge the case apart with a nylon spudger.

    • If the plastic one isn't possible to insert, use the metal spudger to carefully create a small gap first.

    • Slide spudger along each side of the laptop

  3. UCdtoFAuEYa1ZWTT
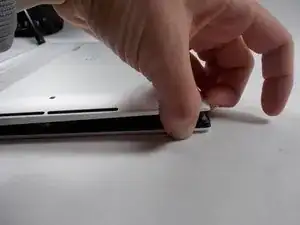
    • The metal case of the XPS 15 9510 is extremely sharp, so be careful not to run your fingers along the edge when disassembling the laptop.

    • Lift the back panel of the laptop off and set it aside.

    Please do not miss this warning of it being sharp...
    After opening a few laptops for my office, I have generally been fine. But after opening my own XPS... I had sliced my finger badly.

    Alipoodle M -

  4. tqUcgsb1XWDwaYif
    tqUcgsb1XWDwaYif
    4xFkRdAtj1kEpmJi
    • Using the small battery pull tab, disconnect the battery connector from the motherboard.

  5. 3bycfaJUmwbdMa4X
    • Remove eight 2.5 mm from around the perimeter of the battery using a Phillips #0 screwdriver.

  6. pqXq1tECUaFouWW4
    pqXq1tECUaFouWW4
    leOkjNDgNTLITdeE
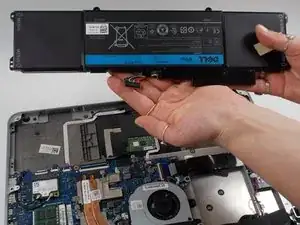
    • There are many delicate components in the vicinity of the battery, so be extremely careful removing it

    • Remove the old battery from the laptop.

  7. 1GaA5ghYyjiw2VDo
    • Remove the four screws (eight total) from each display hinge using a Phillips #00 screwdriver.

  8. kfFs1tqn3BH2JCOT
    • Remove five screws that connect the display using a Phillips #00 screwdriver.

    A step is missing here: remove the two small black screws on each side of the display ribbon cable, as seen on step 2 of the Dell repair steps: https://www.dell.com/support/manuals/en-...

    Justin Decker -

    Also disconnect the two monitor ribbon cables from the board

    Justin Decker -

  9. MteUkxblsKRQCWnV
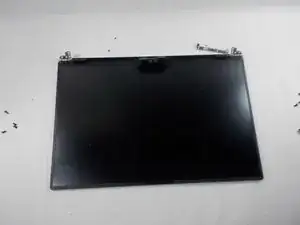
    • Carefully remove the display from the Dell XPS 15 9510.

  10. bQwkZGrudU5cVCCB
    bQwkZGrudU5cVCCB
    mcvEcy5pp3oNUDGy
    • Heat the iOpener in the microwave for 30 seconds.

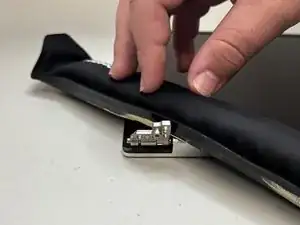
    • Place the iOpener on top of the laptop where the hinge is connected. Leave it there until the glue holding it in place melts.

  11. dawsJWyXrADrKKDA
    dawsJWyXrADrKKDA
    IUMJwak5Eo2EAXyC
    Qcym6dpxrG2JWFWp
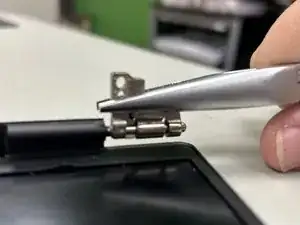
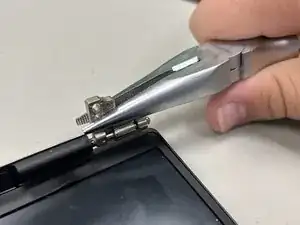
    • Pull out the hinges using a pair of needle nose pliers.

Conclusion

To reassemble your device, follow these instructions in reverse order.
Haley H.

Member since: 23/09/24

85 Reputation

0 comments