Introduction

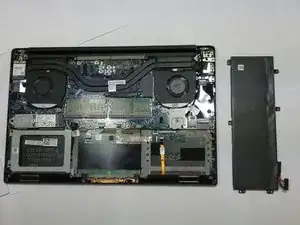
How to replace a scratched, cracked, or unresponsive trackpad on a Dell XPS 15 9560 laptop.

Before using this guide, check for other possible causes of trackpad issues.

  • Trackpad Drivers: Your issue may be related to drivers. Watch this video by MDTechVideos for a fix.
  • Dust or Debris: Clean the trackpad by spraying isopropyl alcohol on a microfiber cloth. Apply medium pressure and wipe in small circles on and around the trackpad.
  1. ewqdxmkHpNACxVa4
    • Before beginning, unplug the charger and any peripheries. If possible, discharge your battery below 25%.

    • Shut the laptop down.

  2. jUKaXAtFqXsZ1xJL
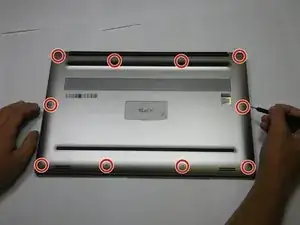
    • Using a T5 Torx screwdriver, remove ten 4.0 mm screws from the back panel of the laptop.

  3. OWsK3uFQ2DGW6vdZ
    • Using a Phillips screwdriver, remove two 5 mm screws underneath the XPS badge door.

    I used PH0 screwdriver

    Gerald Dennett -

  4. Kt2Tg1sk3VDMyqZS
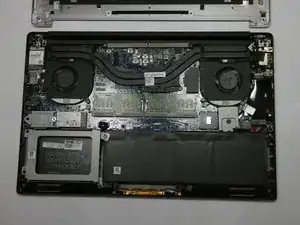
    • Wedge the scribe between the backplate and remove the bottom base cover.

  5. BMDNuJGST1pYSydH
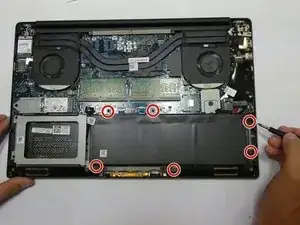
    • Using a T5 Torx screwdriver, remove the six 4.0 mm screws.

    On the Dell XPS 15 9560 that I just did a battery replacement on the battery was not held in by torx screws. It was the larger 97wh battery and was held in by 6 phillips head screws. I was able to get them out with a PH1 bit.

    Nick Hamblen -

    Seconded. In the photo the author isn't even holding a torx driver.

    Gregory Robben -

    Same, by me it was held by 8 philips screws labeled M2X4.

    Sven Oelker -

    Mine is the smaller battery, held in by four PH0 screws. The two towards the middle of the computer in the photo above are not present.

    Gerald Dennett -

  6. EIPhbwKanoubPUAV
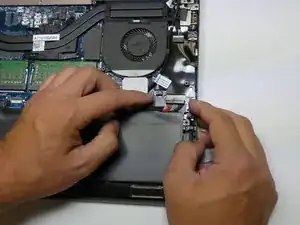
    • Unplug the battery cable.

  7. 42vITSAgbhUs33vj
    • Remove the battery.

  8. 4XGwZrNCdcDsdWQt
    • Using a Phillips #0 screwdriver, remove four 4.0 mm screws of the hard drive bracket.

    • Unplug the hard drive cable.

  9. FlsGFdpXFwfoekMv
    • Remove the hard drive bracket. Then, unplug and remove the hard drive.

  10. UeHyn55RHfYyTsBl
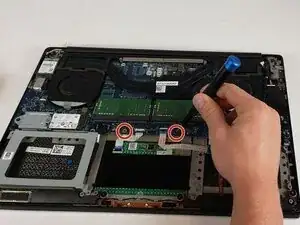
    • Remove the two 5 mm mounting screws.

  11. NWocCOiicXQpCab4
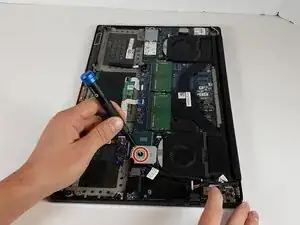
    • Use a screwdriver to remove the single 5mm screw securing the silver plate.

  12. poBRI2arEB3ULGQO
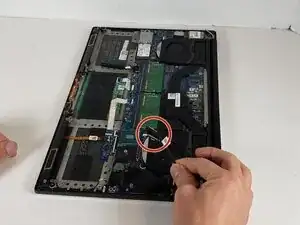
    • Lift the latch and pull out the smallest cord.

  13. WWDlCtwaUksF2mfj
    WWDlCtwaUksF2mfj
    2aUdRjAvjdGZmhXa
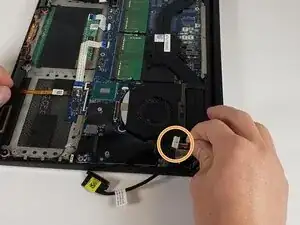
    • Unplug the black cord.

    • Unplug the cord with a white plug.

  14. v1qPxKJTQw5VElye
    v1qPxKJTQw5VElye
    YmOLb6FWy4yU6a1E
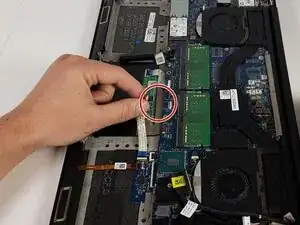
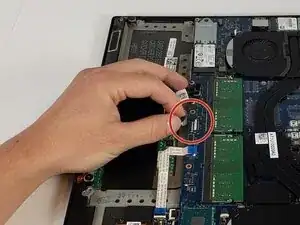
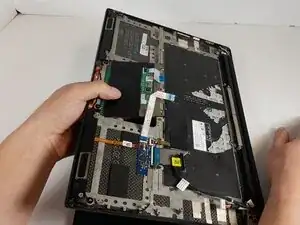
    • Gently pull the white ribbon cables out from their housings. To disconnect, use a spudger or your fingernail to gently lift the looped tab away from the connector. It should pop up easily.

    • Next, use the spudger or your fingernail to push the plastic tab away from the socket. It should move slightly.

    • Now, pull the white ribbon cables out.

  15. GNJWhn6SVMVsYQxm
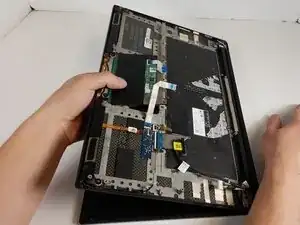
    • Lift the laptop as shown.

    • Separate the touchpad from the keyboard.

Conclusion

To reassemble your device, follow these instructions in reverse order.
Taylor Hancock

Member since: 18/01/22

133 Reputation

0 comments