Introduction
This guide will be helpful to those with a "Digital2 7" Tablet D2-713G GN", that requires a screen replacement. The task difficulty is moderate, and does not require any special skills.
You will need the following tools:
- 1 iFixit Opening Tool
- 1 Spudger
- 1 Pair of Tweezers
- 1 Phillips #0 Screwdriver
-
-
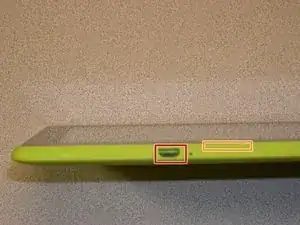
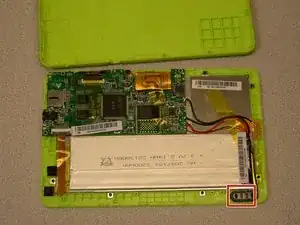
With the appropriate tools on hand, you want to look for the charging port.
-
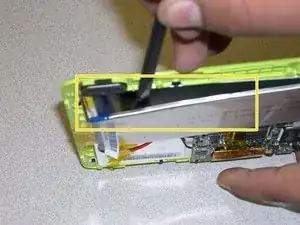
Once you have located your charging port, to the right of it you will be able to insert the prying tool into the crack between the case and the display border.
-
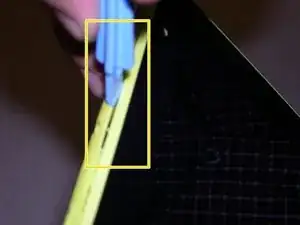
Now continue to pry the case with the same technique all around.
-
After prying all around the device, you will be able to separate the back cover from the display , which holds all the components.
-
-
-
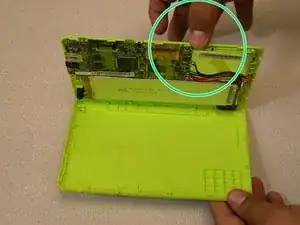
Once you have opened the case completely, you will be able to see the speaker.
-
With one hand hold the device down to the table and with the other hand remove the speaker from where it sits.
-
-
-
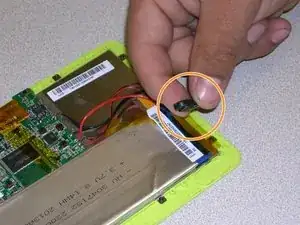
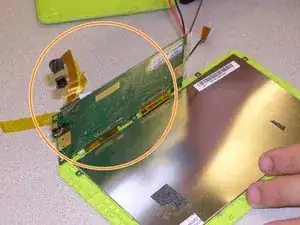
With your tweezers, carefully lift the cameras out of their place. The cameras are held together by a ribbon cable. Be careful not to damage the ribbon when pulling the cameras out.
-
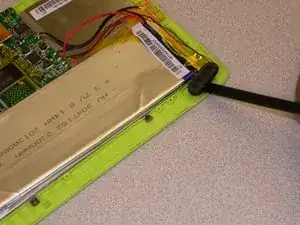
There will be pieces of yellow tape holding the cables and other components in place. Locate and peel back the tape enough so that the battery is not held in place by it.
-
Now use your spudger as a prying tool to insert underneath the battery and separate it from the back of the display.
-
-
-
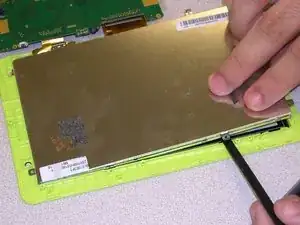
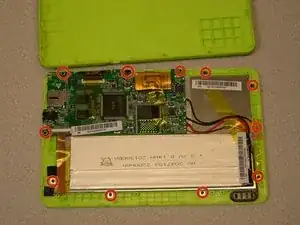
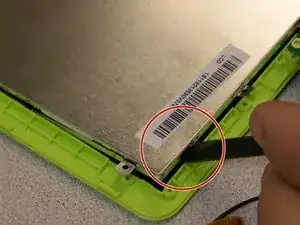
Once the other components are detached from the back of the display, remove the 11 screws holding down the circuit board and the display.
-
Now you will be able to move the circuit board, speaker, cameras, and battery out of the way leaving you a clear line of sight of the back of the display (screen).
-
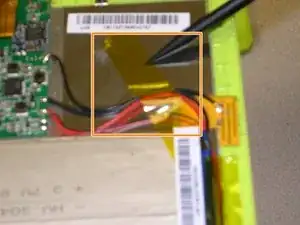
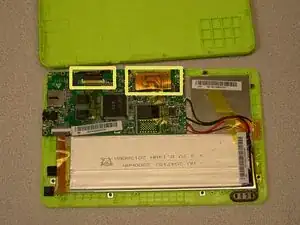
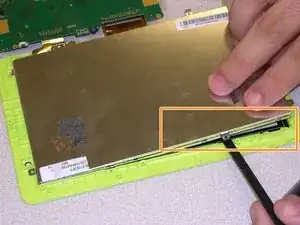
Disconnect the 2 ribbon cables going from the display to the circuit board.
-
-
-
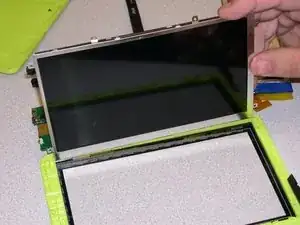
Use your spudger to carefully pry the display from the frame as you lift it at the same time.
-
Start at one corner moving around the display with the same technique.
-

To reassemble your device, follow these instructions in reverse order.
One comment
were did you find the screen from or website