Introduction
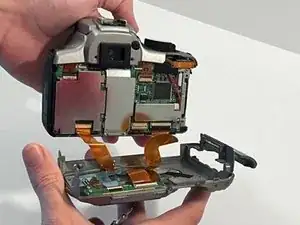
In this guide, you will remove the camera’s covering. Please note that this involves thoroughly disassembling the entire camera and should only be done if you need direct access to the camera membrane.
-
-
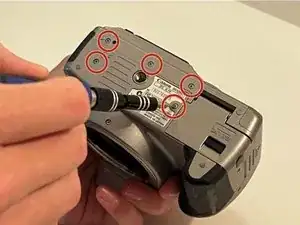
At the bottom of the camera, there are 5 screws. Use the Phillips #00 head to remove all 5 screws
-
-
-
Turn the camera to the left side and use Phillips #00 head to unscrew the the top and bottom screws of the panel.
-
-
-
There is another screw on top of the panel on the left side of the camera. Use Phillips #00 head to remove it.
-
-
-
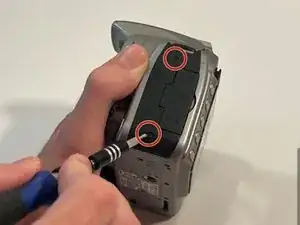
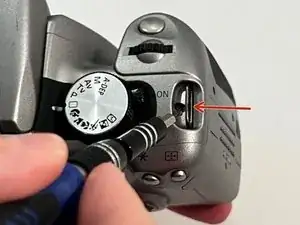
Turn on the camera on the right side and use Phillips #00 head to remove the 2 screws parallel from one another.
-
-
-
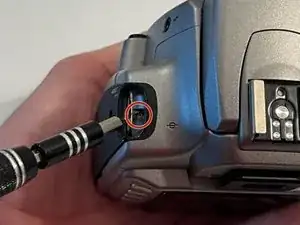
There is another screw on top of the panel on the right side of the camera. Use Phillips #00 head to remove it.
-
-
-
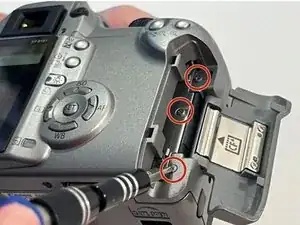
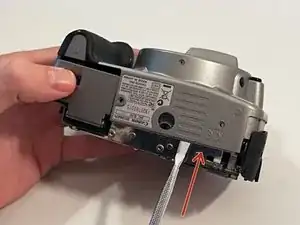
Open the memory card port and take out the CompactFlash from the inside. Upon removing the flash remove the 3 screws with a Phillips #00 head.
-
-
-
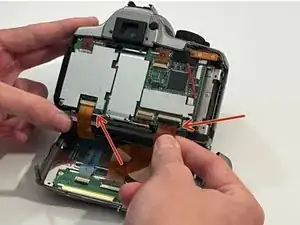
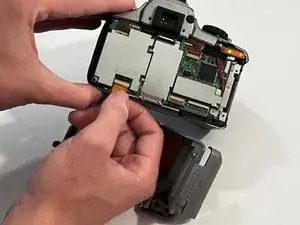
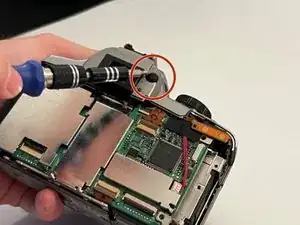
Gently remove the orange ribbon cable from the motherboard using your hands or tweezers. Carefully detach the orange ribbon cable connector from the body of the camera.
-
-
-
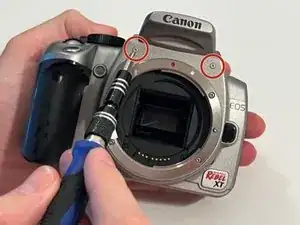
Looking at the front side of the camera, remove the 2 screws below the Canon flash with a Phillips #00 head.
-
-
-
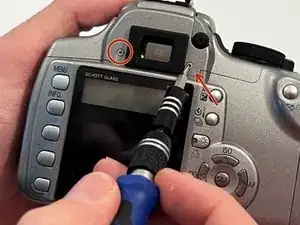
Use the Phillips #00 head to remove the diopter adjustment dial’s screw at the top right of the eye lens.
-
-
-
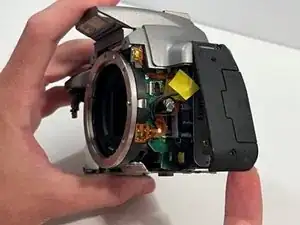
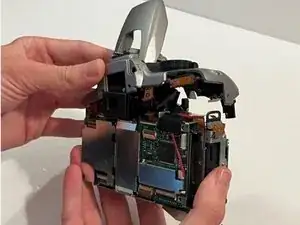
Use a pry tool to remove the front casing of the camera Then, carefully pull the lens cover off the front of the camera.
-
-
-
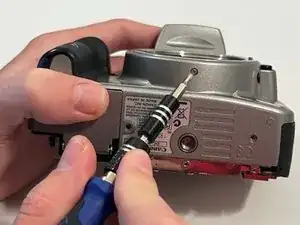
On the right side of the camera, remove the screw underneath the shutter-release button with the Phillips #00 head.
-


To reassemble your device, follow these instructions in reverse order.
