Introduction
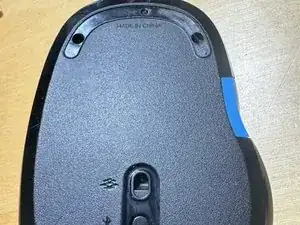
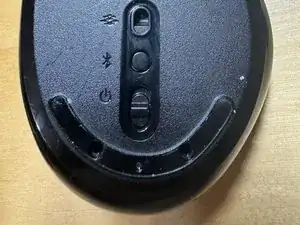
Open mouse, disable features, clean, check battery mounts and continuity.
Guide to go step by step, or YouTube.
Credit to Joy L on YouTube video
-
-
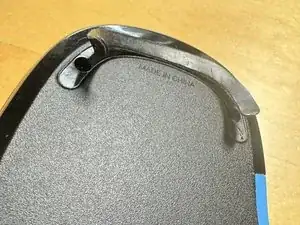
Thin blade/knife to start removal of bottom pads, then peel off. Lay flat to ensure it goes back on during assembly.
-
-
-
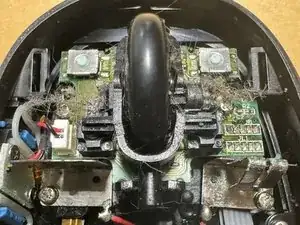
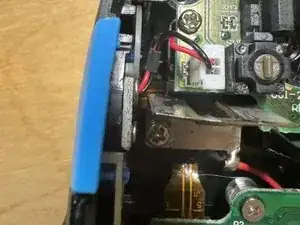
When removing wheel, be careful as a a spring is underneath. Pry front holding wheel to ensure it does not pop, same with back.
-
-
-
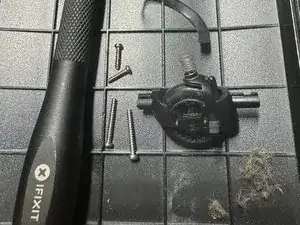
Several small phillips pan head screws will remove the sides and rear circuit board - keep flat head phillips in place for the laser assembly on the reverse side.
-
-
-
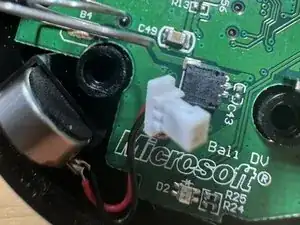
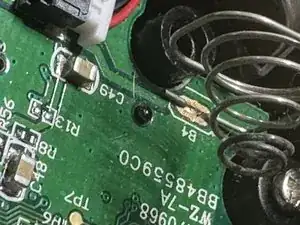
If you had batteries corrode in your device, check your mounts. Ideally use a meter to see if you have continuity on the board.
-
Conclusion
To reassemble your device, follow these instructions in reverse order.