Introduction
This is how I disassemble my playstation controller for cleaning. This is not a repair guide or for any electronics explanations.
Tools
-
-
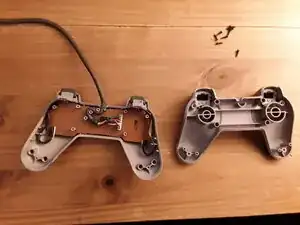
Turn the controller onto its front and remove the 8 screws in the holes, 4 on each side.
-
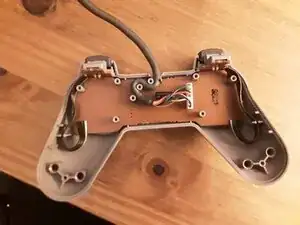
Remove the bottom half of the controllers shell.
-
The screws are all the same size so no need to replace in the same holes, just be careful they dont get lost.
-
-
-
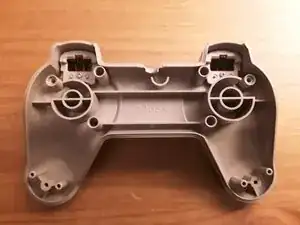
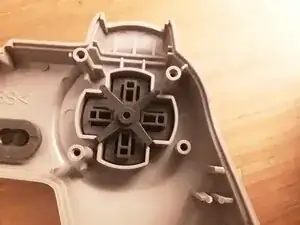
Start in the bottom half of the shell.
-
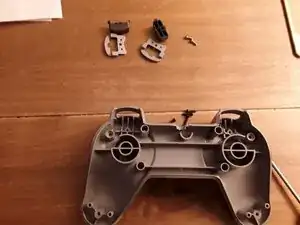
The L2 & R2 buttons are held in place by a bracket with 1 silver screw each, remove the screws.
-
The brackets and buttons should come out when turned over or with very little force.
-
Keep these screws separate from the 8 shell screws.
-
-
-
Now go back to the top half of the controller shell which contains the PCB.
-
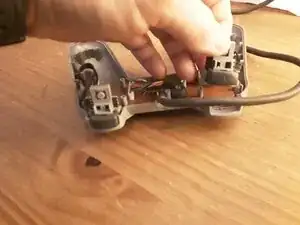
Note the L1 and R1 cable route, they sit in slits to help keep them safe.
-
Remove the L1 and R1 brackets by lifting them up and out, they can sometimes be slightly stuck in place but a small jiggle helps.
-
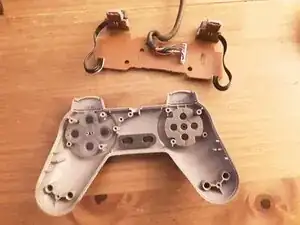
Now lift the buttons and PCB out of the shell.
-
-
-
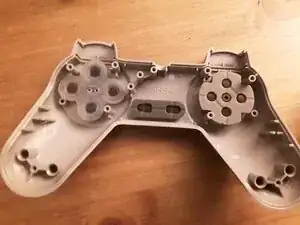
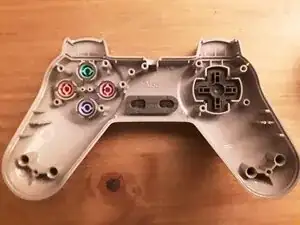
Next we can remove the other buttons.
-
They contain multiple layers of rubber and plastic and can be tipped out or pulled out easy enough.
-
-
-
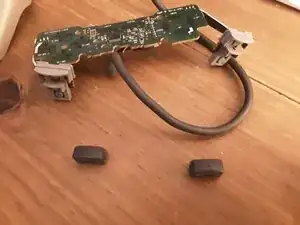
The L1 and R1 buttons can be pulled out of their brackets.
-
Grasp the dark grey button firmly, wiggle and pull them out.
-
This will not break them if they are in good health.
-
You will see they have very small catches, just enough to keep them in when in use.
-
That is as far as I go for cleaning my controllers.
-

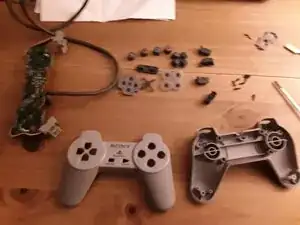
I washed my controller plastic and rubber parts in warm soapy water using an old toothbrush, left to dry fully and then reassembled.
To reassemble your device, follow these instructions in reverse order, ensuring cables are replaced into their designed routes to help prevent any damage when closing the controller back up.